DOM Roq® Round/Oval Rosette on Both Sides
26
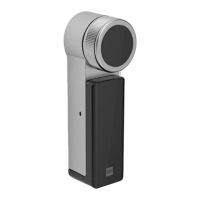
DOM Roq® Smart Lock
14. Place the base plate on the cylinder. (G)
15. Fasten the base plate on the cylinder with two M4 screws. (H)
Attention!
For a cylinder protrusion of 1 to max. 4 mm (from the base plate) take the
screws M4 x 12 mm, for a cylinder protrusion of less than 1 mm (from the base
plate), the screws M4 x 16 mm.
Tighten these screws only until there is no more play (screws are provided with
a screw locking adhesive).
The screws may only be tightened until the base plate rests on the door leaf
without pulling the cylinder out towards the base plate.
16. Insert the rosette on the outside of the door. (I)
17. Fix the base plate to the outside fitting with DOMRoq® connecting countersunk
screws M5 / M6 and correspondingly matching countersunk washer through the door
in the fixing points of the fitting. (J)
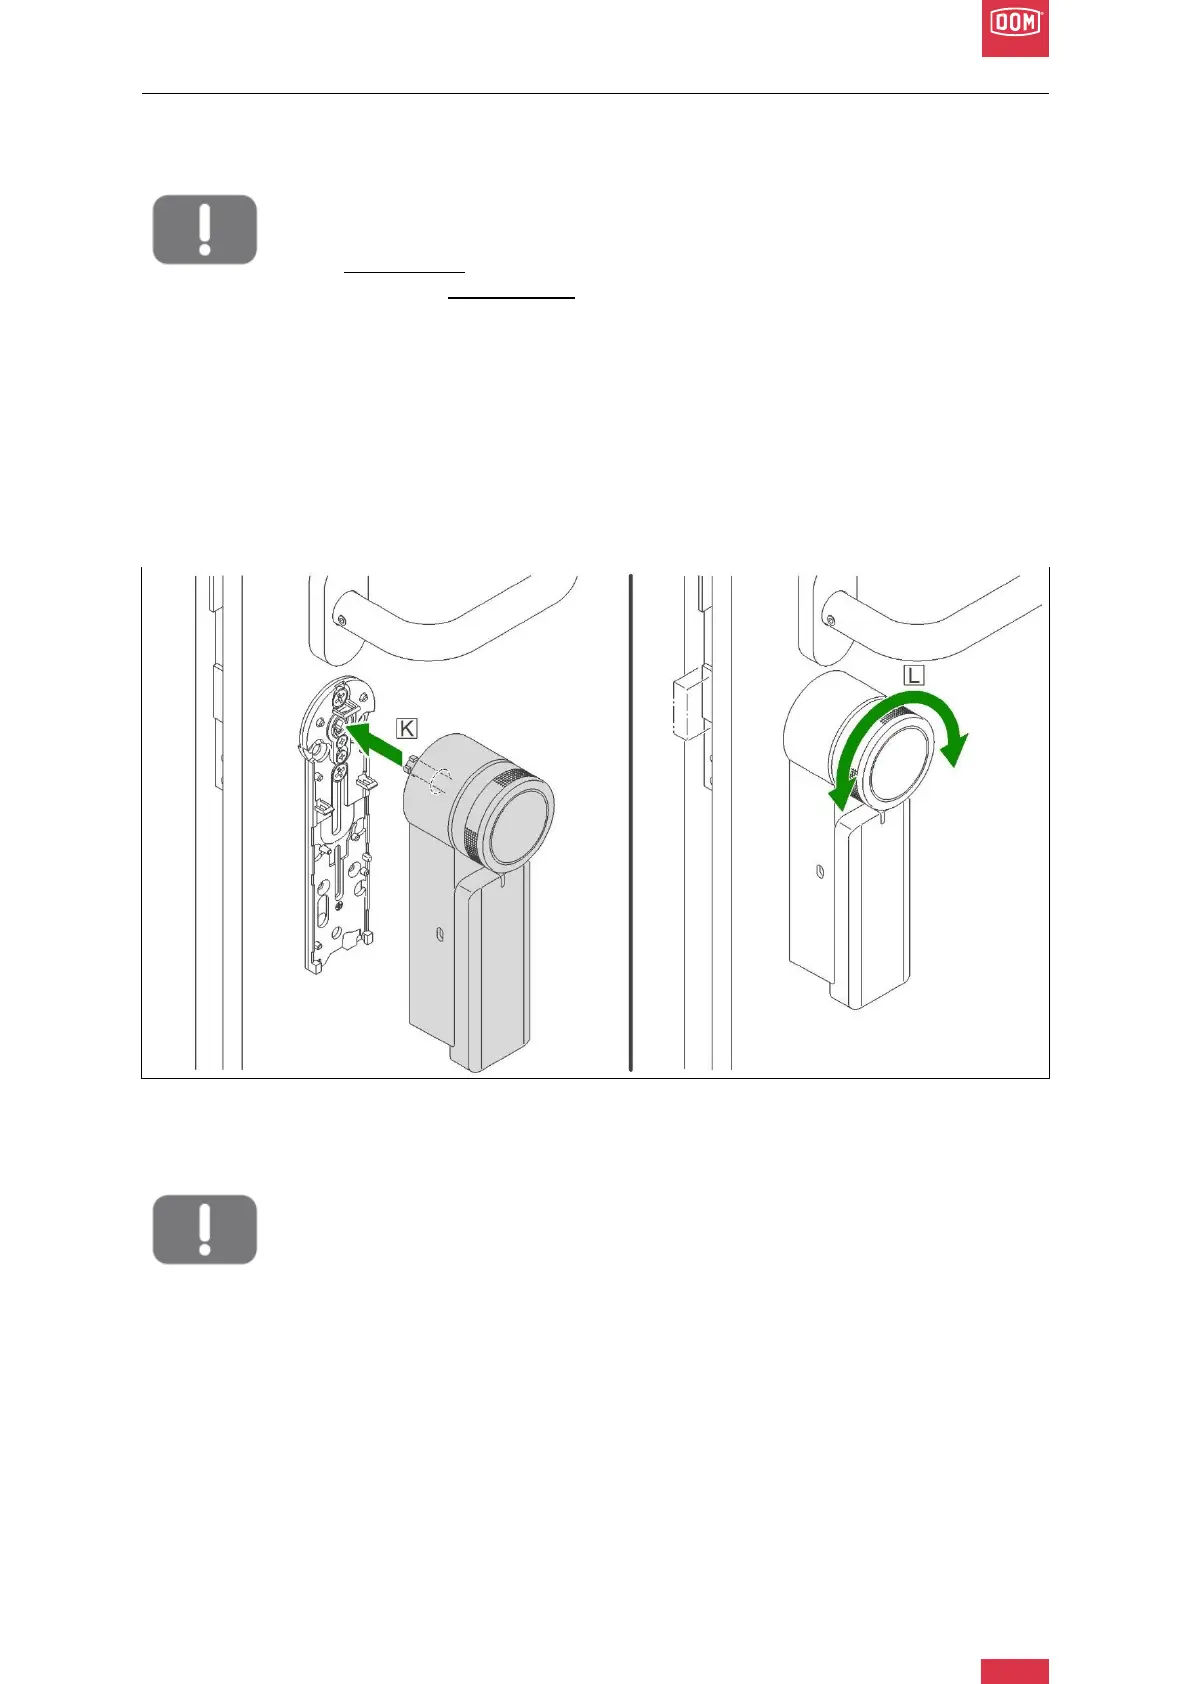
DOM Roq® Fig. 18: Round Oval Rosette on Both Sides
18. Place the motor unit on the base plate and press lightly (>Click< , base plate is
locked with the 3 protruding brackets). (K)
Attention! Damage due to improper fitting.
When fitting the motor unit, make sure that the components are in the correct
position (inner part cylinder, motor unit cardan shaft). Do not join the motor unit
and the base plate together with violence or great force.
DOM accepts no liability for damage caused by improper installation.
19. Turn the handwheel to check whether the bolt can be moved in and out of the lock
and whether the deadbolt can be moved. (L)
(This checks whether the cross of the cardan shaft has been inserted positively into
the matching inner part of the cylinder).
20. Motor unit is fixed and ready for commissioning (from page 53).