1835-065-D-5-17
48
3.7 Programming Four-Digit Entry Codes
Four-digit entry codes are entered ONLY on the Telephone Entry System Keypad preceded by “ # ” to allow the resident access.
DO NOT confuse a FOUR-digit ENTRY code with a FIVE-digit DEVICE code that is entered on a remote wiegand keypad (see
previous page).
Each entry code that you enter must be assigned to a directory code that you select (that was programmed in section 3.5.2).
Only ONE entry code can be programmed for each directory code. You cannot duplicate entry codes.
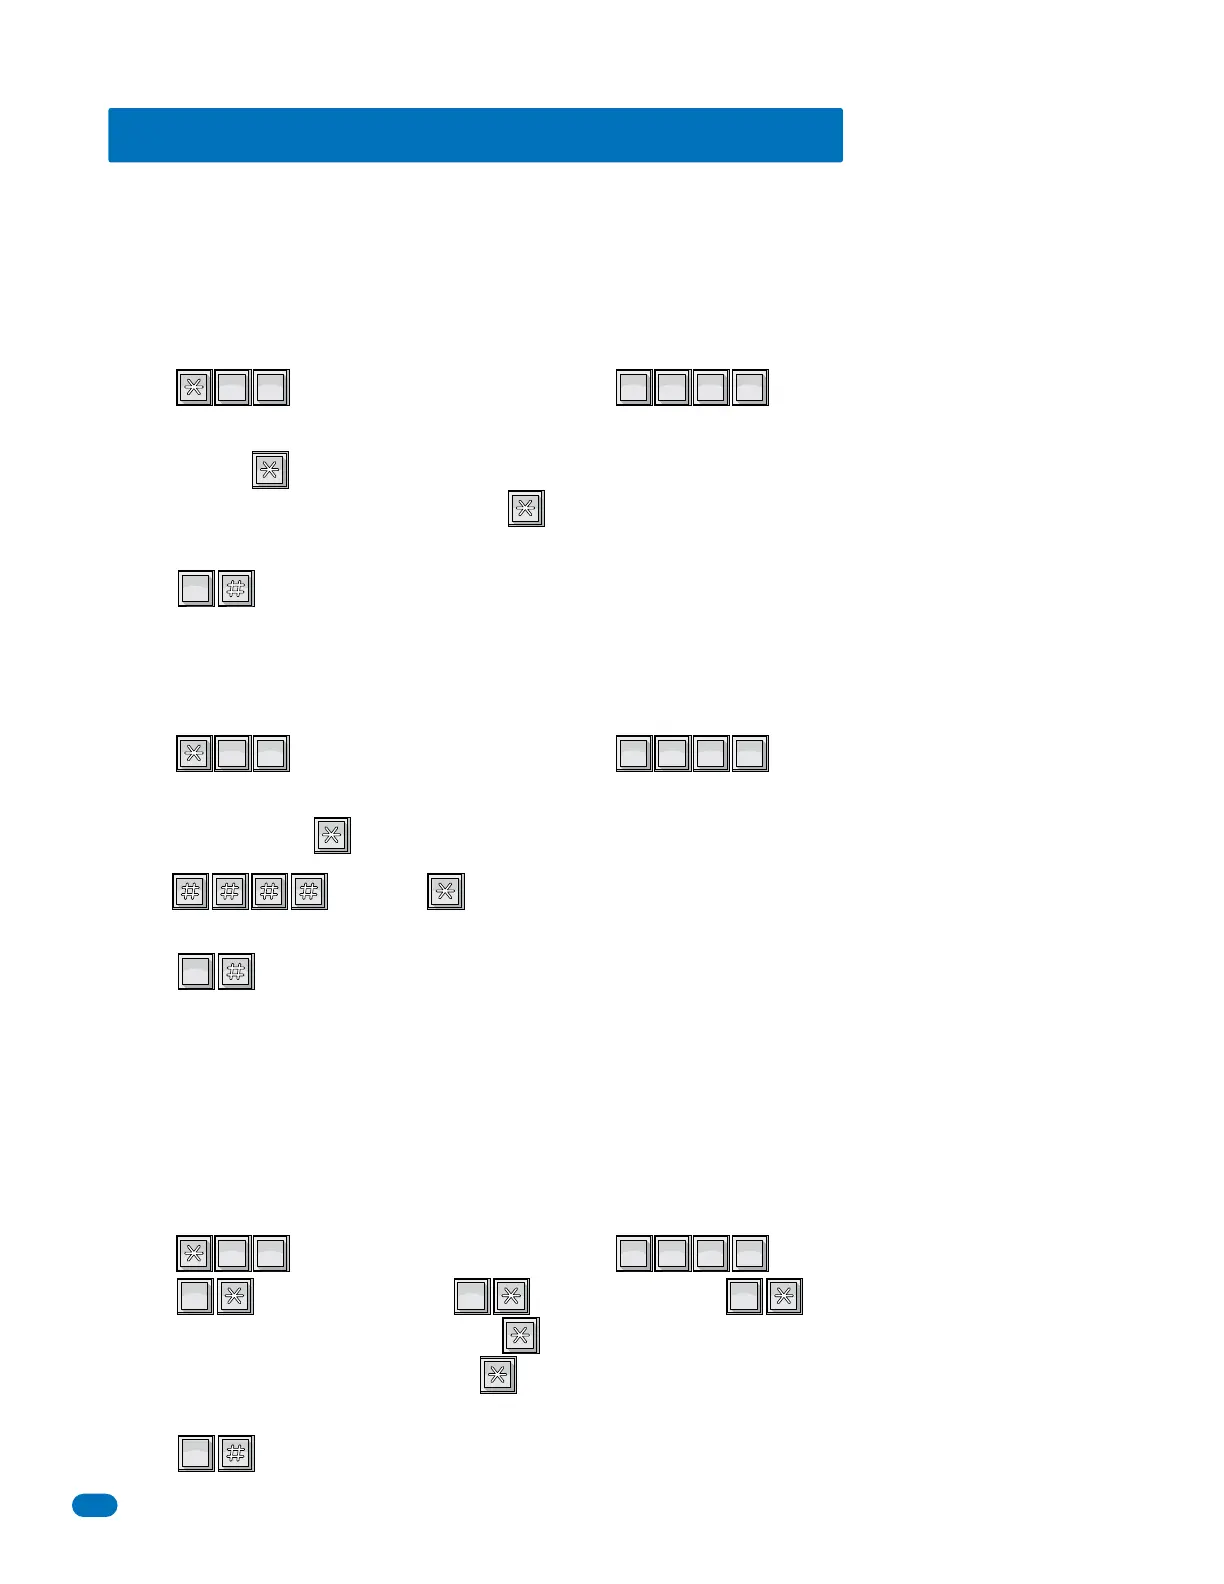
1. Press and enter your four-digit MASTER CODE (beep).
2. Enter the existing directory code (section 3.5.2 or 3.5.4) that the entry code will be assigned to (1, 2, 3 or 4 digits, section
3.5.1), then press (beep).
3. Choose and enter a four-digit entry code, press (beep).
4. Repeat steps 2 and 3 to enter additional entry codes. (You cannot duplicate entry codes)
5. Press together to end this programming sequence (beeeeeep).
?
?
?
?
2
ABC
0
OPER
0
OPER
3.7.1 Programming Four-Digit Entry Codes
Four-digit entry codes can be made to activate relay 0, relay 1, or relay 2 or any combination of relays by programming HI and
LOW ranges for each relay. Ranges between relays may overlap, which will cause more than one relay to activate if this is
desired. For example, if the low boundary for relay-0 and relay 1 is 2000, and the hi boundary is 3000 for relay 0 and 4000 for
relay 1, then entry codes between 2000 and 3000 will activate both relays, and entry codes between 3001 and 4000 will only
activate relay 1.
3.7.3 Entry Code Ranges
1. Press and enter your four-digit MASTER CODE (beep).
2. Press (beep) to set relay 0, or (beep) to set relay 1, or (beep) to set relay 2 boundary.
3. Enter the four-digit LOW boundary, then press (beep).
4. Enter the four-digit HI boundary, then press (beep).
5. Repeat steps 2, 3, and 4 to set the other relay boundaries.
6. Press together to end this programming sequence (beeeeeep).
?
?
?
?
2
ABC
1
SP
0
OPER
0
OPER
1
SP
2
ABC
1. Press and enter your four-digit MASTER CODE (beep).
2. Enter the existing directory code (section 3.5.2 or 3.5.4) that the desired entry code has been assigned to (1, 2, 3 or 4 digits,
section 3.5.1), then press (beep).
3. Enter , then press (beep).
4. Repeat steps 2 and 3 to delete additional desired entry codes.
5. Press together to end this programming sequence (beeeeeep).
?
?
?
?
2
ABC
0
OPER
0
OPER
3.7.2 Delete Entry Codes
 Loading...