27
Installing accessories
Remote sensor
Intended use
Remote Sensor Adapter Polytron 7000 - 83 17 275:
— For installation of the sensor at a distance of up to 30 m from the
Polytron 7000 transmitter.
Remote Cable + Sensor plug 5 m Polytron 7000 – 83 17 270Remote Cable + Sen-
sor adapter, 15 m Polytron 7000 – 83 17 998,
Remote Cable + Sensor plug 30 m Polytron 7000 – 83 17 999:
If a Remote Sensor Adapter with sensor is used on a transmitter installed in accord-
ance with device category 3:
If a Remote Sensor Adapter with sensor is used on a transmitter installed in a
non-explosion-hazard area:
Wall mounting
1 Drill the holes for the mounting plate. (A drilling template is provided for this on
page 137). The mounting holes are 50 ±4 mm apart.
● Screw the mounting plate of the remote sensor adapter to the wall at the desired
position.
2 Slide the case of the remote sensor on to the mounting plate until it snaps into
position.
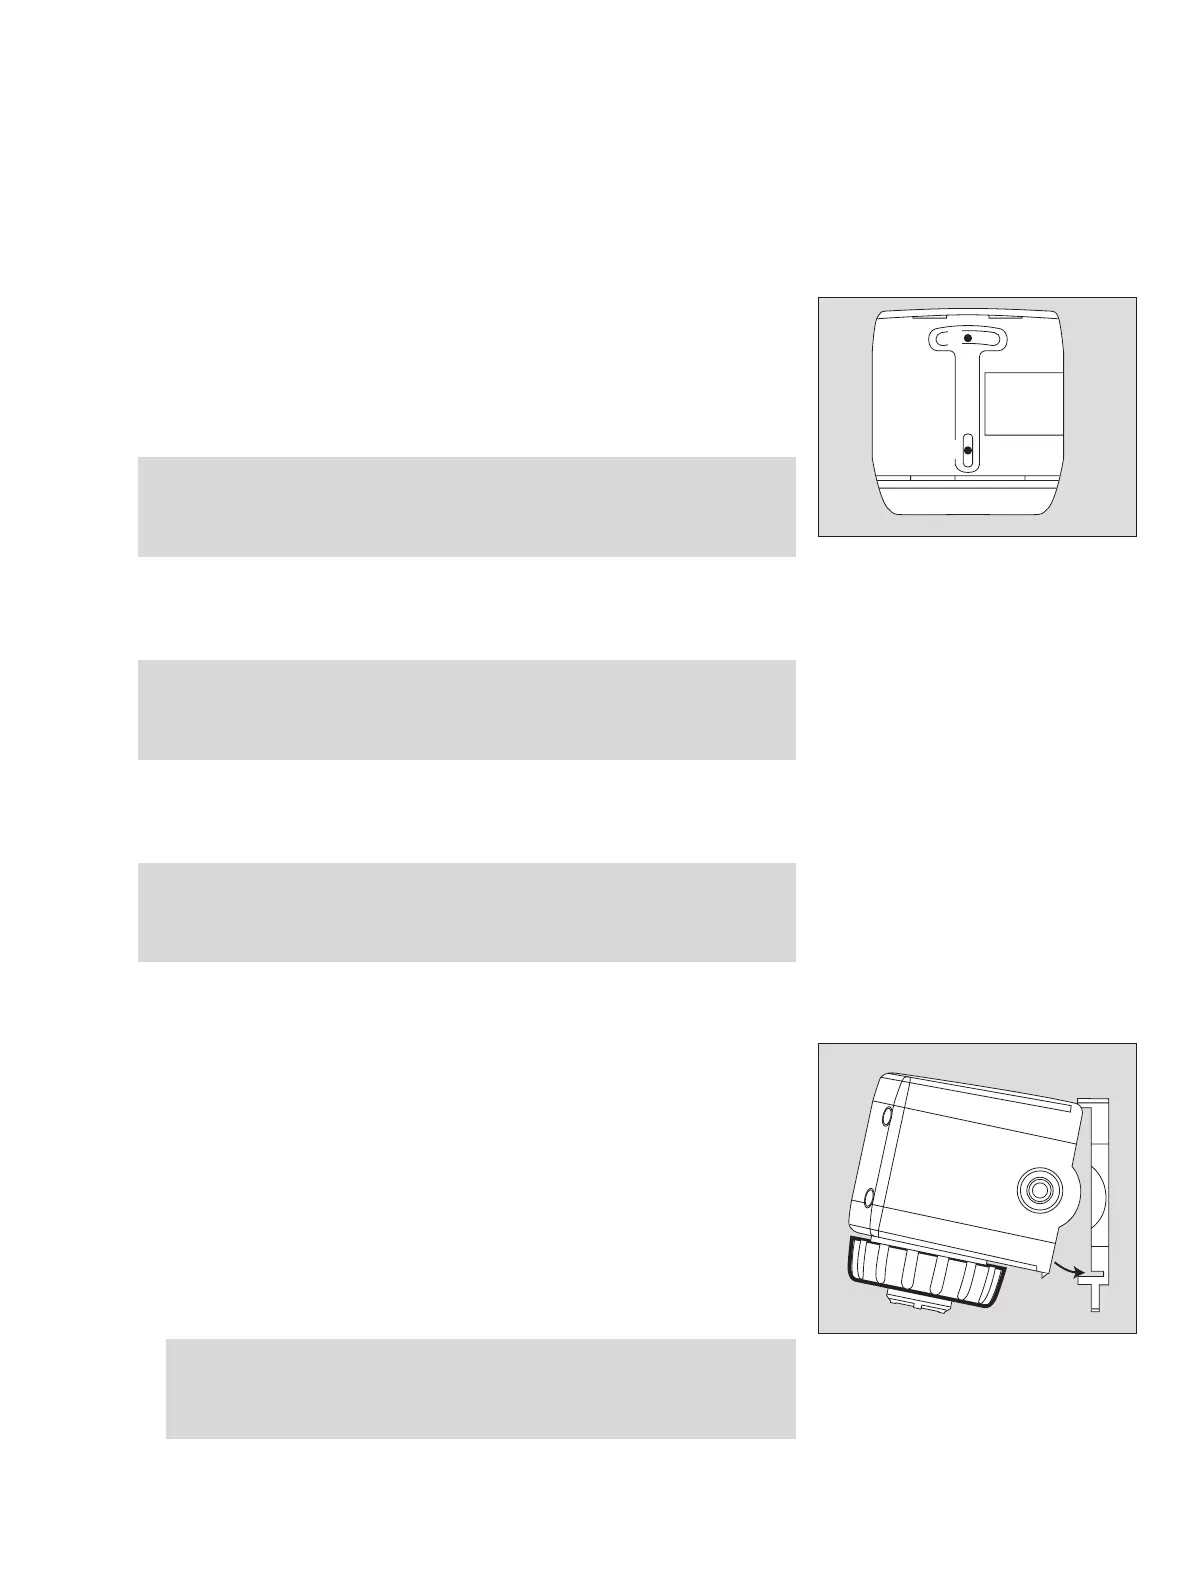
Installing the sensor
3 Unscrew the bayonet ring from the transmitter and remove the blanking disc.
● Remove sensor from packaging.
● Insert the sensor in the opening with the "Dräger" logo pointing to the front.
● Secure the sensor with the bayonet ring.
Attention:
The cable of the remote adapter may be shortened at the end with the connec-
tor. The cable may not be extended. The use of a different cable is not permit-
ted!
Caution:
Remove the Category 1 marking from the transmitter. After being installed in
the manner described here, the accessory may never be used in explosion-
hazard areas of zone 0 or zone 1 (device category 1 or 2)! Explosion hazard!
Caution:
Remove the explosion-protection marking from the transmitter. After being
installed in the manner described here, the accessory may never be used in
explosion-hazard areas! Explosion hazard!
Attention:
For use in Zone 22, tighten the locking screw (2 mm Allen screw) of the
sensor bayonet ring tight enough to ensure that the bayonet ring is
secured against unintended loosening.
02023758_1.eps
1
1
02123758_1.eps
2
3