Maintenance
44
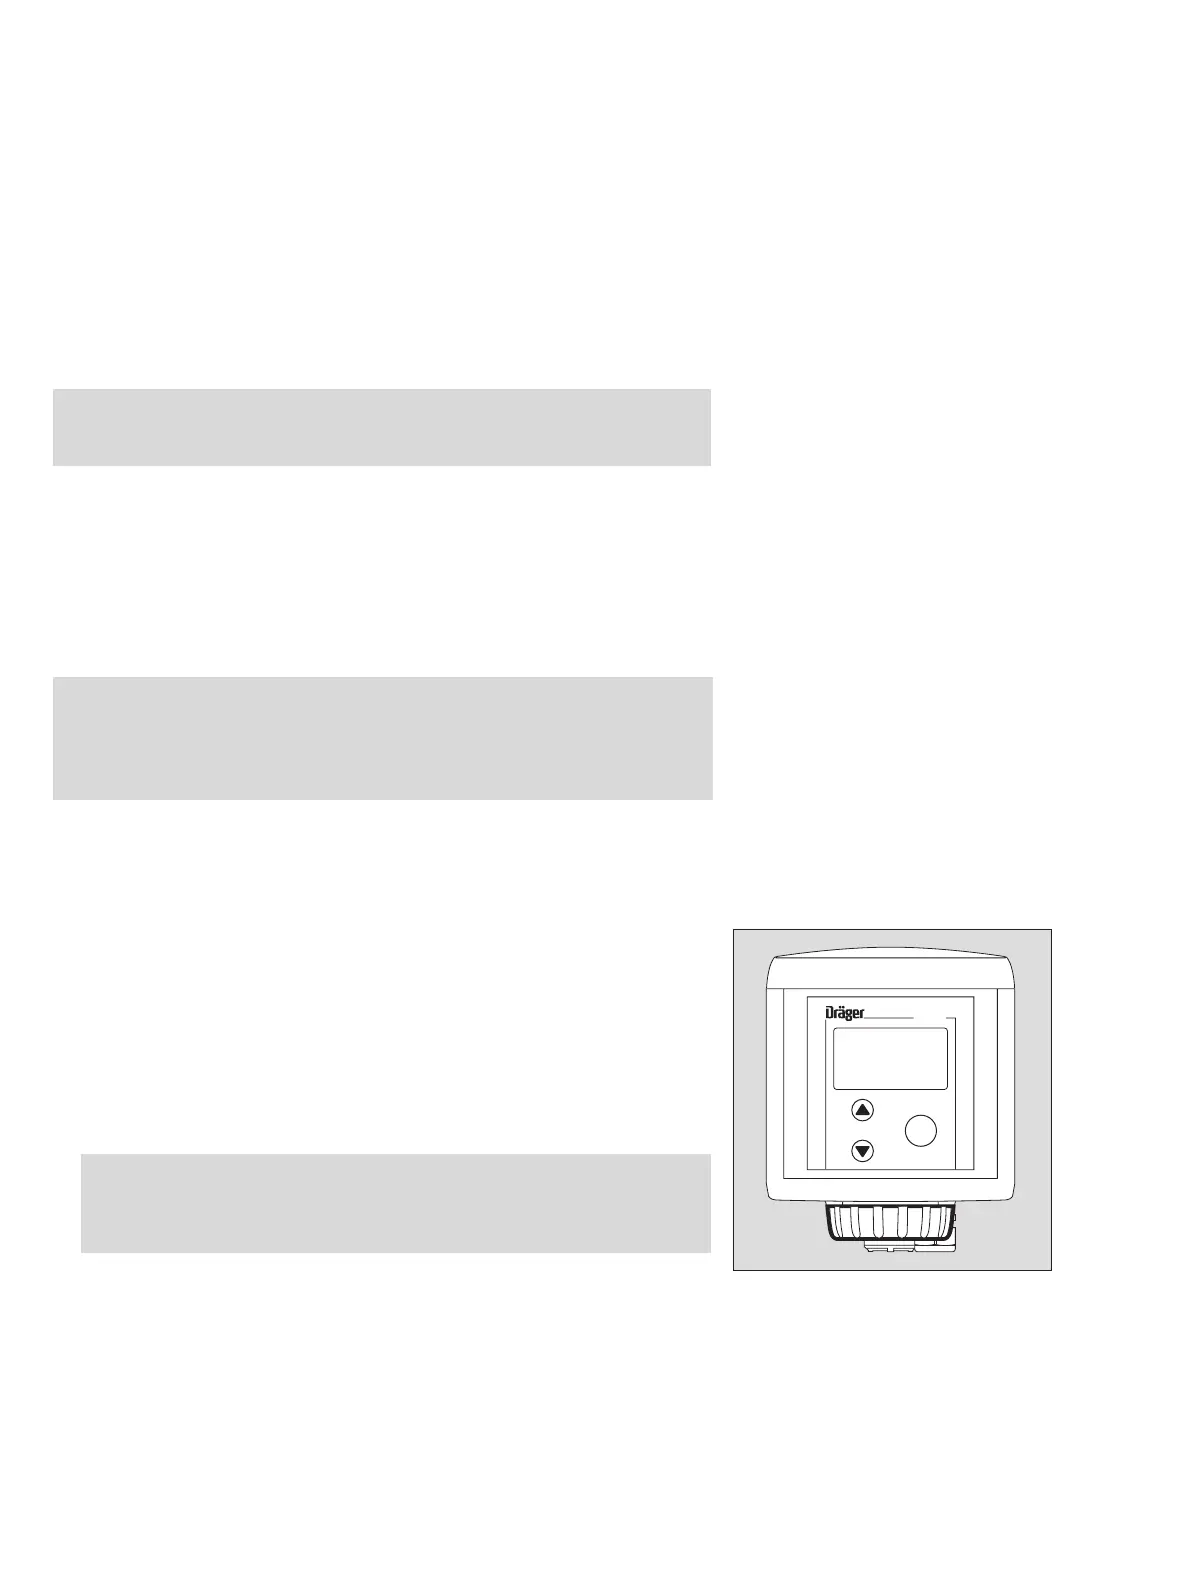
Setting up the unit
● Individual settings can be made:
— via the keypad in menu mode
— via the HART interface,
— with the Dräger hand-held terminal (DHHT)
Replacing the sensor
The sensor can be replaced, if necessary, without interrupting the power supply in
the explosion-hazard area.
Use only DrägerSensors which are approved for use with the Dräger Polytron 7000
transmitter.
In the menu » Settings «, select the submenu » Sensor « and then the function
» Change sensor « – page 75.
1 Remove bayonet ring from transmitter; pull out old sensor.
● Remove sensor from packaging. Make sure that it is approved for use with the
transmitter.
● Remove the short-circuit strap from the sensor (if it is fitted).
● There is a coded connector on the back of the sensor. Place the sensor in the
opening with the connector at the back and the Dräger logo at the front.
Before plugging the connector in the socket, ensure that they are identically cod-
ed. Incorrect connection can damage the sensor!
1 Secure sensor in transmitter with bayonet ring.
● It is possible to mark the transmitter with the label enclosed in the packaging. It
will then be easy to identify the type of gas for which the transmitter is intended if
there is a mains failure.
Note:
After setting up the unit automatically with the copy function of the Dräger
Handheld Terminals, the plausibility of the settings must be checked.
Caution:
— When installing the transmitter in Ex areas (zone 22 Class II, Div. 1 & 2,
Groups E, F, G), do not open the housing (including sensor replacement)
when connected to power (or the Ex area has to be declassified). Explosion
hazard!
Attention:
For use in Zone 22, tighten the locking screw (2 mm Allen screw) of the
sensor bayonet ring tight enough to ensure that the bayonet ring is
secured against unintended loosening.
04223758_1.eps
1
Polytron
OK