57
MODULE
HARDWARE
MODULE HARDWARE
ENROL L MODULE
Enroll Module
Each time a module is added, it must be enrolled on the system.
When adding modules to the system ensure that the power is off when connecting the
COMBUS wiring.
‘Press Any Key On Desired Unit’ will be displayed on the keypad being used for programming. After
the module has been added it will display its module number. Then press any key and the display will
prompt with “Select (01)” on the top line of the LCD display. The second line of the display will prompt
with 5 options. Options 1 through 4 are partition assignments, and option 5 is global module.
Note: To change the partition to which a keypad is assigned to, the keypad must be deleted
and then re-enrolled with the new partition mask selected.
‘Create Tamper On Desired Unit’ will be displayed on the keypad being used for programming
after the module has been chosen to be added. Open the tamper zone to enroll the module.
After the module is enrolled the installer will be prompt with this option.
YES = PC4400 module will be used for DVAC communications.
NO = PC4400 module will be used with a serial printer.
“Create Tamper On Desired Unit” will be displayed on the keypad being used for programming
after the module type has been chosen to be added. Open the tamper zone to enroll the module.
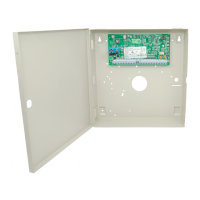
There are three types of zone expansion module capable of being used on the PC4010 control
panel. The PC4108, the PC4116, and the PC4164. The PC4108/16 are 8/16 zone expansion
modules comprised of wired zones capable of being programmed as any zone type the PC4010
can provide. The PC4164 is a 64 zone wirless expansion module. The PC4164 support all zone
types that are provided by the PC4010 except Fire zones, the Links Supervisory and Links
Answer zone types. See RF Zone Options for details on assigning wireless zones to the module.
Note: When enrolling zone expansion modules zone above 64 will not be accessible in the
programming sections.
‘Create Tamper On Desired Unit’ will be displayed on the keypad being used for programming
after the module has been chosen to be added. Open the tamper zone to enroll the module.
YES = This module will activate all outputs when a lamp test is performed.
NO = This module will not activate all outputs when a lamp test is performed.
‘Create Tamper On Desired Unit’ will be displayed on the keypad being used for programming
after the module has been chosen to be added. Open the tamper zone to enroll the module.
Note: The keypad being used to program with will indicate the module number after the
module has been tampered. Make sure this number is recorded on the module
programming work sheets.
“Looking For Fire Module...” will be displayed on the keypad being used for programming when
this module type has been selected. The PC4700 Fire Module does not require a tamper to be
enrolled. This module type will “auto-enroll” itself onto the system once this selection has been
made. If the enroll of the module is successful then the keypad will display the message “PC4700
Fire Mod 01 Enrolled”. Only one PC4700 module may be used on the system at a time. If the
module can not be found by the control panel, the message “PC4700 Fire Mod Not Present” will
be displayed on the keypad. Recheck the connection between the control panel and the PC4700
referring to the module work sheet.
ENROLL MODULE
(0)
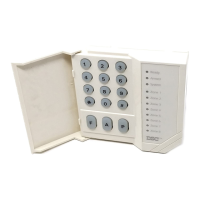
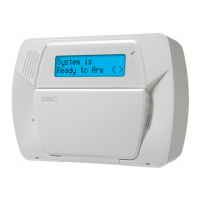
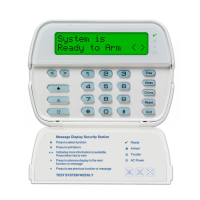
LCD4500 KEYPADS
(0)
PC4400
(1)
PC41XX ZONE EXP
(2)
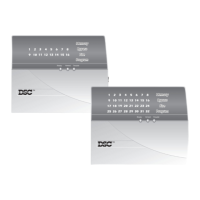
PC4216 16 O/P
(3)
PC4204 4 O/P
(4)
PC4700
(5)
DVAC ENABLED
N
LAMP TEST?
N