6.4.2 Adjusting the needle thread tension
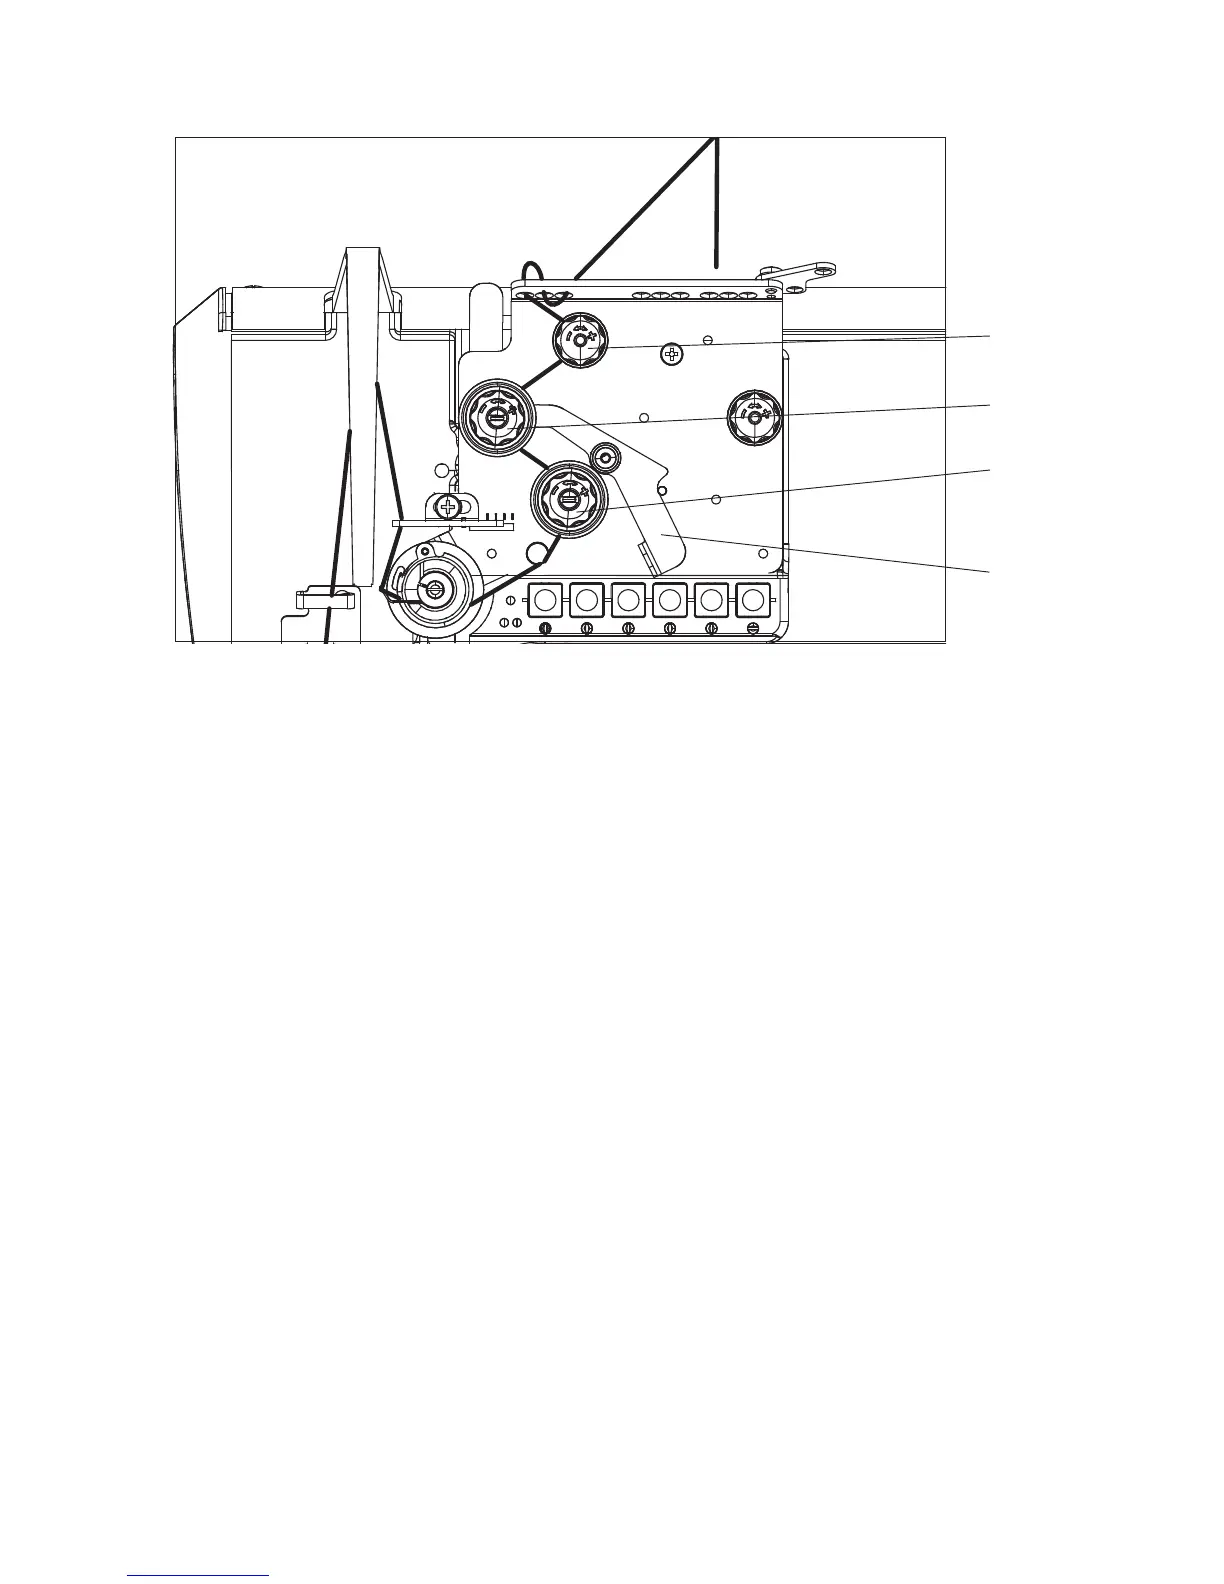
Supplementary tensioner adjustment (1)
–
Adjust the supplementary tensioner (1) so that it has the lowest
tension possible, but so high that, when taking out the sewn
material after the preceding trimming (when the tensioners (2)
and (3) are switched off), the thread is not pulled out of the
tensioner (1). (Tensioner (1) is not switched off at the foot lifting).
Tensioner (2) and (3) adjustment
The machine can be equipped with a lever (4) for the tensioner (2)
temporary switching off. In this case, two thread tension values can be
pre-selected and a good stitch tightening can be achieved when
sewing over a variable number of layers of the sewn material with one
seam.
–
Switch the tensioner off (2) with the lever (4) and sew on a smaller
number of layers.
–
Regulate the thread tension with the tensioner (3), till a good
thread loop is achieved (see opposite figure).
–
Switch the tensioner on (2) by the lever (4) shifting out and sew on
a greater number of layers.
–
Regulate the thread tension with a tensioner (2), till a good thread
loop is achieved (see opposite figure).
–
If the machine is not equipped with the lever (4), regulate the
tension by both tensioners (2) and (3) at the same time so that their
nuts are screwed approximately in the same height.
12
1
2
3
4
 Loading...


