Maintenance Manual (960-949) 4-29
Replacement Procedures
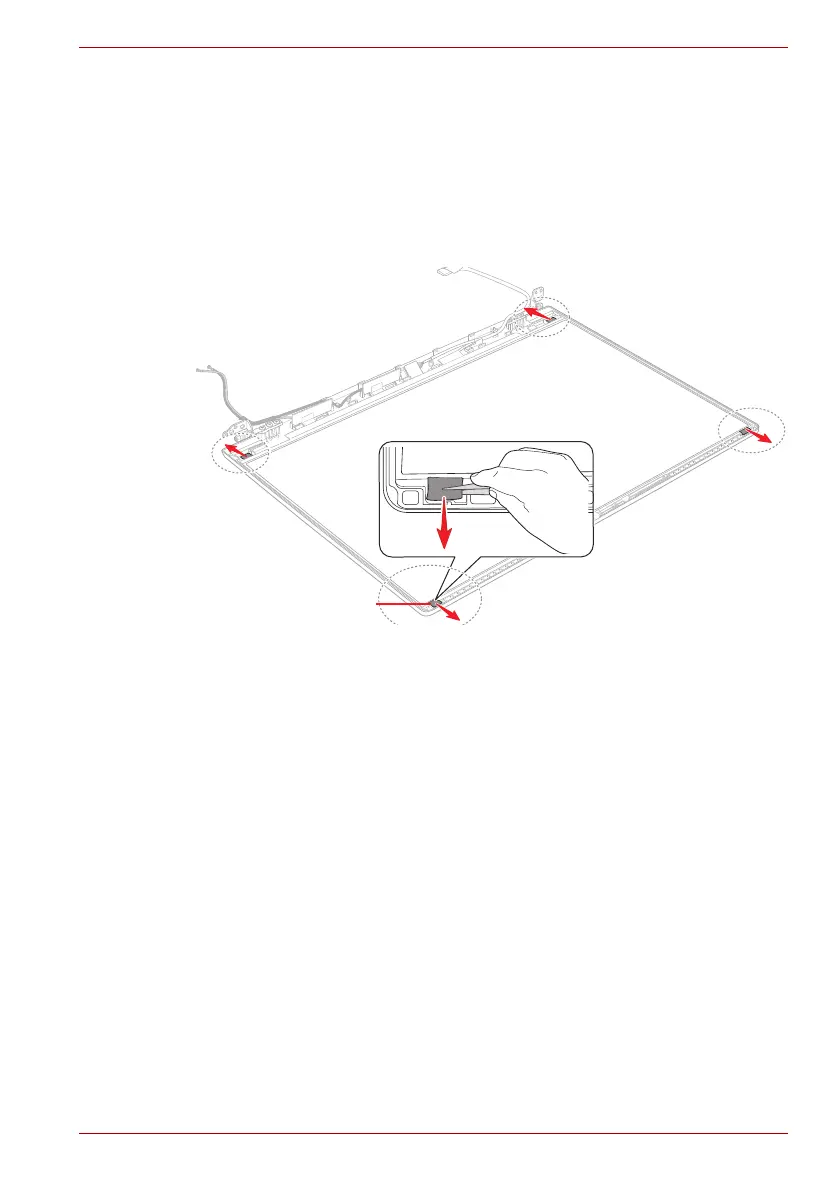
4.21 LCD Assembly
4.21.1 Removing the LCD unit
To remove the LCD unit, follow the steps below.
1. Grasp the bound & detach tapes and pull out the tapes slowly and
parallelly from the LCD cover.
Figure 4-30 Removing the LCD unit (1)
2. Take out the LCD unit.
Be careful that the LCD harness is connected to the connector on the
back of the LCD unit.
3. Peel the pull tape and disconnect the LCD harness from the connector
on the LCD unit.
4.21.2 Installing the LCD unit
To install the LCD unit, follow the steps below.
1. Connect the LCD harness to the connector on the LCD unit and secure
it with the pull tape and glass tape.
Bound & Detach TapeBound & Detach Tape

 Loading...