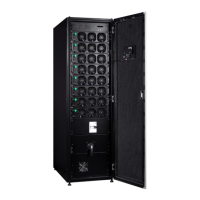
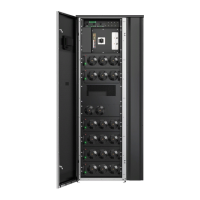
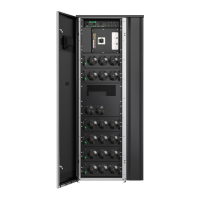
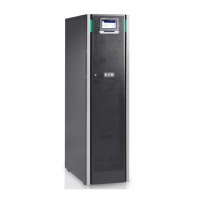
Eaton 93PR 60-1200 kW UPS
Installation and Operation Manual
55
Copyright © 2021 Eaton Corporation plc. All rights reserved.
4.7. UPS System Installation (1200 kW)
4.7.1. Mechanically joining the Cabinet Sections
4.2.1.1. Mechanical Connection Between Primary Cabinet and Secondary Cabinet
NOTE
• For the following steps, verify that the forklift or pallet jack is rated to handle the
weight of the cabinet (see
Table 3-1 Dimensions and Weights
).
• Do not tilt the UPS cabinets more than 10° from vertical or the cabinets may tip over.
NOTE
Use care during installation to protect from damage the components mounted on the right
side of section and the intercabinet wiring harnesses attached to the left side section.
1. Remove the front and rear bae Plates of the UPS cabinets. Please keep the bae Plates
and screws for later use;
See Figure 2-4 for the location of the bafe Plates;
2. Use the holes on the feet, place the UPS cabinets on the ground or channel steel;
See Figure 3-6 and Figure 3-7 bottom view for hole dimensions. For more detailed installation drawings, please
contact customer service to provide;
3. Remove the M6*16 screws (32pc) of the rear doors of the primary cabinets and the
secondary cabinets, and remove the rear doors, please keep the rear doors and screws for
later use, and reinstall the back door after all installations are completed;
4. Place the two cabinets side by side, use M6*16 screws (20pc) to connect and the primary
cabinets and the secondary cabinets, torque: 9Nm;
See Figure 4-13
1
for the screw location;
5. Install the front and rear top hardware kits (2pc) of the cabinets, remove the M12 screws
(4pc) on the top of the cabinets, and then install, torque: 28Nm;
See Figure 4-13
2 3
for the location of the top hardware kits;
6. Install the bottom hardware kit (1pc) of the cabinets, use M10*30 bolts (4pc)/M10 spring
washers (4pc)/M10 large at washers (4pc) to x, torque: 28 Nm; after installation, use a
torque wrench to tighten the bolts , Torque: 28 Nm;
See Figure 4-13
4
for the location of the bottom hardware kit;
7. Fix the cabinet foot to the oor or channel steel, reinstall the bae Plates, and use the
M10*25 bolt (32pc)/M10 spring washer (32pc)/M10 large at washer (32pc) removed in step
1 to x it. Torque: 28 Nm;
8. Install the MC cables on the busbars, pass the MC cables (3pc MC L1/ 3pc MC L2/ 3pc MC
L3) of the primary cabinet through the large square hole at the rear bottom of the cabinets,
and x it to the busbars; use M10*30 bolts ( 9pc)/M10 spring washer (9pc)/M10 large at