iv
Copyright © 2021 Eaton Corporation plc. All rights reserved.
List of Figures
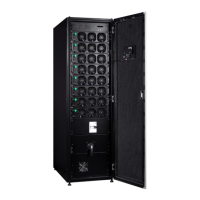
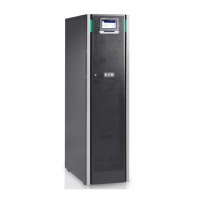
Figure 2-1: Eaton 93PR UPS ................................................................................................................................................. 7
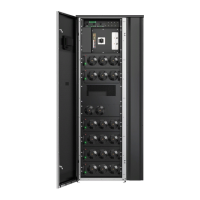
Figure 2-2: Components Layout (300 kW) ............................................................................................................................. 8
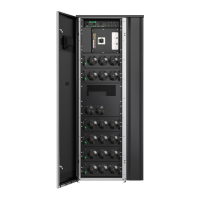
Figure 2-3: Components Layout (600 kW) ............................................................................................................................. 9
Figure 2-4: Components Layout (1200 kW) ......................................................................................................................... 10
Figure 2-5: Components Layout (UPM).................................................................................................................................11
Figure 2-6: 93PR 300kW UPS Wiring Diagram .................................................................................................................... 13
Figure 2-7: 93PR 600kW UPS Wiring Diagram .................................................................................................................... 14
Figure 2-8: 93PR 1200 kW UPS Wiring Diagram ................................................................................................................. 15
Figure 2-9: Path of current through the UPS in Double Conversion Mode .......................................................................... 17
Figure 2-10: Path of current through the UPS in Energy Saver System .............................................................................. 18
Figure 2-11: Path of current through the UPS in Battery Mode ............................................................................................ 19
Figure 2-12: Path of current through the UPS in Bypass Mode .......................................................................................... 20
Figure 3-1: UPS Cabinet Clearances. See
Table 3-2
. .......................................................................................................... 27
Figure 3-2: UPS Dimensions (300kW-Rear Exhaust) .......................................................................................................... 29
Figure 3-3: UPS Dimensions (300kW-
Top
Exhaust) ............................................................................................................ 30
Figure 3-4: UPS Dimensions (600kW-Rear Exhaust) .......................................................................................................... 31
Figure 3-5: UPS Dimensions (600kW-Top Exhaust ) ........................................................................................................... 32
Figure 3-6: UPS Dimensions (1200kW-Rear Exhaust) ........................................................................................................ 33
Figure 3-7: UPS Dimensions (1200kW-Top Exhaust ) ......................................................................................................... 34
Figure 3-8: UPM Dimensions ............................................................................................................................................... 35
Figure 4-1: Straighten the Securing Tabs ............................................................................................................................. 44
Figure 4-5: Fork into Position ............................................................................................................................................... 44
Figure 4-4: Remove the Shipping Bracket............................................................................................................................ 44
Figure 4-2: Remove Wooden Box ........................................................................................................................................ 44
Figure 4-3: Remove Cushioning ........................................................................................................................................... 44
Figure 4-6: Instruction for Removing the UPM Module Packaging....................................................................................... 45
Figure 4-7: Instruction for Removing the Top Exhaust Accessory Packaging ...................................................................... 46
Figure 4-8: Lifting diagram schematic .................................................................................................................................. 47
Figure 4-9: Gland Plate and Connector Locations (Rear Exhaust) ...................................................................................... 49
Figure 4-10: Gland Plate and Connector Locations (Top Exhaust ) ..................................................................................... 50
Figure 4-11: Gland Plate and Connector Locations (Rear Exhaust) .................................................................................... 53
Figure 4-12: Gland Plate and Connector Locations (Top Exhaust ) ..................................................................................... 54
Figure 4-13: Mechanical Installation Instructions ................................................................................................................. 60
Figure 4-14: Gland Plate and Connector Locations (Rear Exhaust) .................................................................................... 62
Figure 4-15: Gland Plate and Connector Locations (Top Exhaust) ...................................................................................... 63
Figure 4-16: Separate Battery Congurations and Common Battery Congurations (300/600 kW) .................................... 66
Figure 4-17: Separate Battery Congurations (1200 kW) .................................................................................................... 67
Figure 4-18: Normally-Open REPO Switch Wiring ............................................................................................................... 68
Figure 4-19: Normally-Closed REPO Switch Wiring............................................................................................................. 69
Figure 4-20: Principle of Paralleled UPS Systems (300/600 kW)......................................................................................... 74
Figure 4-21: Principle of Paralleled UPS Systems (1200 kW).............................................................................................. 75
Figure 4-22: Simplied CAN and Pull-Chain Wiring for Parallel UPS System...................................................................... 76
Figure 4-23: CAN and Pull-Chain Wiring for Parallel UPS ................................................................................................... 77
 Loading...