DUS 60 Digital Ultrasonic Diagnostic Imaging System User Manual Operation
- 68 -
the measurement result window.
8. Press Measure to finish and exit.
Dist11
Dist12
Angle1
Dist21
Dist22
Angle2
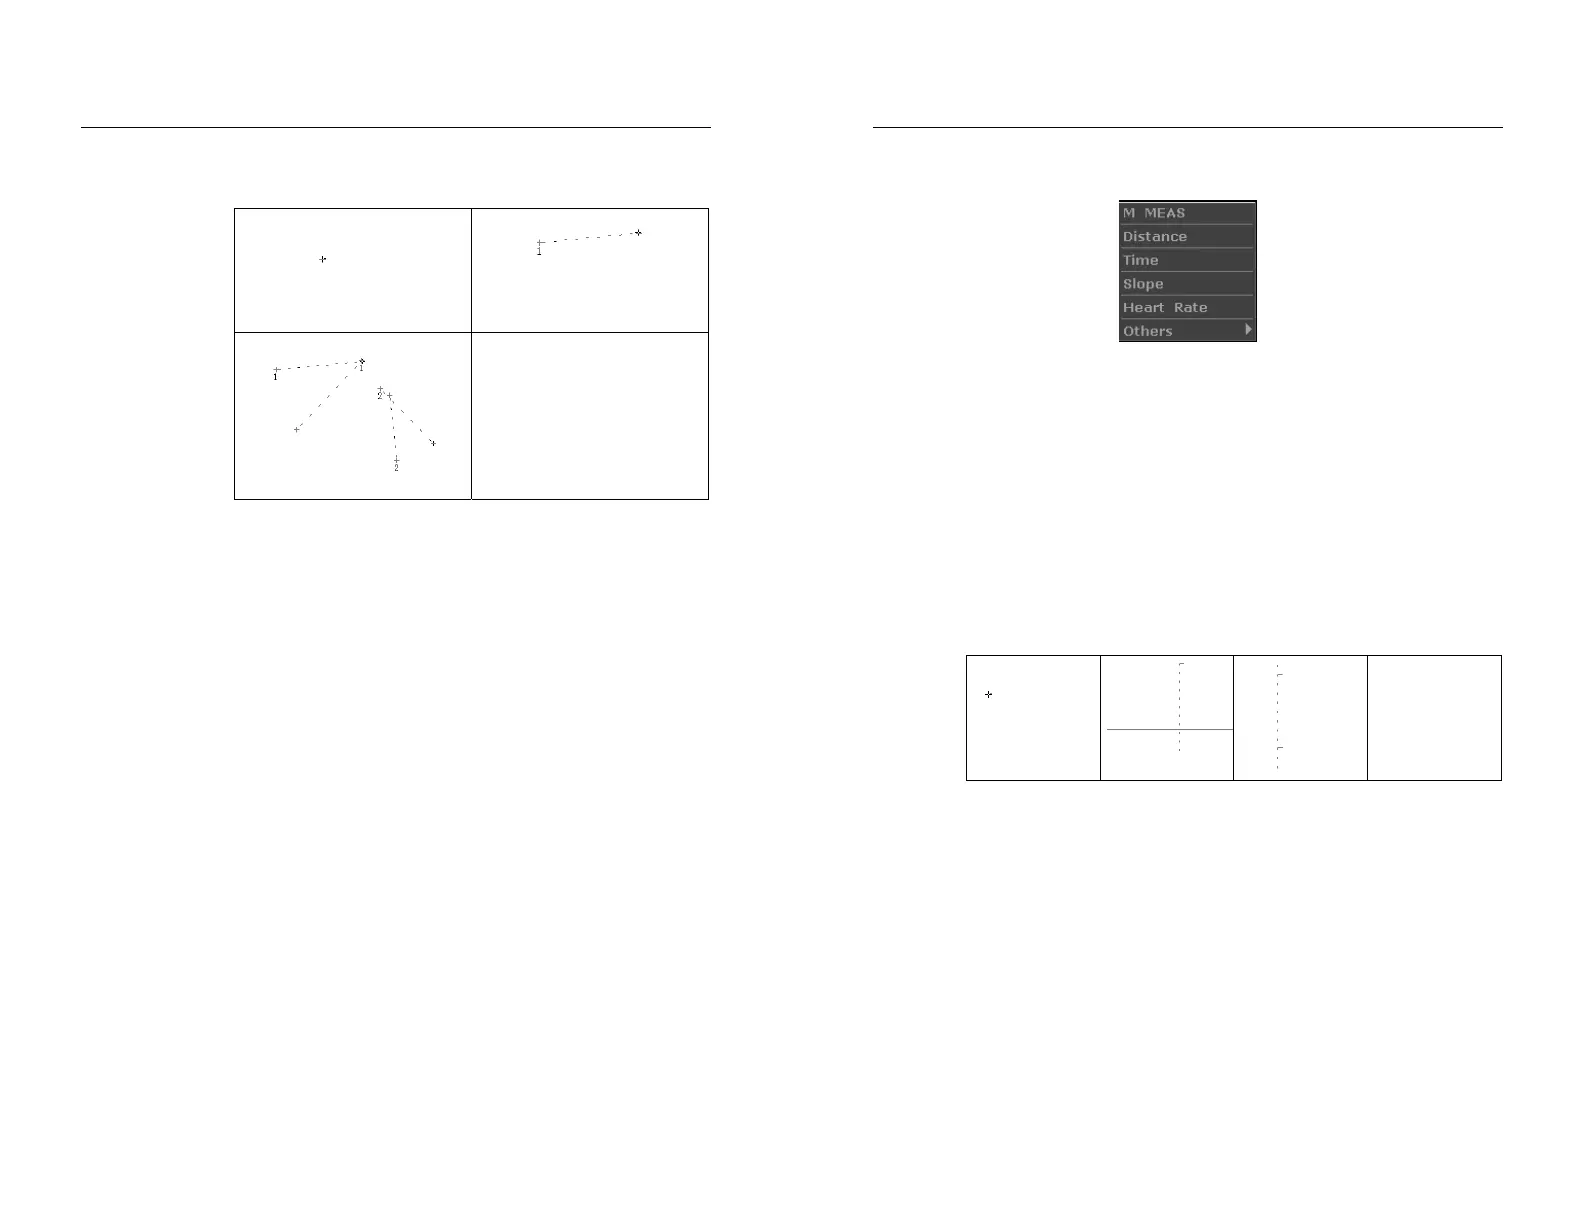
Figure 6-12 Angle measurement
Histogram
Freeze the image first before histogram measurement, otherwise the
prompt “Image is not frozen, please freeze and retry!” will pop up.
1. Press Measure to activate measurement function.
2. Roll the trackball to highlight menu Histogram, and then press Set to
activate a measurement cursor on the screen.
3. Roll the trackball, press Set to anchor the start point.
4. Roll the trackball, adjust the position and size of the histogram, and
then press Set to anchor the end point.
5. During measurement, you can press Change to change the start point
and the end point.
6. Roll the trackball and press Set again to begin a new histogram
measurement. You can measure a maximum of four groups of data.
The outcome is displayed in Measured Results.
7. Press Measure to finish and exit.
Others
Roll the trackball to highlight Others to select the desired measurements and calculations.
6.6.2. Generic Measurements in M Mode
M mode measurements and calculations include distance, time, slope and heart rate (2 cycles).
DUS 60 Digital Ultrasonic Diagnostic Imaging System User Manual Operation
- 69 -
These are for B/M and M display modes only. The default measurement of B/M and M mode is
heart rate measurement. M mode measurement menus are shown as follows:
Figure 6-13 M Mode Generic Measurement and Calculation Menu
Distance
To measure distance:
1. Press Measure to activate a measurement cursor “+”.
2. Roll the trackball to highlight Distance and press Set.
3. Roll the trackball and press Set to anchor the start point, and a big “+” is
displayed.
4. Roll the trackball and press Set to anchor the end point.
5. Roll the trackball and press Set to begin a new distance measurement. You can
measure a maximum of four groups of data. The outcome will be displayed in
the measurement result window, as shown below.
6. Press Measure to finish and exit.
Depth1
Figure 6-14 Distance Measurement and the Results
Time
To measure time:
1. Press Measure to activate a measurement cursor “+”.
2. Roll the trackball to highlight Time and press Set.
3. Roll the trackball to move the first measurement cursor at the beginning of the
time interval and then press Set, and the measurement mark turns to a vertical
line.
4. Roll the trackball to move the first measurement cursor at the end of the time
interval and then press Set.
5. Roll the trackball and press Set to begin a new time measurement. You can
measure a maximum of four groups of data. The outcome will be displayed in