DUS 60 Digital Ultrasonic Diagnostic Imaging System User Manual Inspection and Maintenance
- 142 -
Step 3
14.2.5. Disinfectants
Probe: 75% medical alcohol, Cidex (2.4%), Cidex OPA (0.55%).
WARNING
1. Be sage to choose the cleansers and disinfectants. The concentration in the air must
not exceed an applicable specified limit. Comply with the manufacturer’s instructions
when using the cleansers and disinfectants.
2. The use of diluent paint, vinyl oxide or other organic solvents is prohibited. These
solvents will damage the protective film of the probe surface.
14.3. Maintenance
Maintenance must be performed every 12 months, including safety and functionality of the
system.
The following safety checks should be performed at least every 12 months by a qualified person
who has adequate training, knowledge, and practical experience to perform these tests.
Inspect the safety-related labels for legibility.
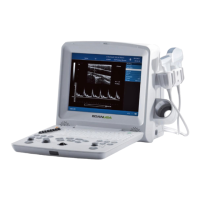
Inspect the fuse to verify compliance with rated current and breaking characteristics.
Verify that the device function properly as described in the instructions for use.
Test the protection earth resistance according to IEC/EN 60601-1 and IEC/EN 60601-2-37:
Limit: 0 ~ 0.1 Ω.
Test the earth leakage current according to IEC/EN 60601-1 and IEC/EN 60601-2-37: Limit:
NC 500 μA ~ SFC 1000 μA.
Test the patient leakage current according to IEC/EN 60601-1 and IEC/EN 60601-2-37:
Limit: NC 100 μA ~SFC 500 μA.
Test the Covers leakage current according to IEC/EN 60601-1 and IEC/EN 60601-2-37:
Limit: NC100 μA ~ SFC 500 μA.
The leakage current should never exceed the limit.
The data should be recorded in an equipment log. If the device is not functioning properly or any
of the above tests fail, please contact the maintenance personnel of EDAN.
DUS 60 Digital Ultrasonic Diagnostic Imaging System User Manual Troubleshoooting
- 143 -
Chapter 15 Troubleshooting
15.1. Checkup
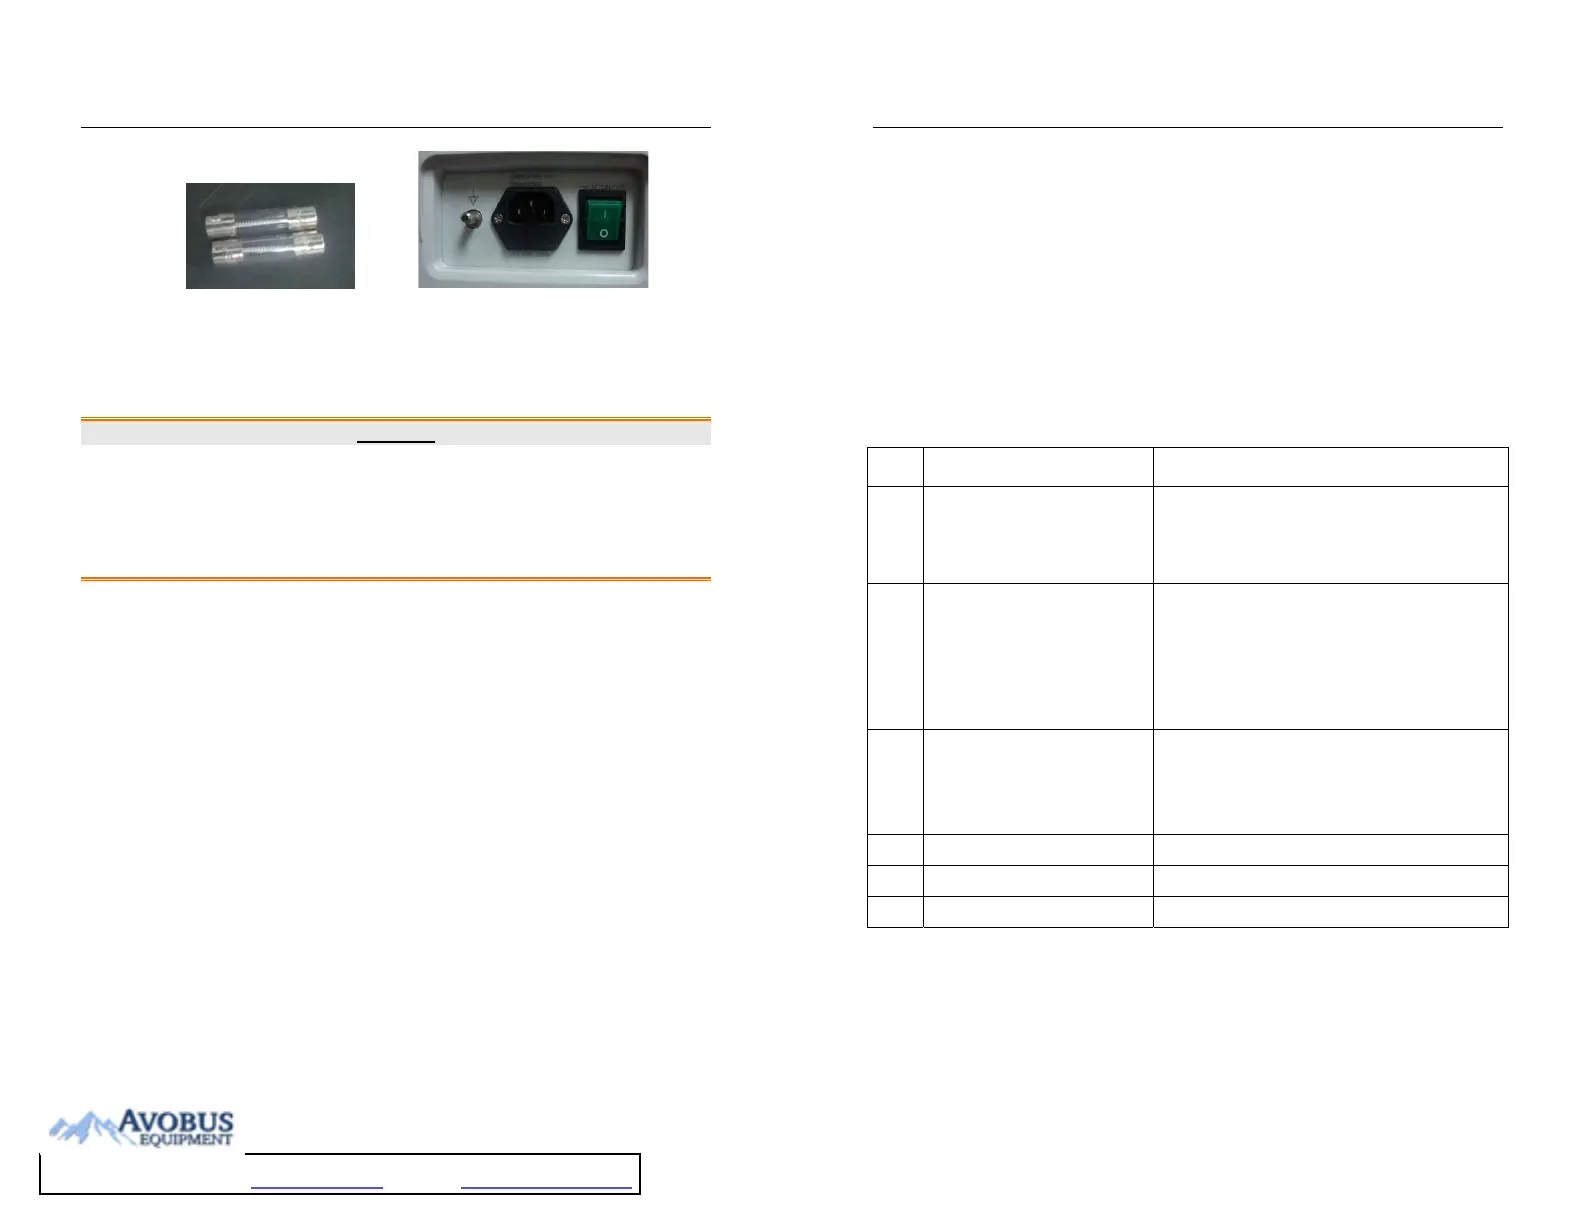
Check whether the power supply works properly and the power cord is well connected and
plugged into the power socket.
Check whether the probe is properly connected to the main unit.
15.2. Troubleshooting
Changing the cartridge fuse (by the professional personnel of EDAN).
Troubleshooting (see table 14-1)
Table 15-1 Troubleshooting Examples
Item Problem Solution
1
When the power switch is on,
there isn’t any image displayed.
1. Check power supply.
2. Check wires and plugs.
3. Check whether the cartridge fuse is melted.
4. Check the brightness control knob.
2
Strip-shape or snowflake-shape
disturbance occurs on the display
screen.
1. Inspect the power supply.
2. Check whether it is disturbed by the ignition action
of any other device.
3. Check the disturbance of electric or magnetic field
in the surrounding environment.
4. Check whether the plug and socket of power supply
and probe are properly connected.
3
Image is not displayed clearly on
the screen.
1. Adjust overall gain (Gain).
2. Adjust eight TGC slide controls.
3. Adjust the brightness and contrast potentiometer.
4. Adjust focus (the number and the position).
5. Clean the light filter of the display screen.
4
Near-field image is not clear. Adjust the key total gain and the upper TGC
5
Far-field image is not clear. Adjust the key total gain and the lower TGC
6
Image window is dark. Adjust the brightness and contrast knobs.