74 Installation and Service Guide
Replacing Parts
Motherboard jumpers
Table 3: Jumper pins on the motherboard
Chassis fan
A fan mounted inside the E-35A chassis draws air into the E-35A to cool components. The fan runs continuously when
the system is on. You should hear the fan start as soon as you power on the E-35A. If you do not hear the fan, there may
be a faulty power connection.
Use the following procedures to remove or replace the chassis fan.
To remove the chassis fan
1 Access and open the E-35A, (see page 49).
2 Disconnect the 4-pin fan cable connector from the FRONT FAN connector (J30) on motherboard.
3 Remove the four plastic rivets from the connector panel, while holding the fan assembly from the inside.
To remove a rivet, use a flathead screwdriver to pry loose the rivet head on the outside of the chassis while
squeezing and pushing the locked end of the rivet with your fingers or a pair of pliers. Set the rivets aside so that
you can replace them later.
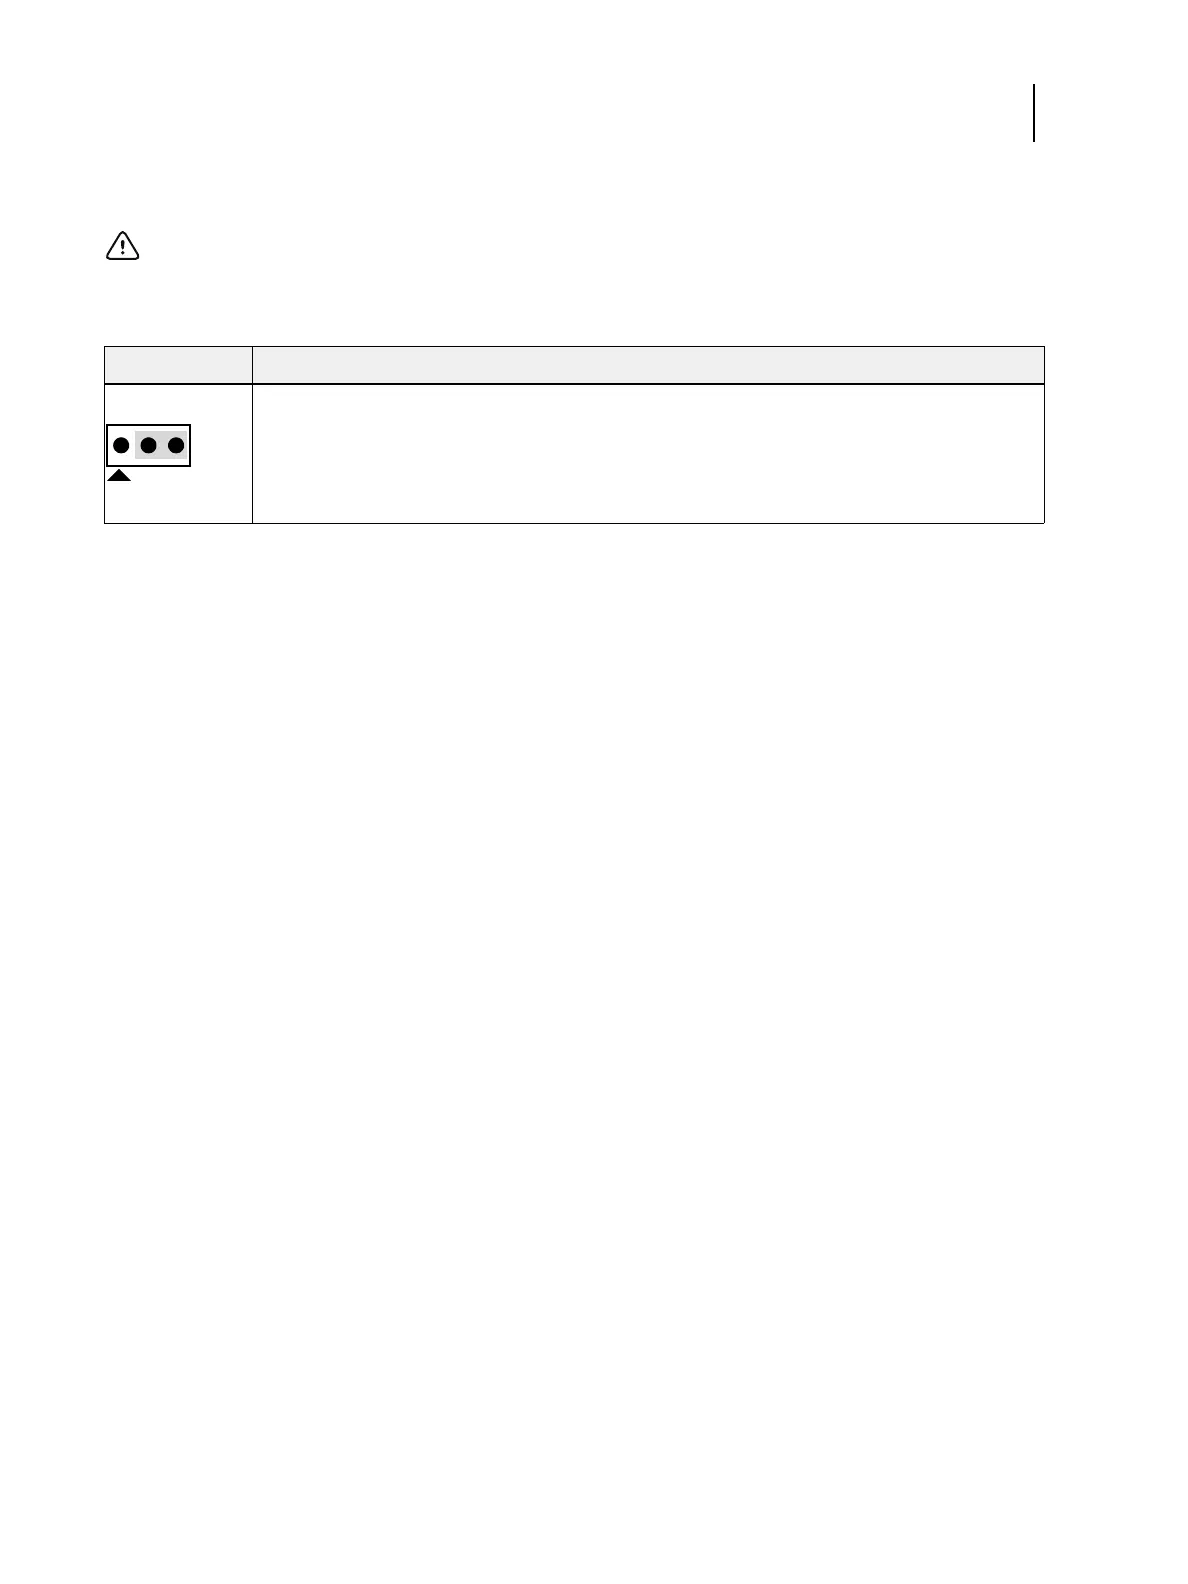
Important: Do not move or change any of the default jumper configurations on the motherboard.
Jumper Description
J17 J17 is the Clear CMOS and Password jumper.
Default configuration: jumper cap installed on pins 2 and 3.
Note:
Because the jumper cap is very small, it is not necessary—and could introduce an
error—to remove the jumper cap in order to clear the CMOS settings.