81 Installation and Service Guide
Replacing Parts
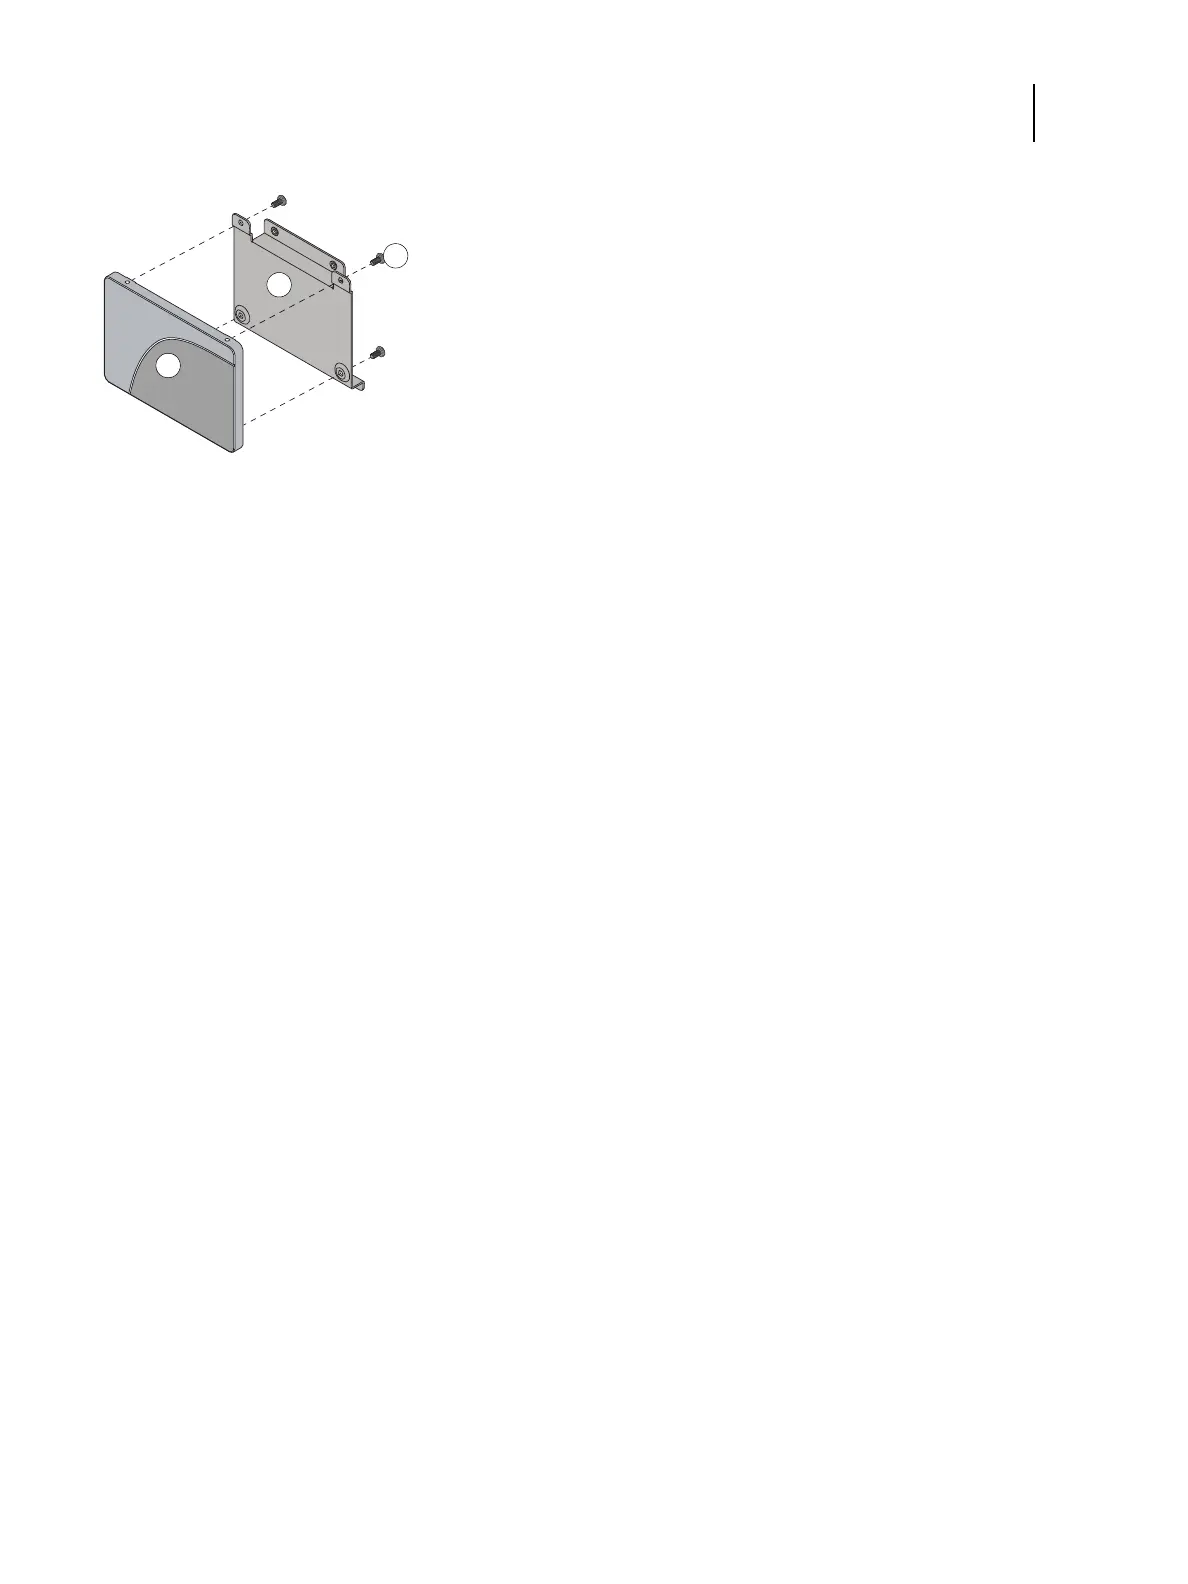
Figure 40: Removing the HDD bracket
8 Place the HDD in an antistatic bag.
Replacement HDD is shipped without any pre-installed system software. After installing a HDD, you must install the
appropriate system software.
To replace the HDD
1 If you are installing a new HDD, unpack the drive. If you are not installing a new HDD, skip to step 4.
Do not drop, shake, or bump the HDD. Do not touch the HDD with magnetic objects or place magnetic-sensitive
items near the HDD.
2 Place the HDD inside the HDD bracket, and align the two holes on either side of the HDD with the holes in the
bracket.
Position the HDD inside the HDD bracket as shown in Figure 40.
3 Replace the four screws that attach the bracket to the HDD.
Make sure that you use the same screws that you removed earlier.
4 Position the HDD assembly inside the chassis, as shown in Figure 39 on page 80.
Position the lower edge of the HDD bracket over the mounting posts in the chassis, and press down firmly to
engage the posts.
5 Using the two screws that you removed earlier, secure the HDD assembly to the chassis.
6 Connect the SATA data cable to the SATA data connector on the HDD. Make sure that the other end of the cable is
connected to SATA0 on the motherboard.
7 Connect the SATA power cable connector to the SATA power connector on the HDD.
The cable connector is keyed to fit only one way.
1 HDD
2 HDD bracket
3 Screws, HDD bracket (x4)