77 Installation and Service Guide
Replacing Parts
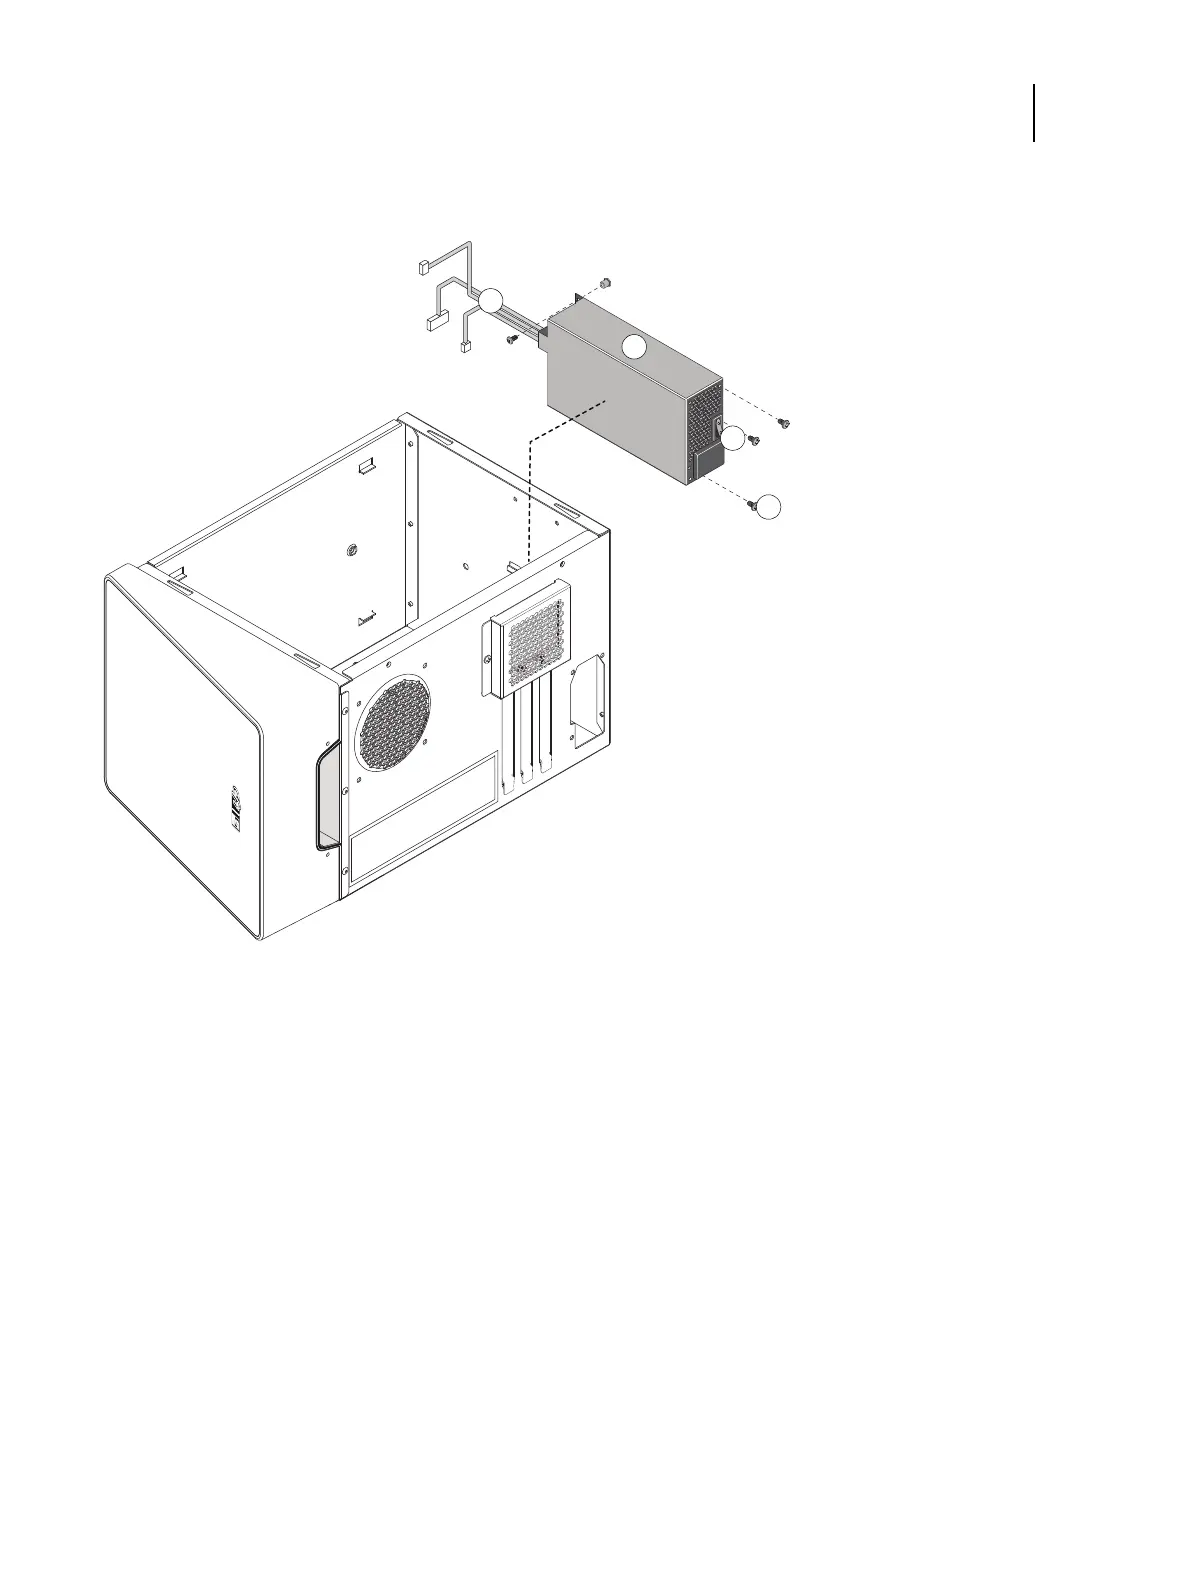
7 Lift the power supply out of the chassis, taking care to gather the power supply cables.
Figure 38: Removing the power supply
To replace the power supply
1 Place the power supply inside the chassis (see Figure 38).
Make sure to fit the power connector through the cutout in the chassis. Align the mounting holes in the power
supply with the holes in the chassis.
2 Using the four screws that you removed earlier, secure the power supply to the chassis.
3 Connect the HDD power cable to the SATA power connector on the HDD.
4 Connect the 4-pin (2x2) power cable to the 4-pin connector on the motherboard.
For the location of the motherboard connector, see page 59. Connect the power cable to pins 1 through 4 of the
motherboard connector. The cable is keyed to fit only one way.
1 Power supply cables 3 Power switch
2 Power supply unit 4 Screws (x4)