69 Installation and Service Guide
Replacing Parts
To remove a CPU
1 Access and open the E-35A (see page 49).
2 Remove the motherboard components (see page 60).
3 Remove the motherboard from the chassis (see page 61).
Place the motherboard on a flat, antistatic surface.
4 Remove the CPU fan cable from motherboard CPU FAN connector (J16)).
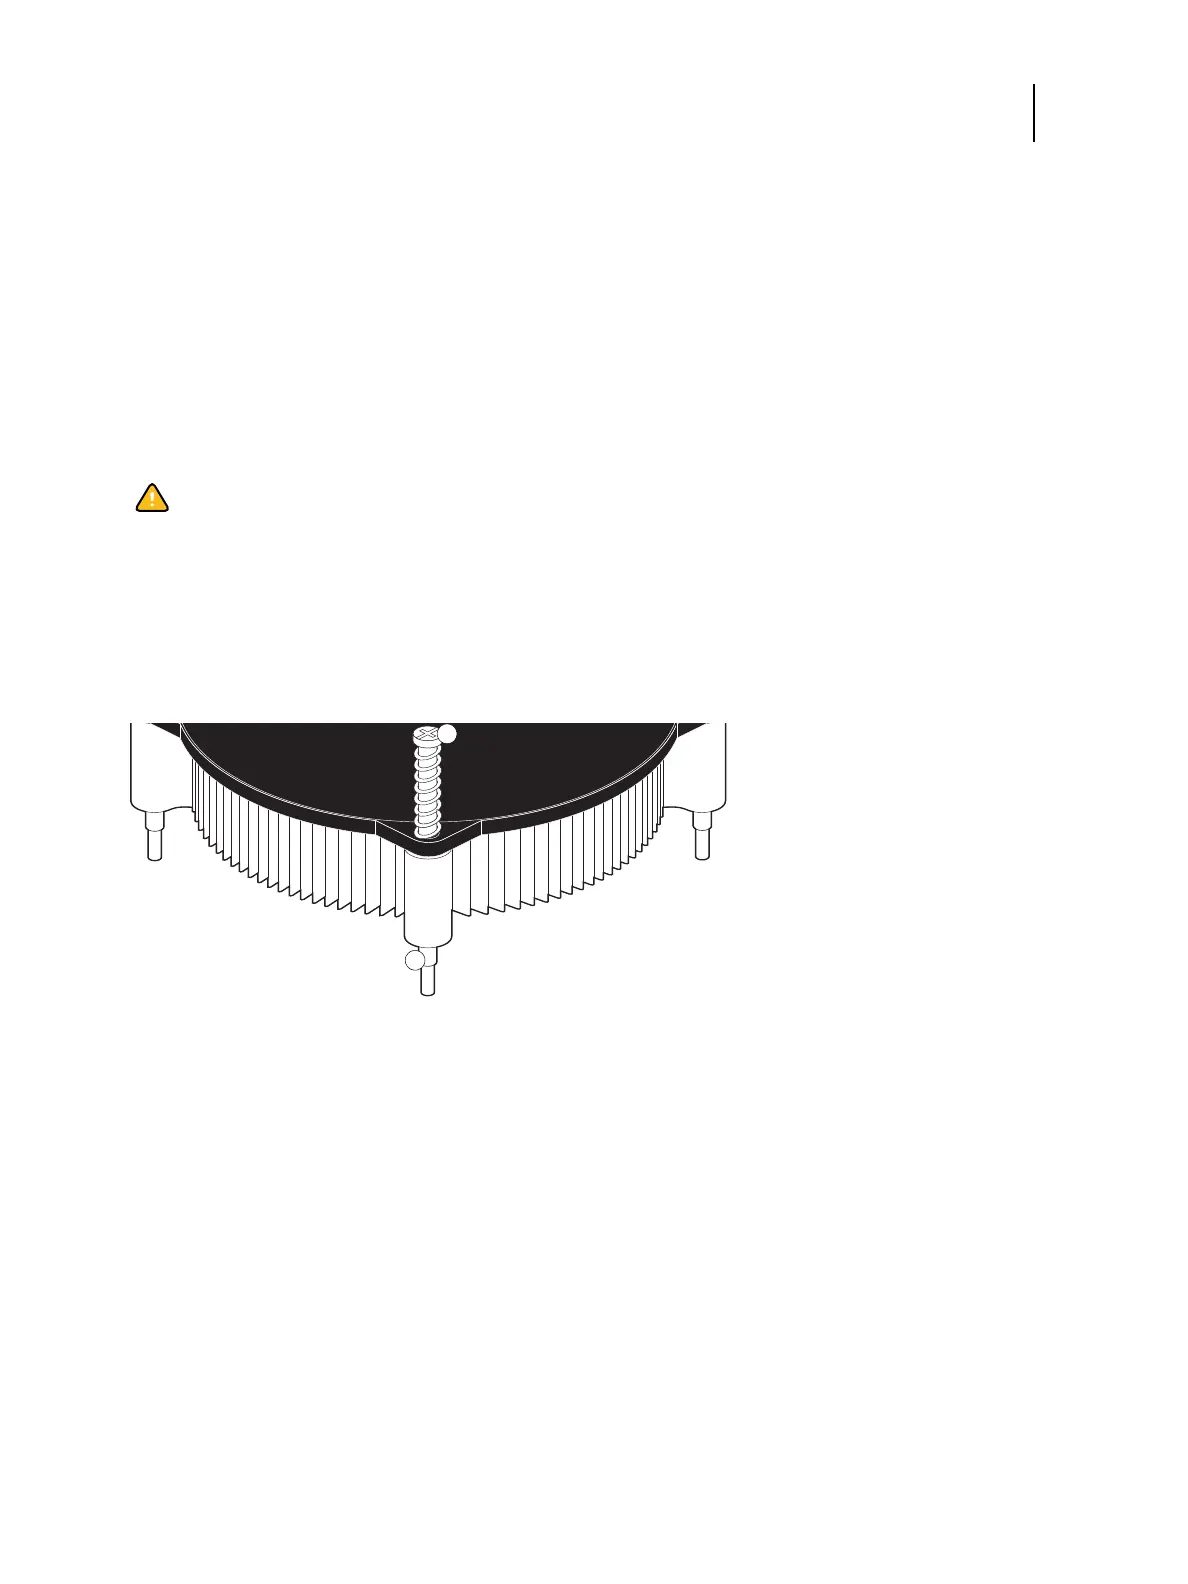
5 Remove the CPU cooling assembly:
• Loosen the four screws that secure the cooling assembly to the motherboard. Partially loosen all the screws
before loosening any one screw all the way.
• Lift the cooling assembly off the CPU socket and set it aside.
Figure 34: Removing the CPU cooling assembly
6 Unlock the CPU socket lever and raise it into the open position (flex the lever away from the retention post, and
then raise it).
Caution:Be aware that both the cooling assembly and the CPU may be very hot. You may need to allow the
components to cool before you attempt to remove them.
1 Loosen each screw to this position
2Screw (x4)