MP500/4N-8-16 Installation
The keypad boards differ slightly, depending on the model.
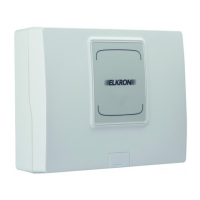
Figure 48 - Keypad boards
BUS Expansion unit power input via bus
BUS Data transmission/reception
BUS Keypad power supply via bus
Power supply for auxiliary inputs (13.8 V⎓ limited to 100 mA)
Connector for loudspeaker
Device acquisition button and LED
Jumper for the exclusion of the keypads tamper
(Jumper inserted = tamper excluded)
5. Close the keypad using the screw provided - Figure 46 (G).
For details on connections (power supplies, inputs, bus, etc. …) see paragraphs 5.12.2 Connecting the data Bus, 5.12.3 Connecting
the audio Bus , and 5.12.5 Connecting inputs.
5.9 INSTALLATION OF THE KP500DP/N - KP500D/ST TOUCH SCREEN
The KP500DP/N or KP500D/ST keypad can be installed on the wall or above a built-in rectangular box with 3 spaces or a 60-mm
round box.
To install the keypad, follow the instructions below:
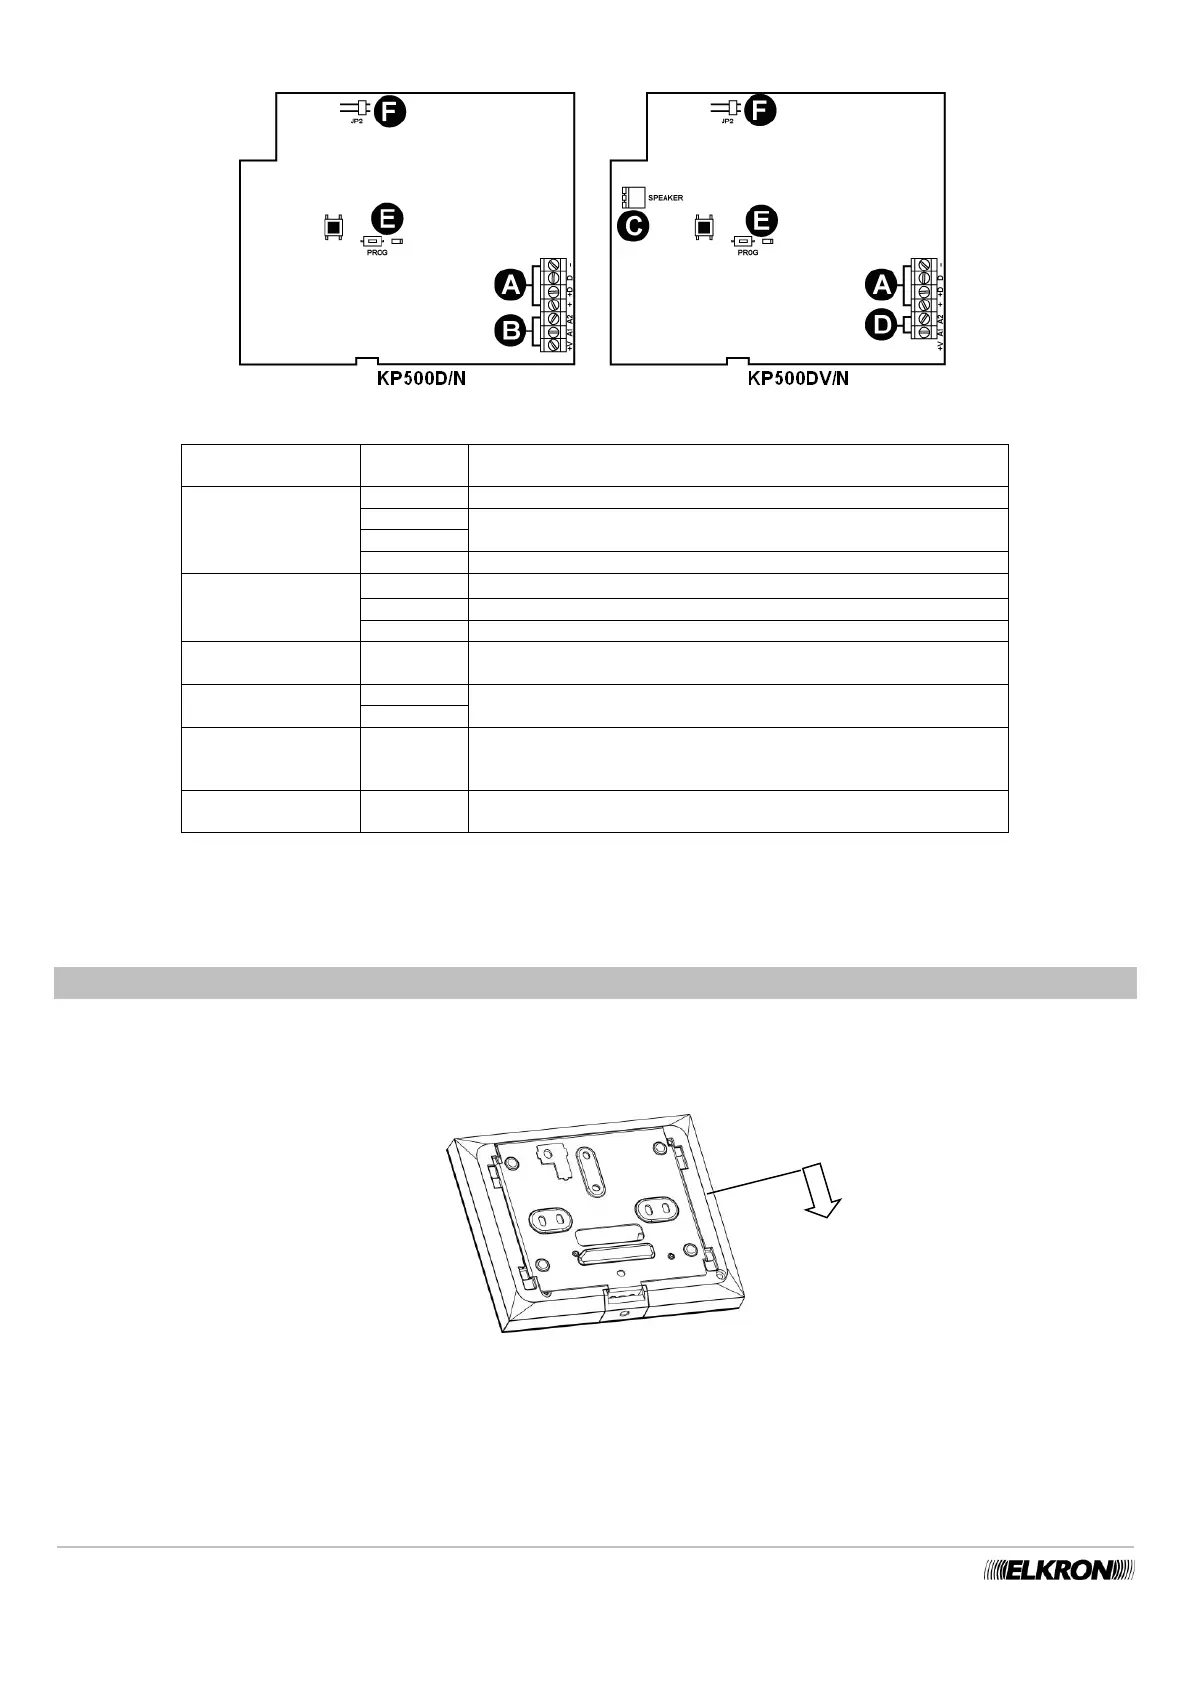
1. Release the keypad from the wall bracket by sliding it off.
Figure 49 - Removal of the KP500DP/N - KP500D/ST keypad bracket
2. Fasten the support bracket to the wall using 6-mm expansion screws (not provided), or on the built-in box if present, holding the
terminal board downward. Avoid over-tightening the screws, in that they may cause the bracket to curve, making it difficult to
assemble the keypad onto the bracket itself.