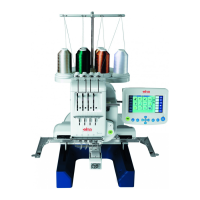
52
elna 9900
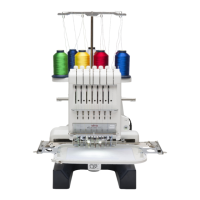
1. Remove the spool stand, static head cover (right) and
right cover (see pages 4 and 6).
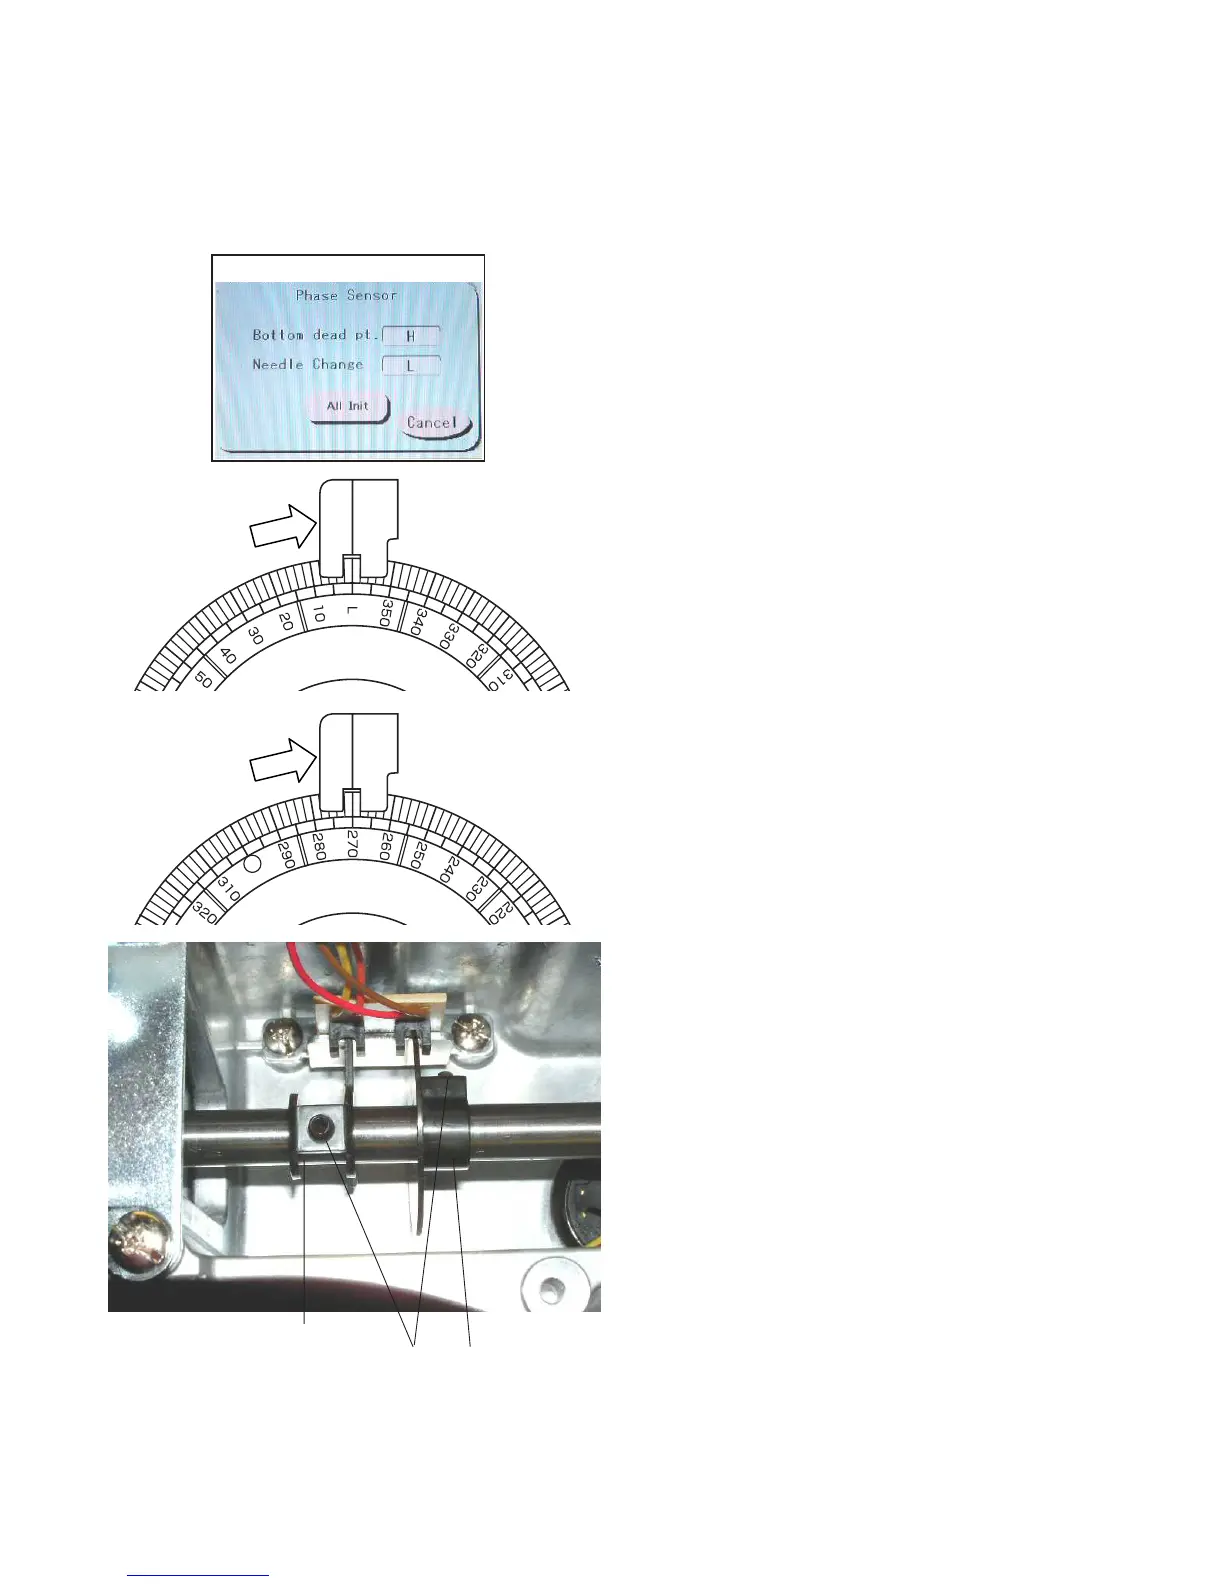
2. Open the factory adjusting menu window and press
the Phase key to open the Phase Sensor adjusting
window.
3. Turn the handwheel clockwise.
The indication next to Bottom dead pt. should
change from “L” to “H” when the index disk is set at
0º (L).
To adjust the bottom dead point (lowest position of the
needle) timing, loosen the setscrew on the lowest
position shield plate and turn it clockwise until the
indication changes from “L” to “H”. Tighten the set
screw.
4. Turn the handwheel clockwise.
The indication next to Needle Change should
change from “L” to “H” when the index disk is set at
270º.
To adjust the needle change position timing, loosen
the setscrew on the C point (needle change) shield
plate and turn it clockwise until the indication changes
from “L” to “H”.
Tighten the setscrew.
NOTE:
The shield plates should not interfere with the sensors.
5. Attach the parts removed in step 1.
Adjusting the Upper Shaft Timing
Bottom dead point
(lowest position)
shield plate
C point (needle
change) shield
plate
Setscrews
 Loading...