26 Displaying and Adjusting the Image
You see this screen:
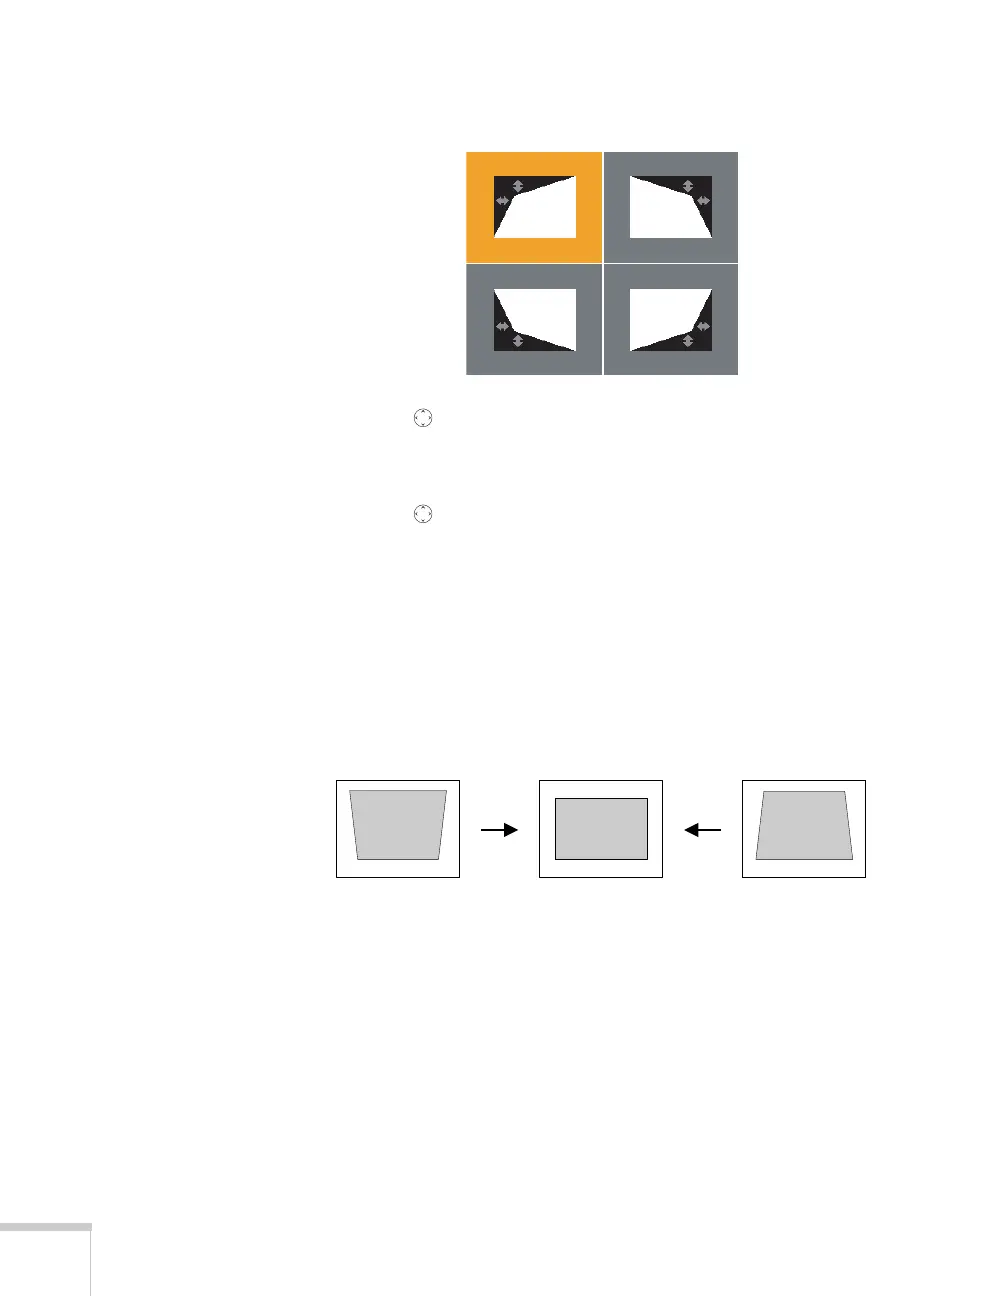
5. Use the pointer button on the remote control (or the arrow
buttons on the projector) to select the corner you want to adjust,
and press
Enter.
6. Use the pointer button on the remote control (or the arrow
buttons on the projector) to adjust the shape.
7. Repeat steps 5 and 6 as needed to adjust any remaining corners.
8. When done, press
Menu to exit the menu system.
Using Keystone Correction
The projector automatically corrects vertical keystone distortion when
it is tilted within a range of 30° up or down.
It takes about one second after projection starts for the image to be
corrected. During this time, a vertical keystone correction gauge
appears on the screen. If keystone correction isn’t automatically
performed, you may need to turn on the
Auto V-Keystone setting in
the projector’s menu system (see page 143).
Corrected imageProjector tilted up Projector tilted down
 Loading...