Using Options
229
7
7
7
7
7
7
7
7
7
7
7
7
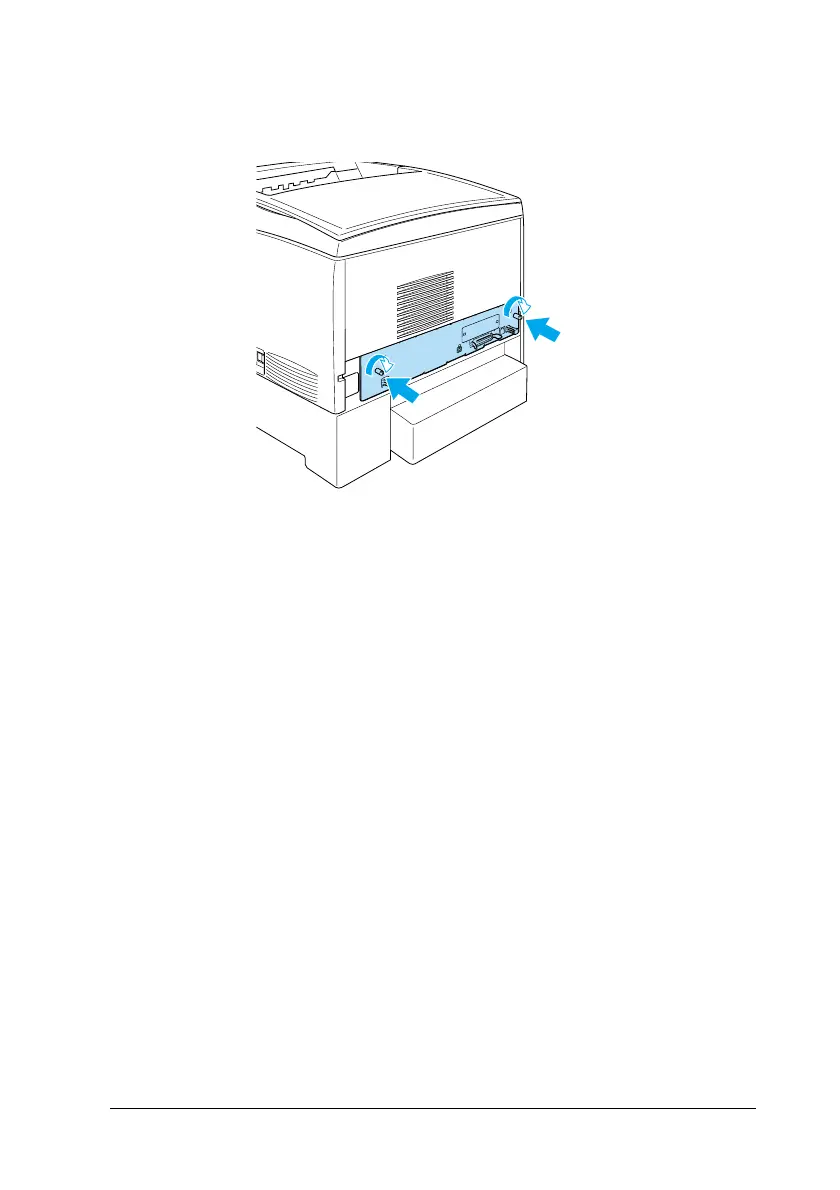
8. Fasten the circuit board tray with the two screws.
9. Reconnect all the interface cables and the power cord.
10. Plug the printer’s power cord into an electrical outlet.
11. Turn on the printer.
To confirm that the memory module is installed correctly, print a
status sheet. See “Printing a Status Sheet” on page 246 for
instructions.Ifthe total amount of memorylisteddoes not include
the size of the optional memory module, try reinstalling the
module. Make sure that the module is securely seated into the
memory slot on the circuit board.
Note:
If you are using Windows, and EPSON Status Monitor 3 is not
installed, you have to make settings manually in the printer driver. Click
the Update the Printer Option Information Manually button on the
Optional Settings menu, then click Settings. Then select the number of
bytes of the memory you installed from the Installed Memory drop-down
list on the Optional Settings dialog box and click OK.

 Loading...


