Using Options 253
7
7
7
7
7
7
7
7
7
7
7
7
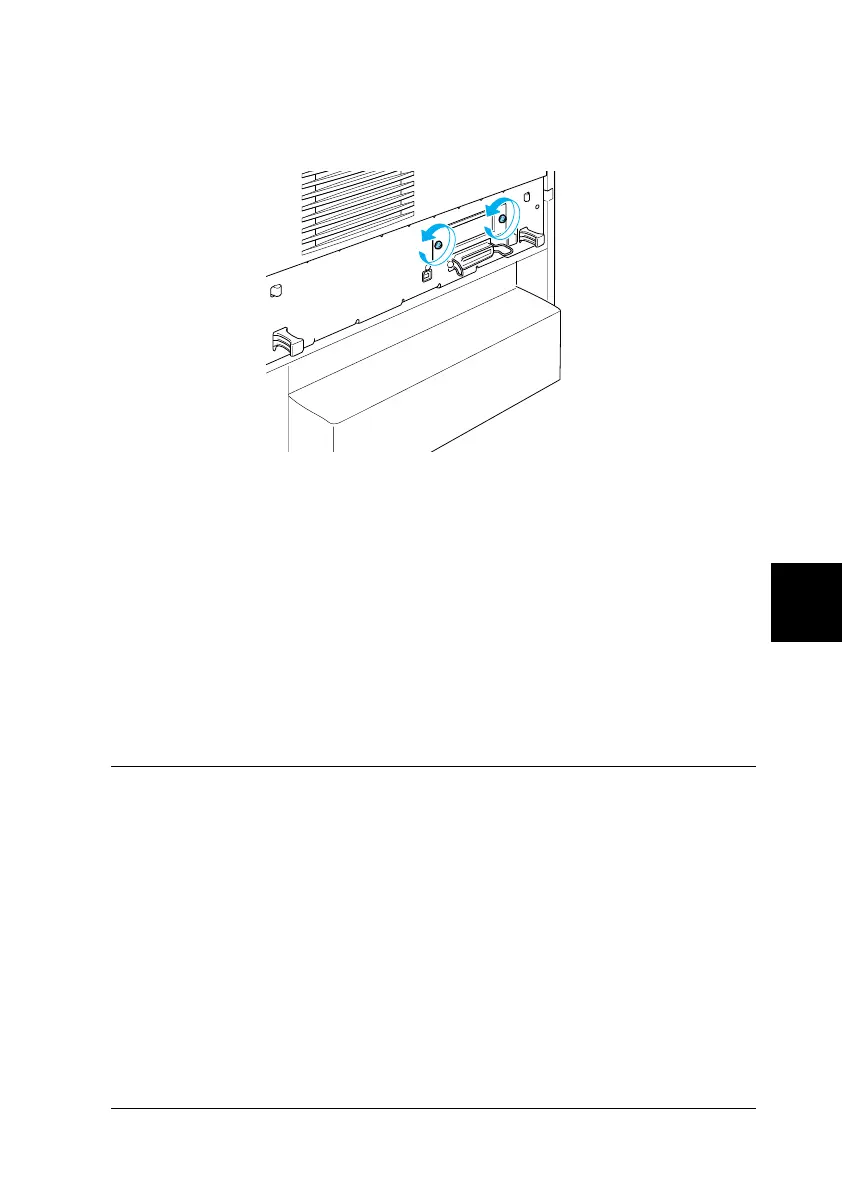
2. Remove the two screws securing the interface card to the back
of the printer.
3. Gently but firmly pull the interface card out of the socket.
4. Reinstall the interface slot cover (removed and stored when
the interface card was installed) over the now empty slot. Use
the two screws to secure it.
5. Keep the interface card in an anti-static packet such as the one
it came packaged in.
Printing a Status Sheet
To confirm that the options are installed correctly, print a status
sheet using the printer’s control panel.
1. Turn on the printer. After about 30 seconds, the LCD panel
shows Ready.
Note:
The time may vary depending on the amount of memory installed.