3. Click Start Scanning.
Note:
❏ If the glass surface dirt alert appeared when scanning, clean the glass surface inside the scanner aer scanning.
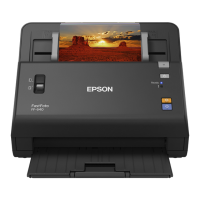
❏ If multiple photos feed through at the same time, press the
(Slow Mode) button to slow down the feeding speed.
Press the button again to return to normal speed.
4. Aer scanning is completed, the following screen is displayed:
If you want to continue scanning, click Scan Next Batch. If you are nished scanning, click Done Scanning.
5.
e
photos are scanned and saved in the location you chose. Check the scanned images.
e following rules apply to le naming:
❏ No identier is added: ese are the original scanned images. No enhancements were applied.
❏ Added "_a" at the end:
ese
images include automatic color enhancements.
User's Guide
Scanning Photos
25
 Loading...
