Maintenance 4. Joint #1 (Replacing the Motor)
100 S5 Rev.5
-check the
bolts to make sure that you have not forgotten to tighten any of
them.
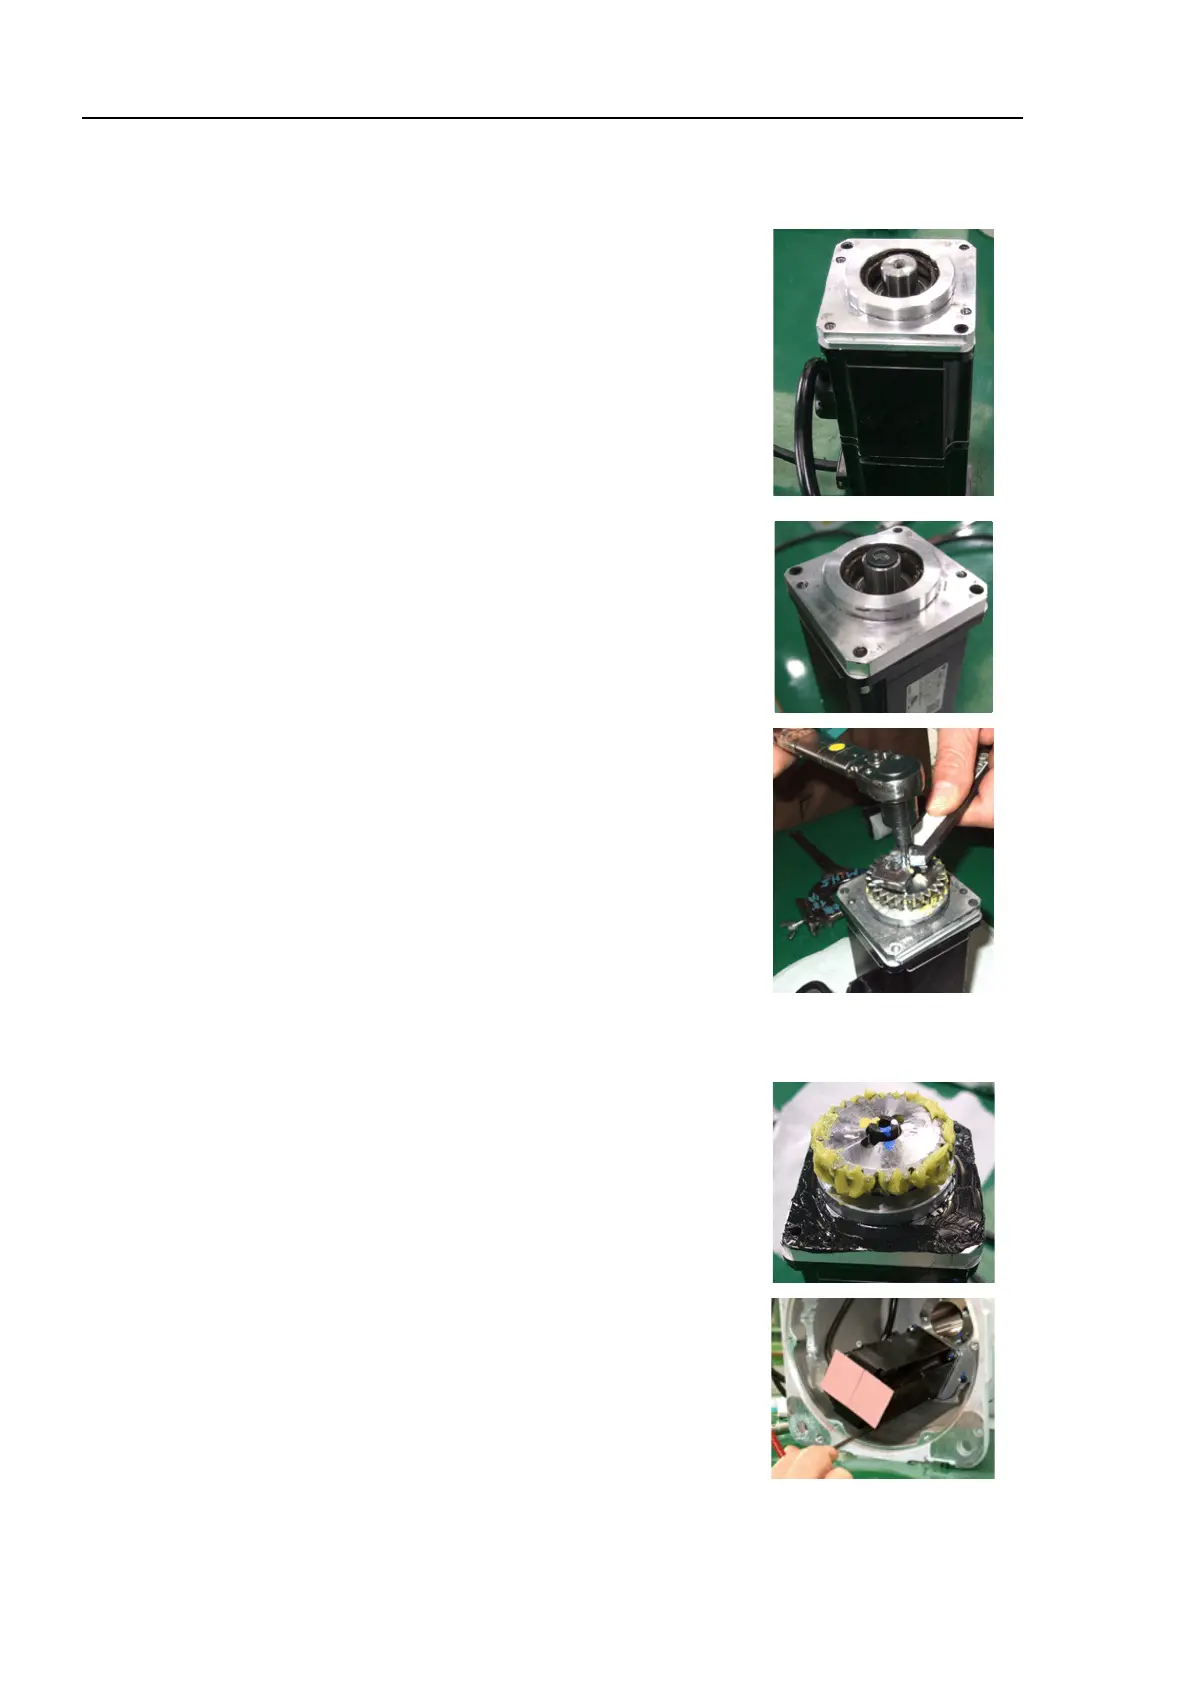
Mount the Joint #1 motor plate on the Joint #1
motor.
Hexagon socket head cap bolt
: 2-M4×14 (with disc spring, M4 washer)
Tightening torque: 2.8 N·m (0.29 kgf·m)
Be careful of direction of the Joint #1 motor plate.
Be careful not to damage the oil seal in the Joint
#1 motor plate.
Mount the gasket on the Joint #1 motor.
Mount the Joint #1 input gear.
Hexagon socket head cap bolt
: 1-M5×16 (with disc spring 2H-5)
Apply the liquid gasket.
Tightening torque: 10 N·m (1.02 kgf·m)
-
Hold the Joint #1 input gear as shown in the
picture while removing the bolt to prevent the g
from turning.
- Wipe excess
adhesive from other parts of the
motor with a wiping cloth treated with alcohol.
Apply the liquid gasket on surfaces of the Joint #1
motor plate and the Base.
Apply the grease for the reduction gear on the Joint
#1 input gear.
Grease: SK-1A
Mount the Joint #1 motor on the Base.
Hexagon socket head cap bolt
: 2-M4×25 (with disc spring 2H-4, M4 washer)
Apply the liquid gasket.
Tightening torque: 2.8 N·m (0.29 kgf·m)
6)
Connect the Joint #1 motor cables with the cables inside the
manipulator.

 Loading...


