Maintenance 7. Joint #4 (Replacing the Motor)
144 S5 Rev.5
-
check the bolts to make sure that you have not forgotten to tighten any of
them.
Mount the pulley to the J
oint #4 motor.
Hexagon socket head cap bolt: M3×12 (with disc spring 2H-3)
Apply adhesive.
Tightening torque: 2.25 N·m (0.25 kg·m)
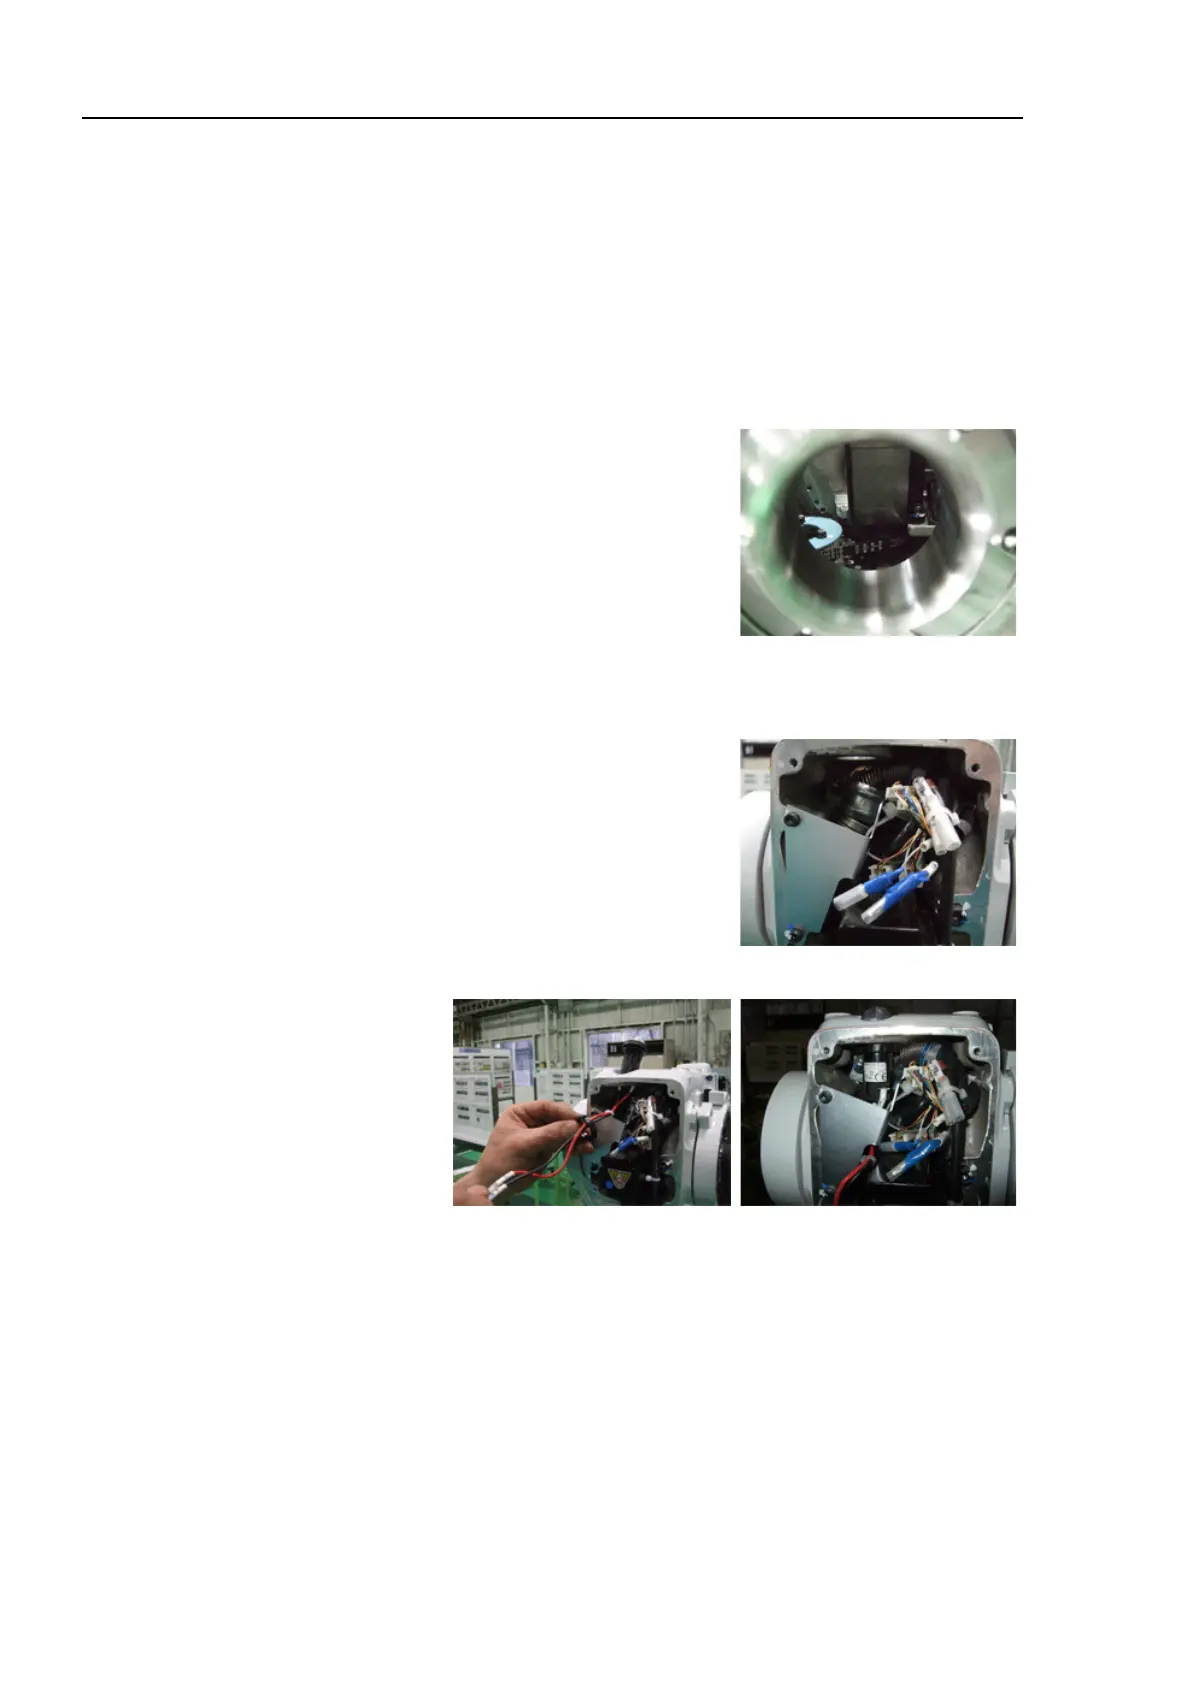
When tightening the bolts using the hexagonal wrench, use the grooves of the pulley
to prevent the motor from turning.
the belt around the pulley and mount the Joint
3 motor to the Arm #3.
GT-SA bolt : 2-M3×12 (with M3 washer)
Tightening torque : 1.4 N·m (0.14 kg·m)
rom the Arm #3 side surface, c
onfirm that the
timing belt is properly set
on the pulley.
the Joint #4 motor cable to the lead line.
Remove the backup battery.
supporting plate on the Arm #3.
GT-SA bolt : 2-M4×10
Tightening torque : 2.8 N·m (0.28 kg·m)
details, refer to Maintenance 3.3 Arm #3 Cover.

 Loading...


