Maintenance 8. Joint #5 & Joint #6 (Replacing the Motor)
S5 Rev.5 159
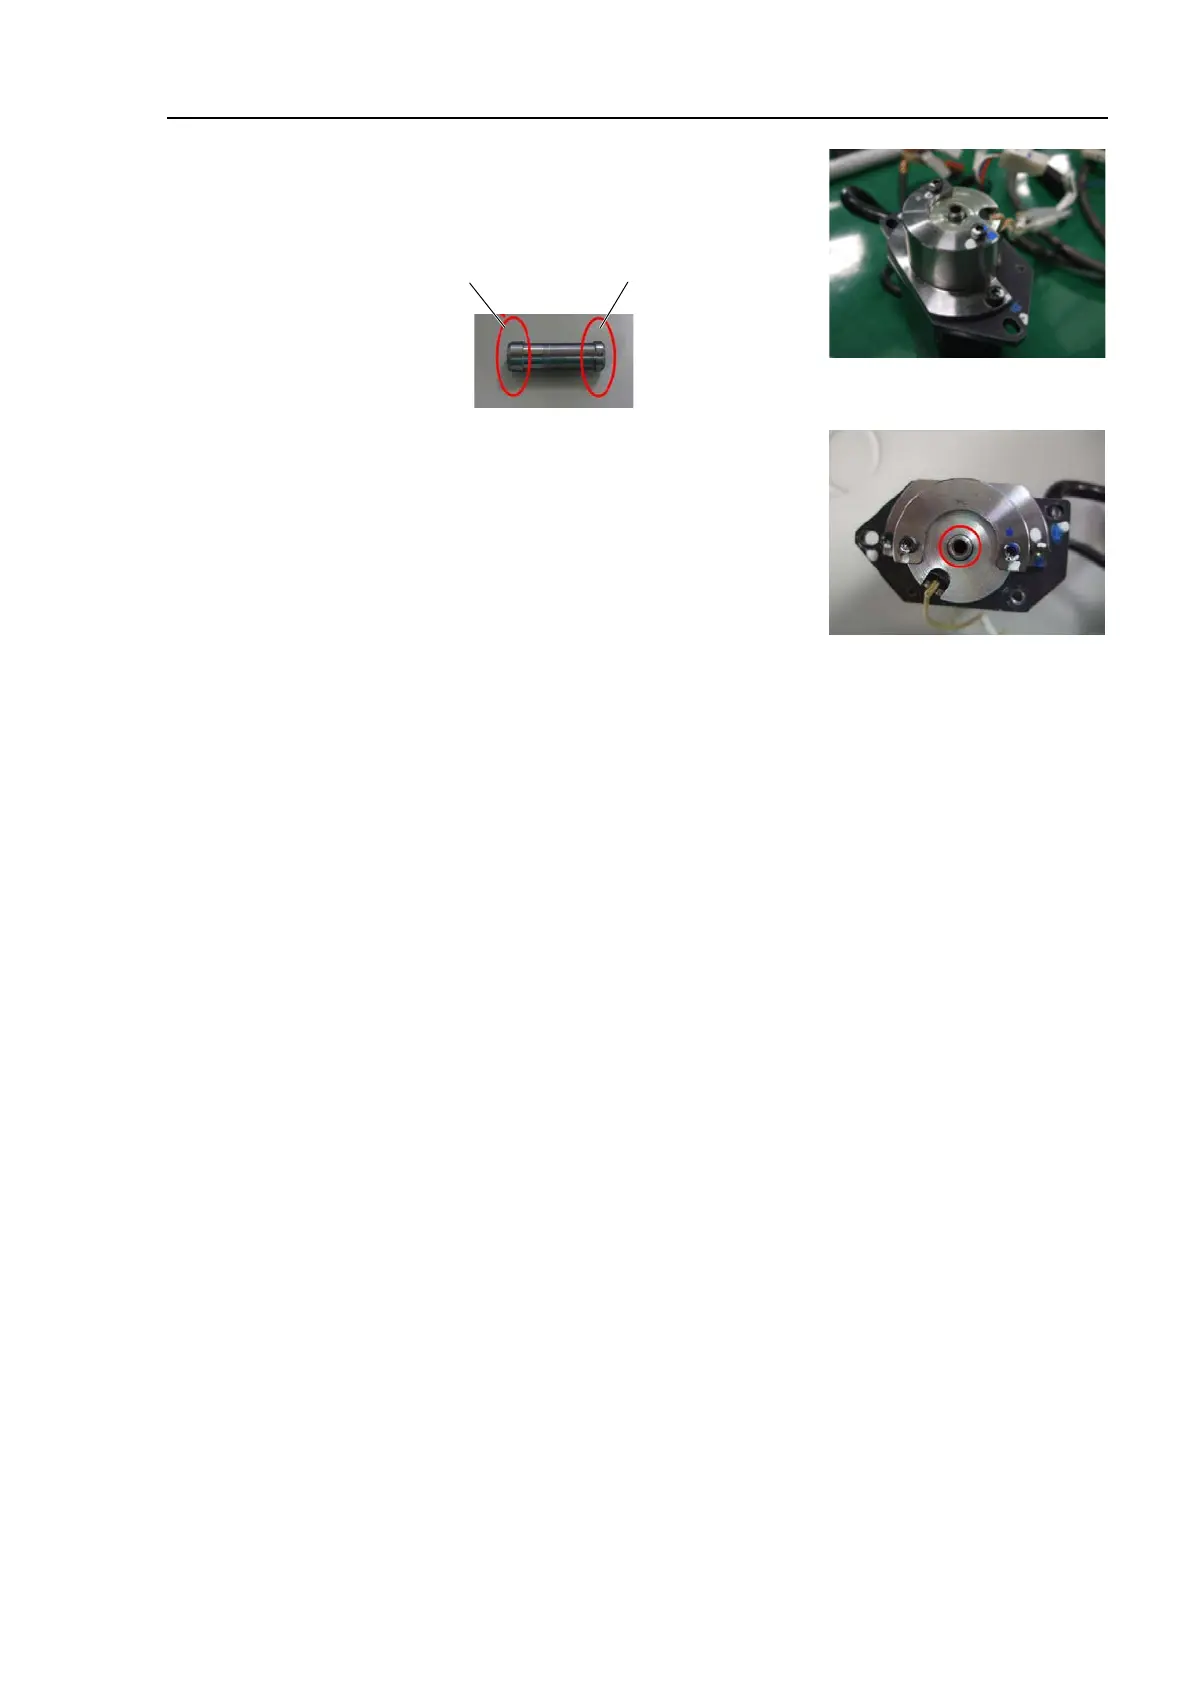
Insert the shaft to center of the electromagnetic
brake.
Be careful of the direction of the
spacer.
that the shaft is at the center of the
If the electromagnetic brake and the shaft
contact, it may result in damage to the brake or
manipulator
malfunction.
Mount the pulley and then secure the brake cable with a wire tie.
Hexagon socket head cap bolt: M3×30 (with disc spring 2H-3)
Apply adhesive.
Tightening torque: 2.25 N·m (0.23 kgf·m)
Mount the motor plate and motor to the Arm #4.
GT-SA bolt: 2-M4×16 (with M4 washer)
Set the timing belt on the pulley
and adjust the belt tension.
Maintenance: 8.2 Replacing the Joint #5 & Joint #6 Timing Belt.
Connect the motor cable to the lead line.
Remove the backup battery.
Maintenance: 3.4 Arm #4 Cover.

 Loading...


