Maintenance 8. Joint #5 & Joint #6 (Replacing the Motor)
158 S5 Rev.5
-check the bolts to make sure that you have not forgotten to tighten any of
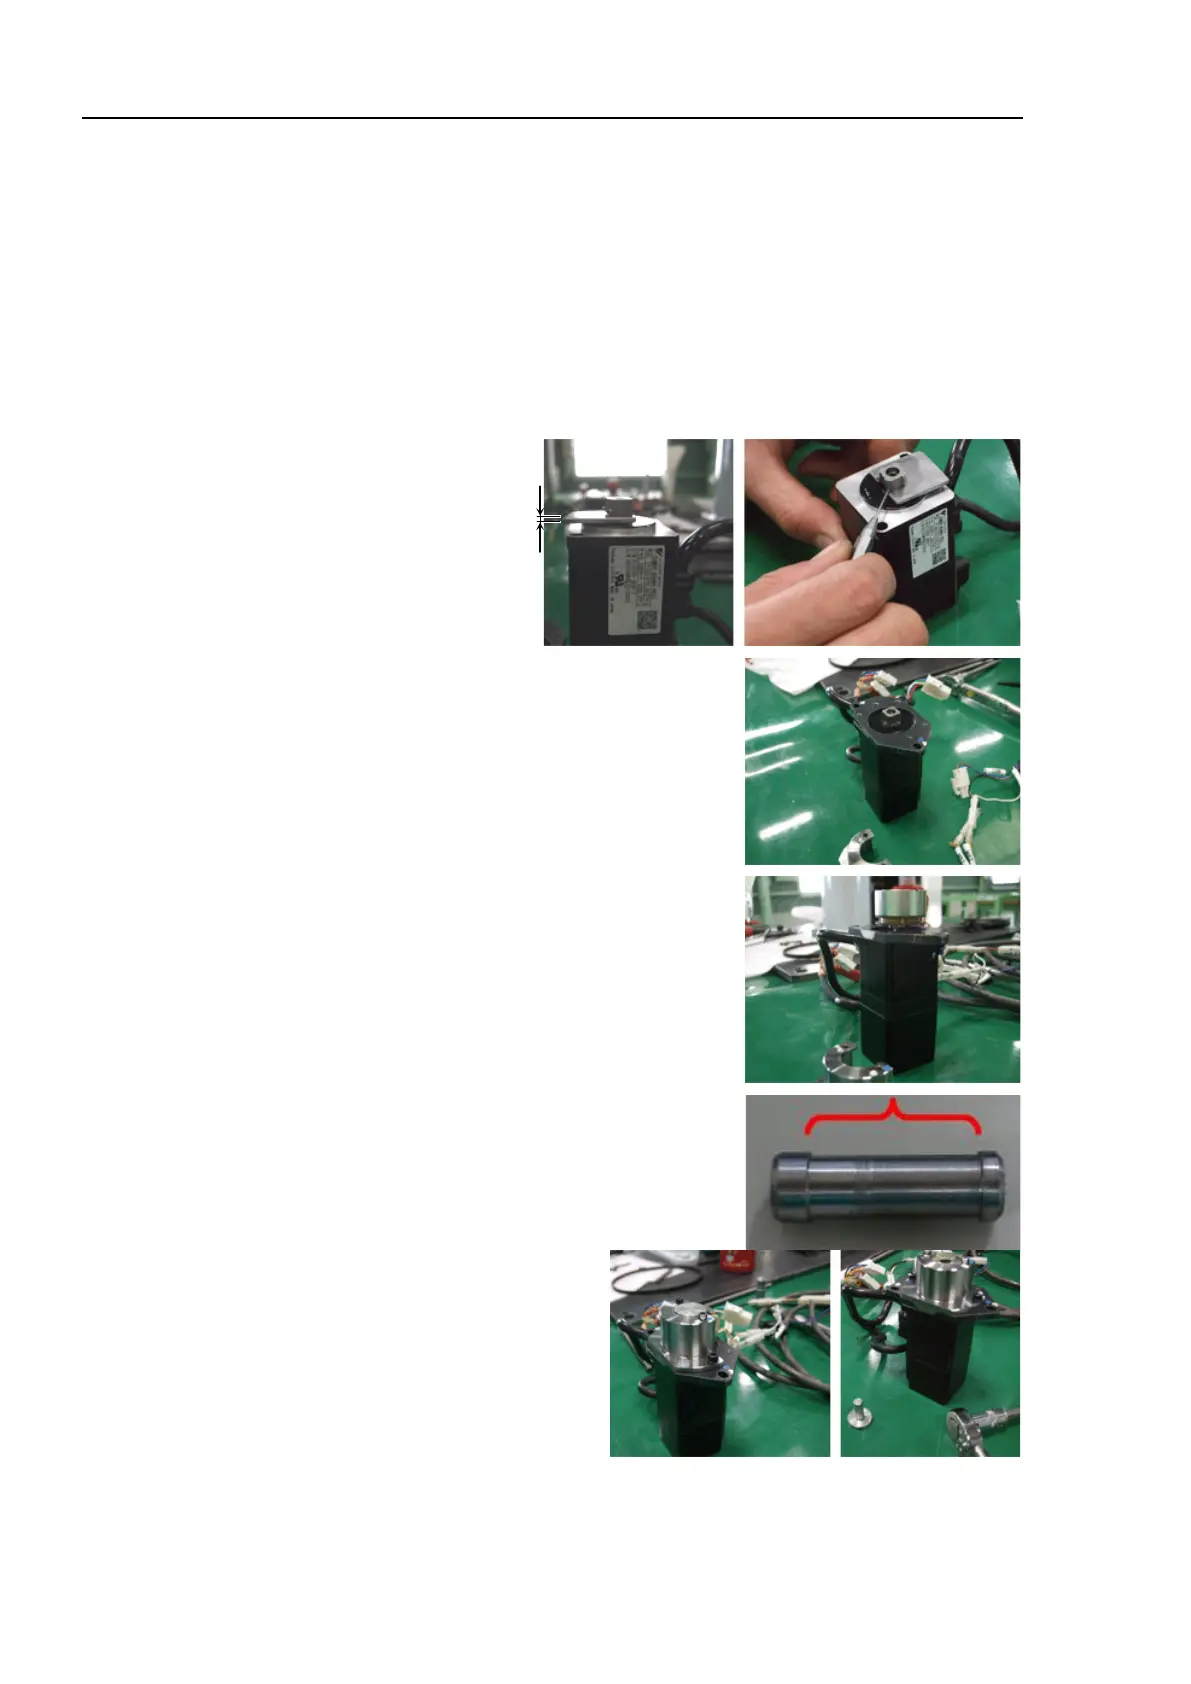
Mount the rotor hub to the motor shaft.
Hexagon socket head cap set screw : 2-M2
Apply adhesive.
Tightening torque : 0.3 N·m (0.03 kgf·m)
Use a spacer or similar tool to
secure the rotor hub at 2 mm
from the motor edge
surface.
Mount the motor plate to the motor.
GT-SA bolt : 2-M3×12 (with M3 washer)
Tightening torque : 1.4 N·m (0.14 kgf·m)
Insert the electromagnetic brake into the rotor
hub.
ount the bracket using the brake centering jig.
The processed spacer as shown in the photo does not
need the brake centering jig.
Hexagon socket head cap bolt
: 2-M2.6×5
Tightening torque
: 0.3 N·m (0.03 kgf·m)
GT-SA bolt
: 2-M3×12
Tightening torque
: 1.4 N·m (0.14 kgf·m)

 Loading...


