29
Chapter 2 Setup
2
Hanging the Printer on a Wall
To hang the printer on the wall, follow the steps below.
1
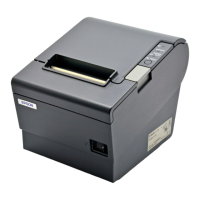
Attach the included control panel label for vertical installation on the roll
paper cover.
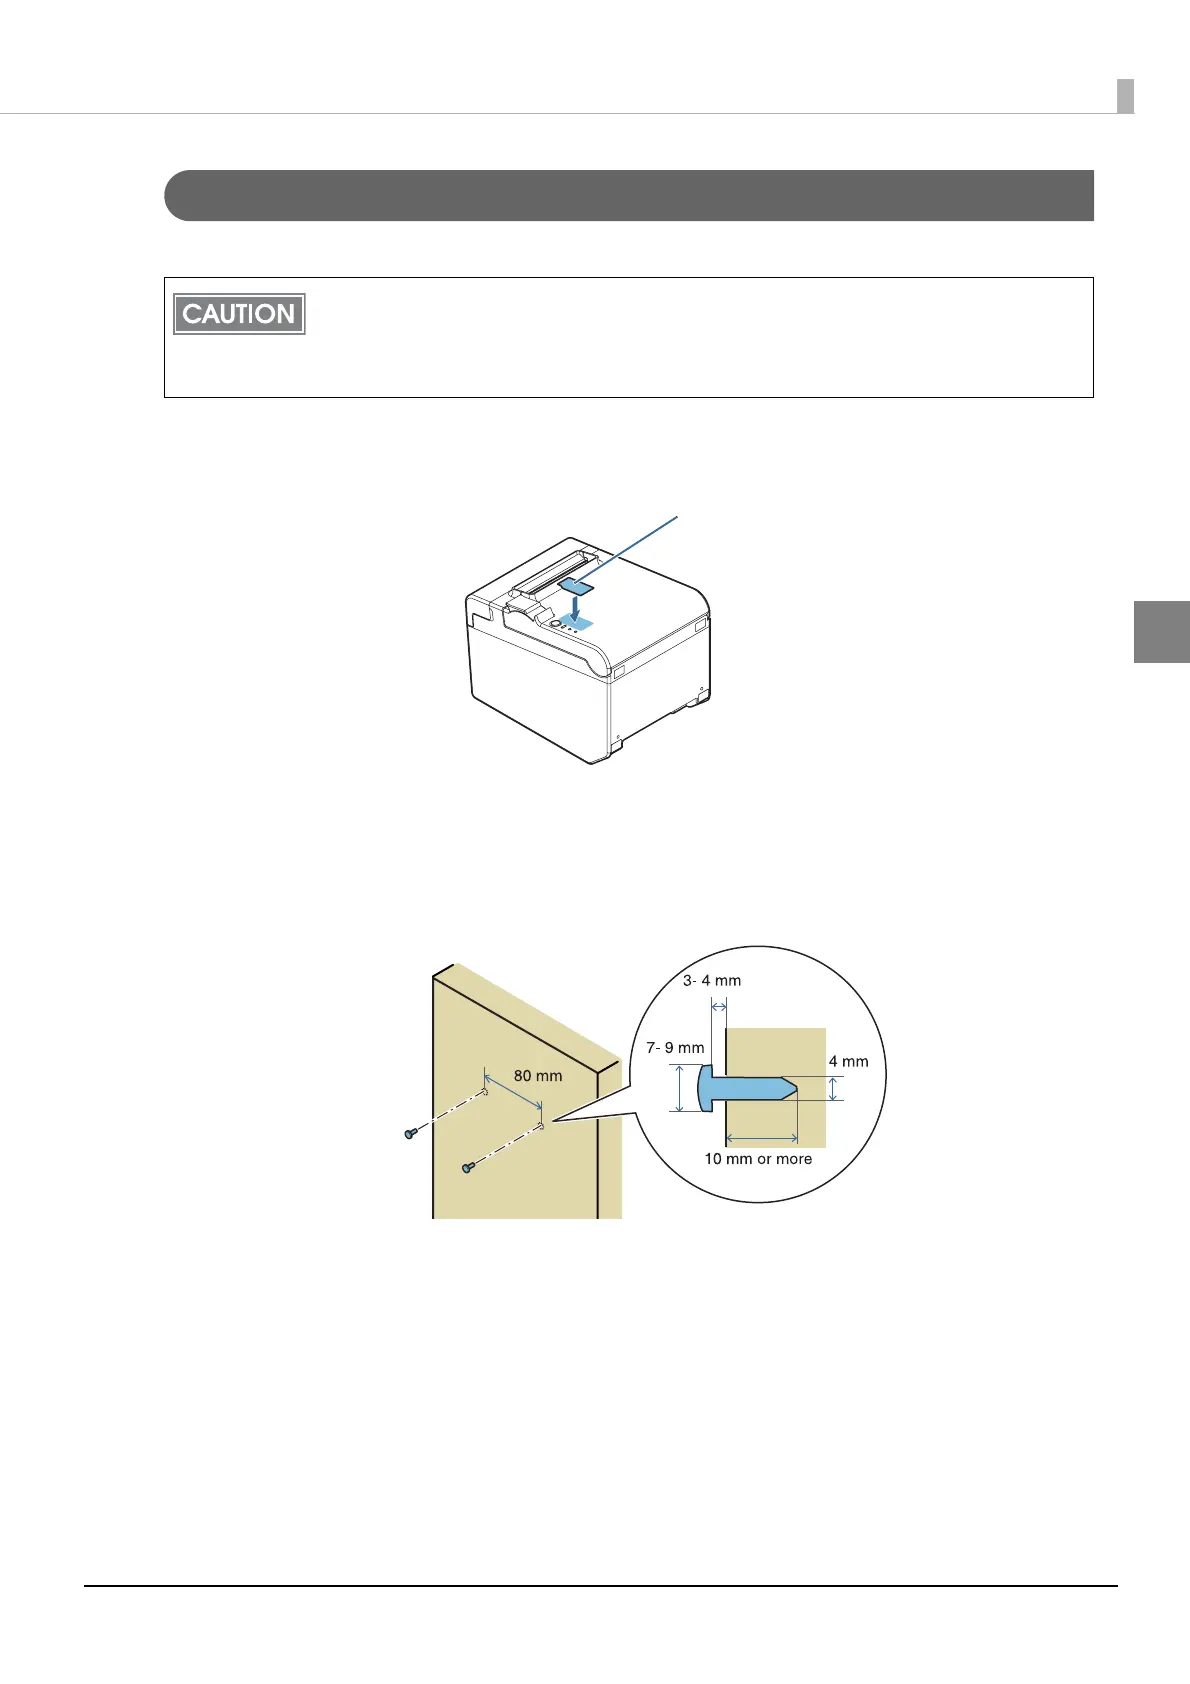
2
Install 2 screws (screw diameter: 4 mm {0.16"}, head diameter: 7 to 9 mm
{0.28 to 0.35"}) in the wall at an interval of 80 mm {3.15"}.
Make sure the length of the screw's body in the wall is 10 mm {0.39"} or more, and the length
outside the wall is 3 to 4 mm {0.12 to 0.16"}.
• To fix the printer securely, install the wall hanging bracket on a wall made of wood, concrete,
or metal. The thickness of the wall should be 10 mm {0.4"} or more.
• Be sure to use metallic screws.
• The screws on the wall side must have a pull-out strength of 150 N (15.3 kgf) or more.
Control panel label
for vertical installation
 Loading...