WF-C20590 Installation Guide
Installing the Optional Units 33
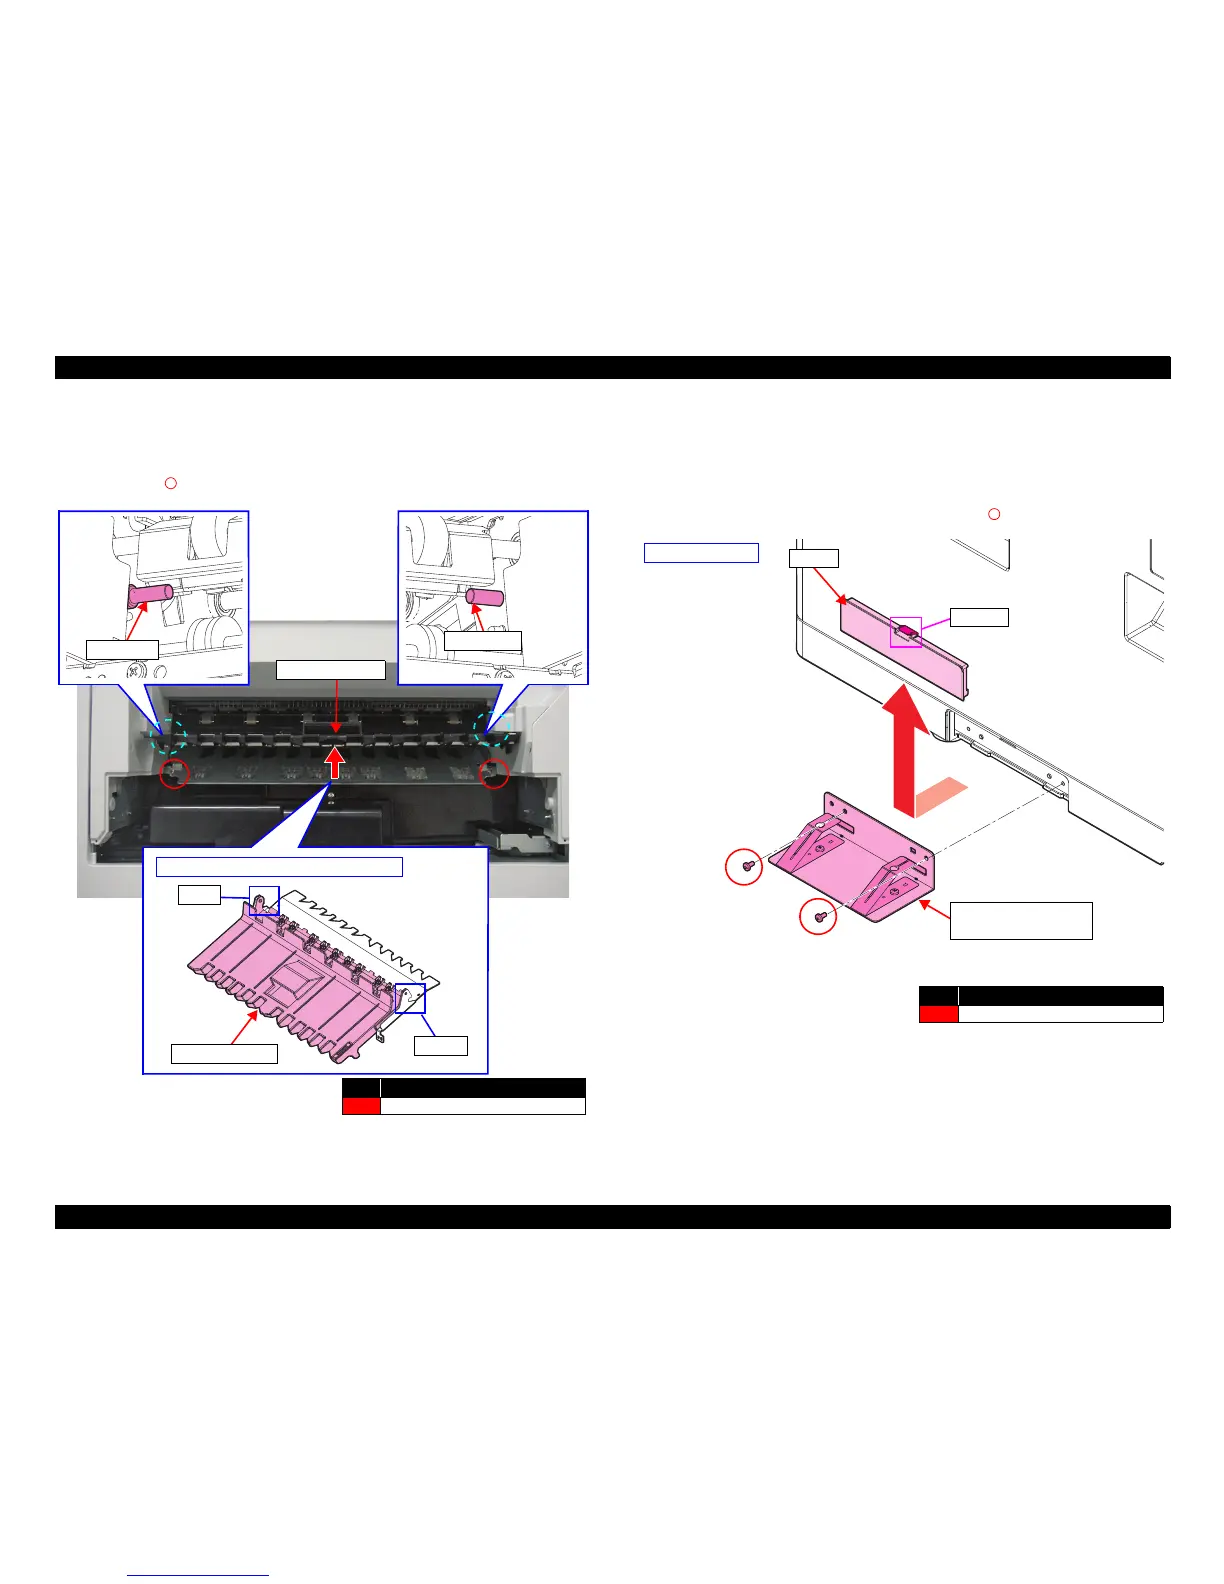
8. Place the hooks of the Bridge Unit Joint Stacker over the pins inside the paper
ejection slot of the EJ Unit.
9. Raise the stacker portion of the Bridge Unit Joint Stacker, and fix it with the two
screws (S11: ).
10. Attach the Small EJ Cover, Right removed in Step 3 to the EJ unit.
11. Fit the EJ Unit into the printer.
12. Remove the cover on the bottom left side of the printer by releasing the hook with
a tool, such as a flathead screwdriver.
13. Attach the Joint to the printer with two screws (S16 : ).

 Loading...


