WF-C20590 Installation Guide
Installing the Optional Units 42
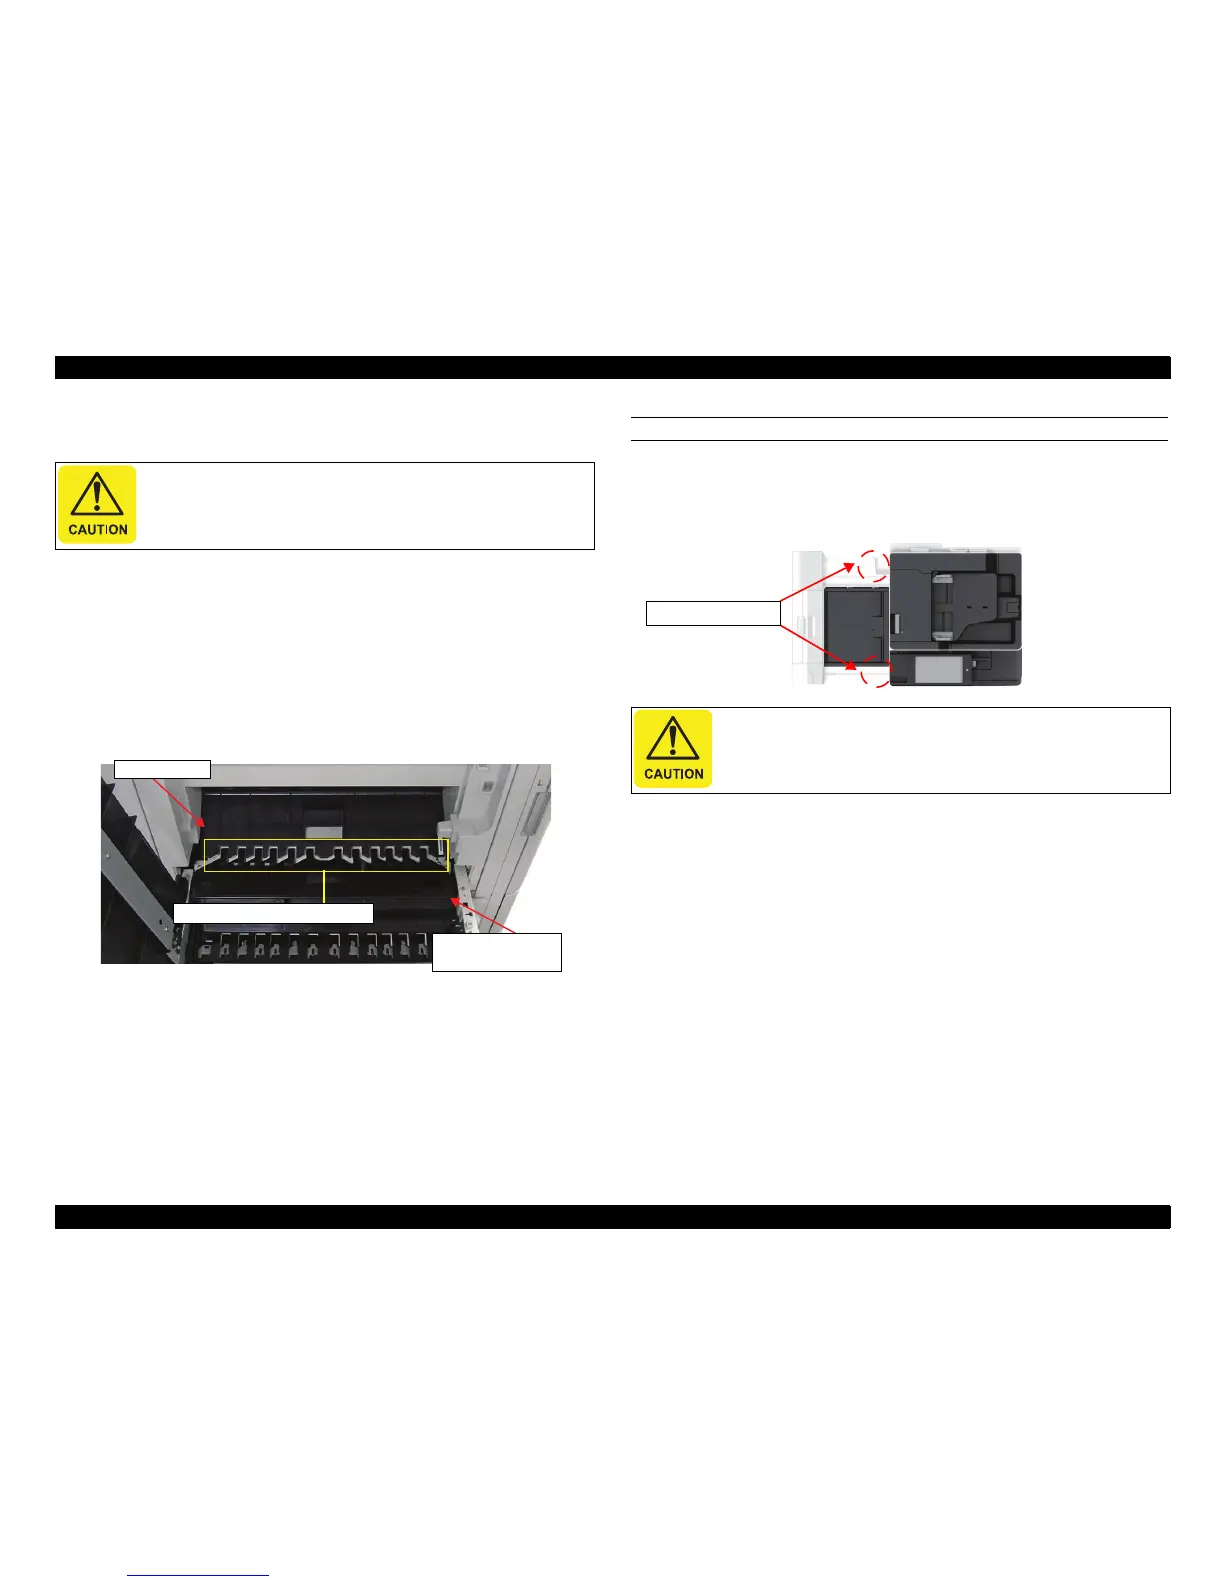
38. Repeat Step 36 and Step 37 until the magnet on both ends of the EJ Cover attaches
to the plate under the cover.
39. After completing the parallel adjustment, turn the Fixing Nuts counterclockwise to
tighten the casters.
40. Open and close the entrance cover of the Bridge Unit, making sure the cover
moves smoothly without interference from the edge of the EJ Cover.
If the cover does not open and close smoothly, lower the left side casters
evenly so the magnets at both ends of the EJ Cover stick to the plate.
When the cover opens and closes smoothly, turn the Fixing Nuts
counterclockwise to tighten them.
ADJUSTING THE RIGHT (PRINTER SIDE) CASTERS TO TOUCH THE FLOOR
41. Turn the Adjustment Nut for the caster on the right (printer side) clockwise to
lower the caster until it touches the floor. Turn the Fixing Nut counterclockwise to
secure the caster.
You must adjust the casters on both sides even if one of the
magnets is already attached to the plate.
Only adjust one caster at a time.
When using the wrench to raise or lower the caster, be careful
to not lower the caster too much.

 Loading...


