WF-C20590 Installation Guide
Installing the Optional Units 45
1. Make sure the printer is turned off and the power cord is unplugged.
2. Insert the two pins on the left side of the Bridge Unit into the positioning holes on
the Finisher Joint Drawer Plate, then secure the plate with two screws (S16: ).
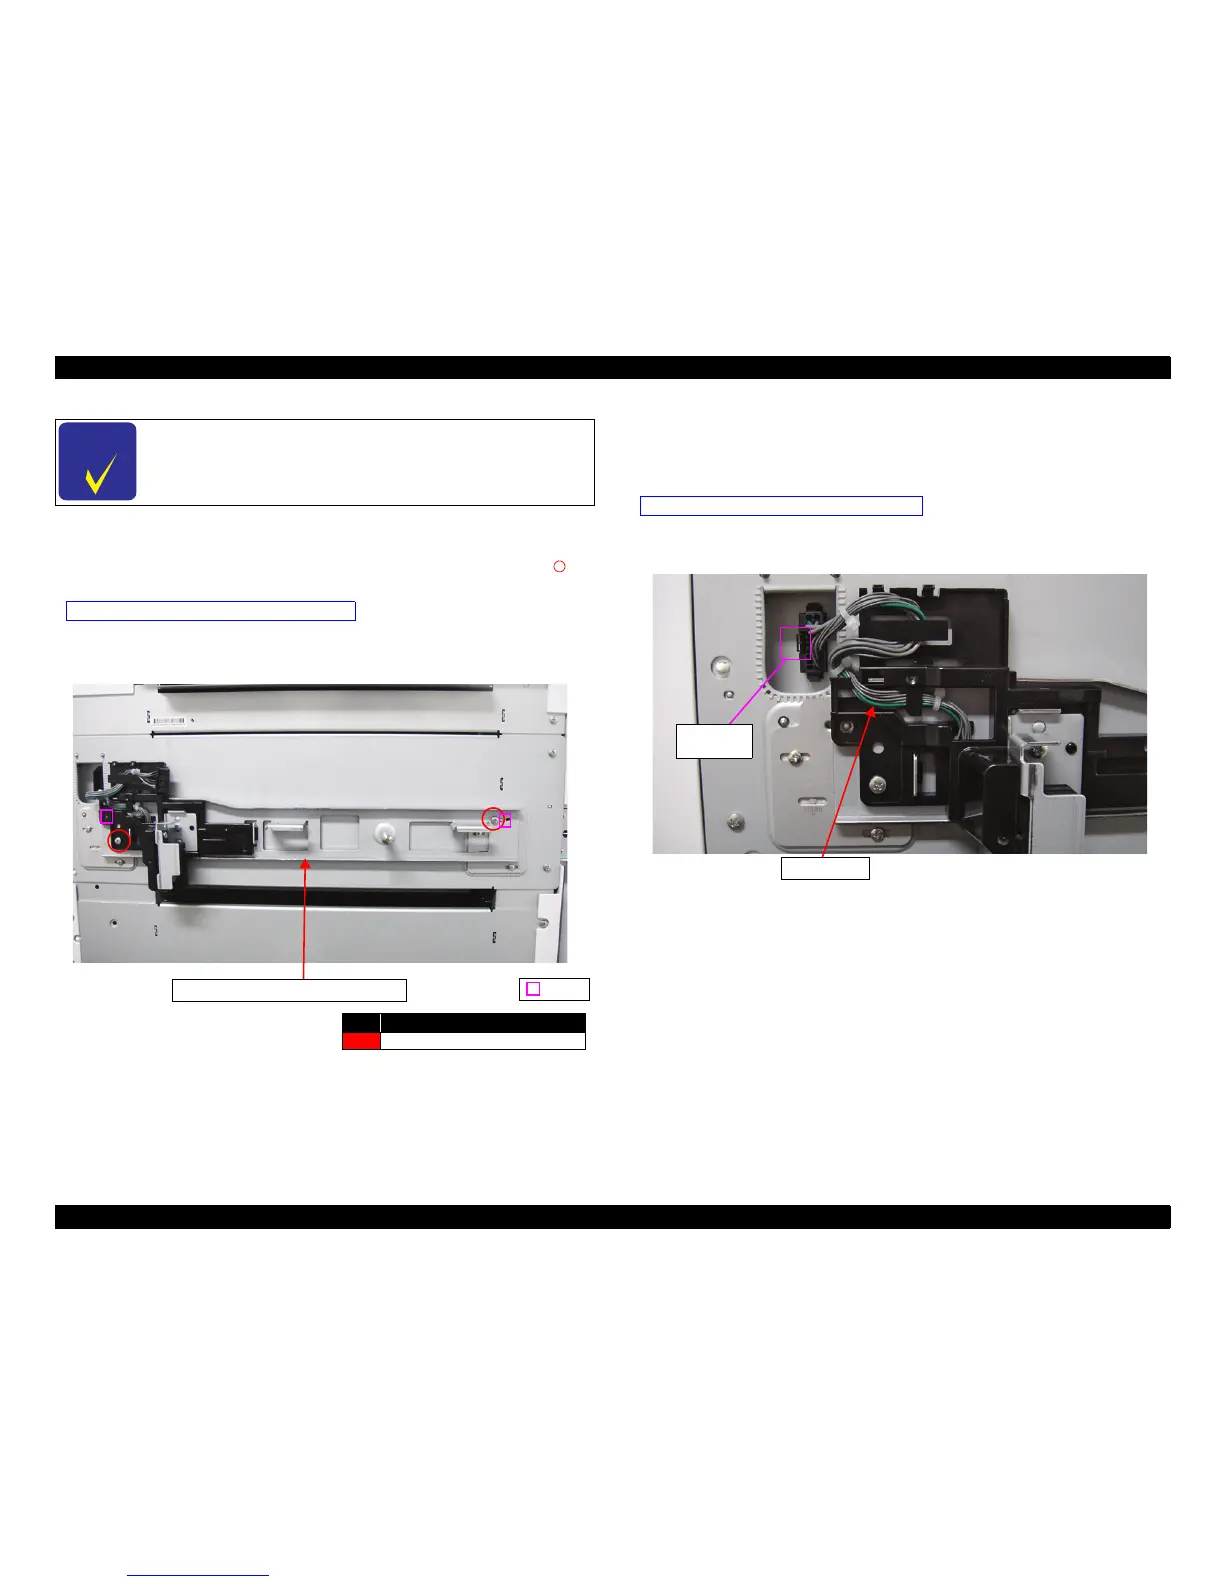
3. Route the relay cables of the Finisher Joint Drawer Plate as shown below, then
connect the Finisher Unit connector to the Bridge Unit connector. Pay close
attention to the orientation of the connector hook.
Turn off the main power of the printer beforehand. Confirm
that the power cable of the printer and the Bridge Unit is not
connected before starting work.

 Loading...


