28
E
Installing the Appliance
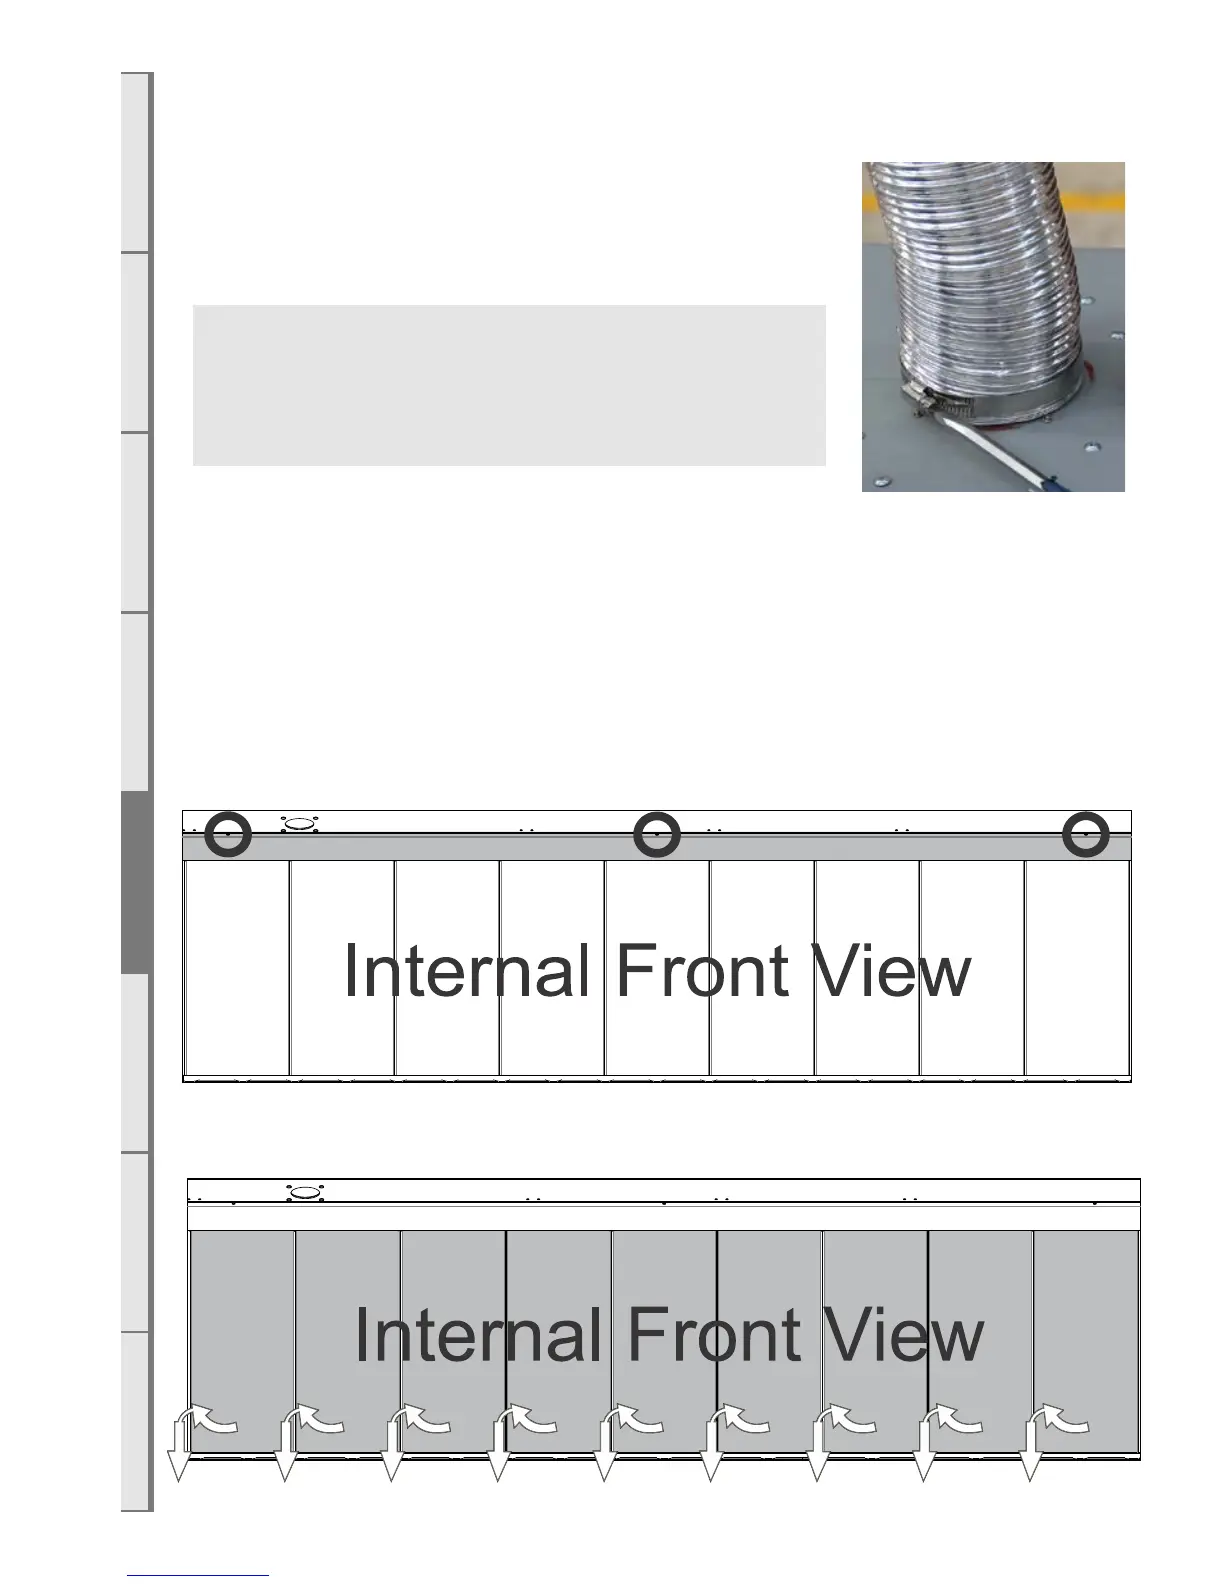
E1 Connecting the Flue
Access the top of the appliance and connect both the inlet flue (Ø75mm
ID / 85mm OD) and the exhaust flue (Ø100mm ID / 110mm OD) to
their respective spigots. Tighten the hose clamps onto the spigots. Ensure
the flue connection is air tight. Sealant is not required.
E2 Installation
Insert the gas fire into the cavity and fix the appliance down in correct position using the brackets on
each end of the appliance.
It is a requirement that this appliance be securely fastened at the base.
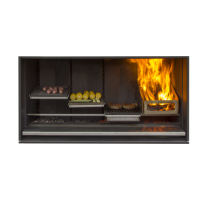
E3 Double Sided conversion
1. Follow section E4 and E5 to remove the glass, infill, and burners.
2. On the inside of the firebox, slightly loosen the firebox liner bracket (shaded in the diagram below)
by loosening—not removing—the 3 screws (circled in the diagram below).
3. Carefully swing the lower half of each firebox liner towards you and pull down to release each panel
(shaded in the diagram below).
WARNING: The flue connection MUST be secured with the
clips provided and tape MUST NOT BE USED. If any of the
flue pipe is damaged and integrity compromised then it should
not be repaired with tape, it should be replaced.