Maintenance
Lubrication Chart (cont'd.)
Lubrication Char t
Fitting
Locations
Initial
Pumps
Number of
Places
Ser vice
Inter v al
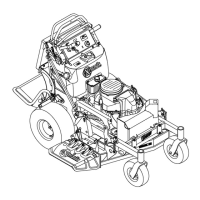
1. Dec k
Idler Pi v ot
1 2
Y early
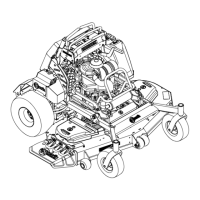
2. F ront
Caster
Pi v ots
*0
2
*Y early
g452849
Figure 23
Lubricate Caster Wheel Hubs
Service Interval : As required
1. Stop engine , w ait for all mo ving par ts to stop , and
remo v e k ey . Eng ag e parking brak e .
g006115
Figure 24
1. Seal guard 2. Spacer nut with wrench
ats
2. R emo v e caster wheel from caster forks .
3. R emo v e seal guards from the wheel hub .
4. R emo v e one of the spacer n uts from the axle
assembly in the caster wheel. Note that thread
loc king adhesi v e has been applied to loc k the
spacer n uts to the axle . R emo v e the axle (with the
other spacer n ut still assembled to it) from the
wheel assembly .
5. Pr y out seals , and inspect bearings for w ear or
damag e and re place if necessar y .
6. P ac k the bearings with a NLGI g rade #1
m ulti-pur pose g rease .
7. Inser t one bearing, one new seal into the wheel.
Note: Seals (Exmark P/N 103-0063) m ust be
re placed.
8. If the axle assembly has had both spacer n uts
remo v ed (or brok en loose), apply a thread loc king
adhesi v e to one spacer n ut and thread onto the
axle with the wrenc h ats facing outw ard. Do
Not thread spacer n ut all of the w a y onto the end
of the axle . Lea v e appro ximately 1/8 inc h (3 mm)
from the outer surface of the spacer n ut to the
end of the axle inside the n ut.
9. Inser t the assembled n ut and axle into the wheel
on the side of the wheel with the new seal and
bearing .
10. With the open end of the wheel facing up , ll
the area inside the wheel around the axle full of
NLGI g rade #1 m ulti-pur pose g rease .
44
 Loading...