TLP Pro x25 Series and TLS x25 Series • Mounting 34
Mounting to Drywall
If local building codes do not require a wall box, you can mount the touchpanel directly into drywall.
1. Go to www.extron.com and download the cut-out template for your touchpanel. Print the template at 100%
size (no scaling).
2. Remove the gray area in the center of the template, place the template against the wall or furniture in a
suitable location, and ensure that it is level. Use the template to mark the hole that is being cut and the
location of the MK slots (see figure 27 on page 32).
3. Cut a hole in the wall or furniture (see figure 28,
1
, on page 33).
4. Drill two pilot holes at the location of the MK slots.
5. Secure the mounting plate to the wall. Extron recommends using two molly bolts or SnapToggle bolts.
6. Complete the installation as described in steps 3 through 7 of the previous section on page 33.
NOTE: Extron provides four 3/4" #6-32 Philips pan head screws for mounting to US junction boxes and
two 16 mm M 3.5 Philips pan head screws for mounting to MK junction boxes. Screws are usually
provided with EU junction boxes.
Mounting the Touchpanels with Optional Kits
A number of kits are available for mounting these touchpanels (see www.extron.com). The kits must be
purchased separately and installed by following the instructions provided with the kit.
Mounting the TLP Pro 525T, 725T or 1025T
The TLP Pro 525T, 725T or 1025T can be placed on any suitable flat surface.
Desktop Mounting
No mounting kit
For additional security, secure the touchpanel to a table
or desk with screws:
1. Under the table top, mark the location of the two
mounting holes, 2.71 inches (69 mm) apart. The
distance between the mounting holes is the same
for all models.
2. Drill two holes through the table top from
underneath.
3. Attach the touchpanel, using two #6-32 machine
screws through the table top from underneath into
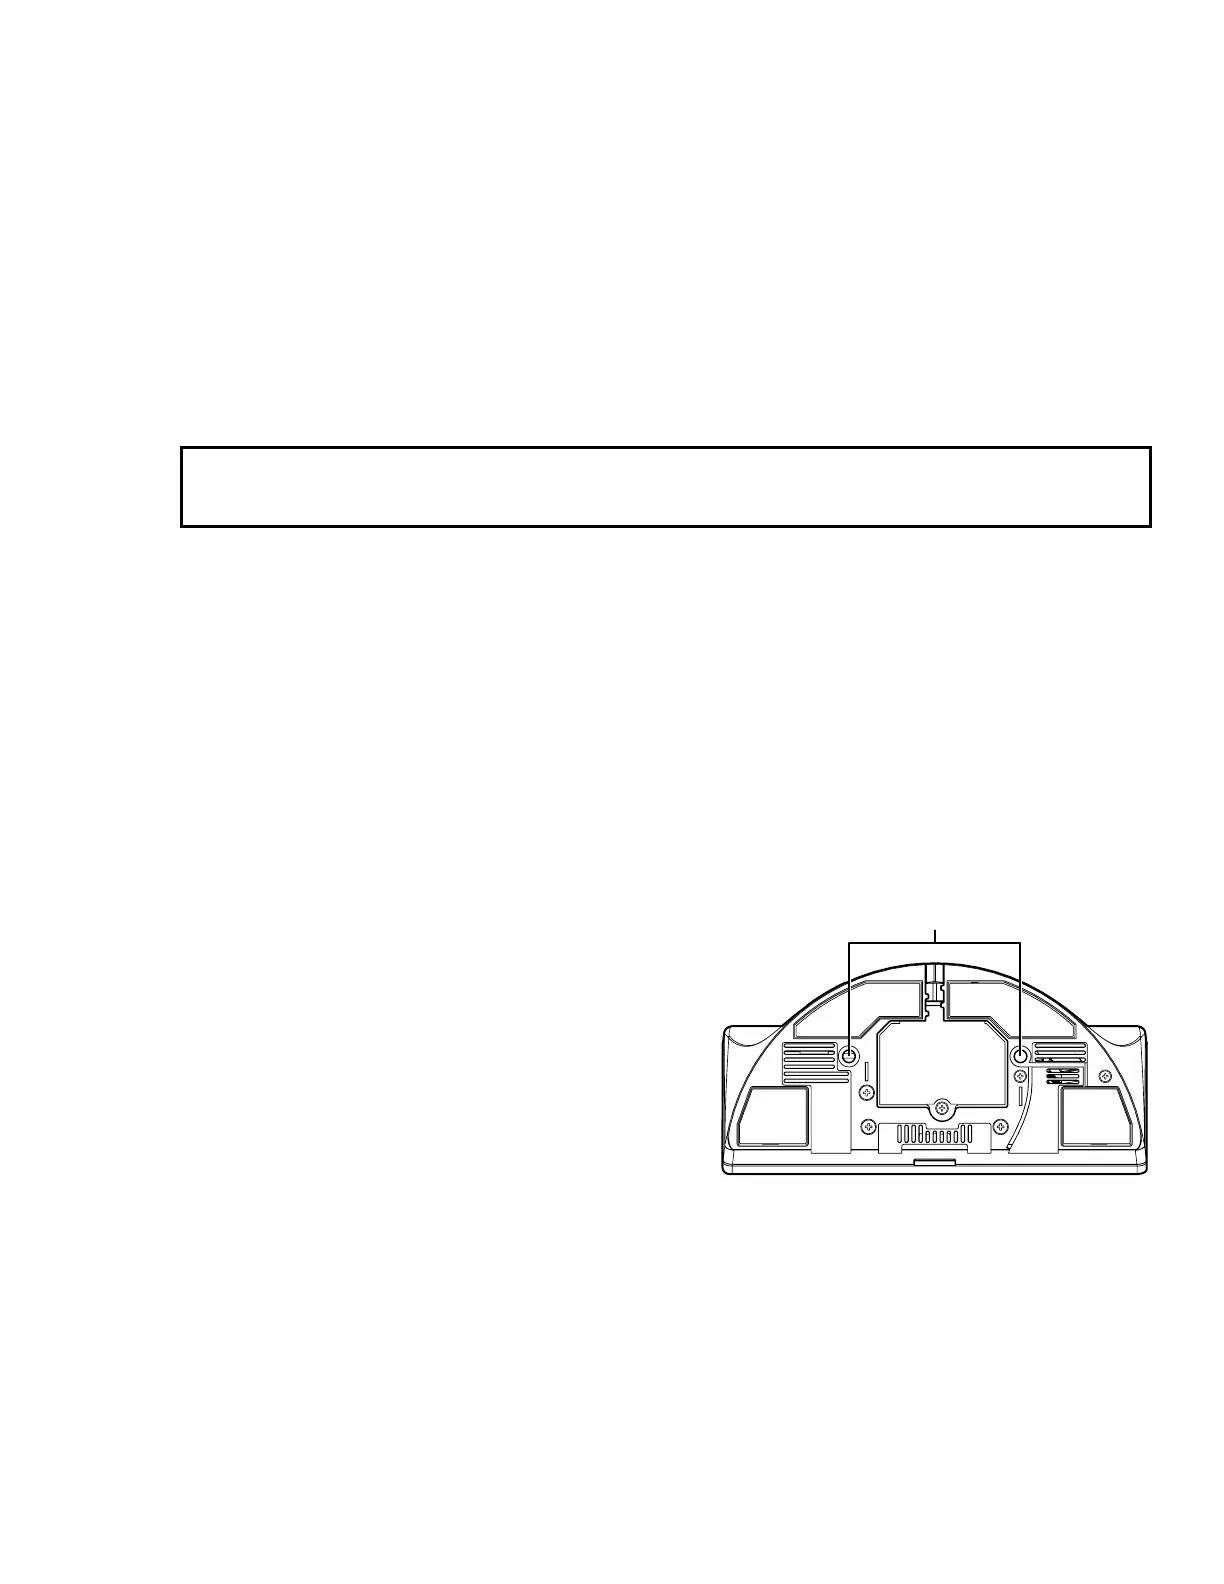
the two holes in the base of the touchpanel (see
figure 29,
1
).
1
1
Figure 29. TLP Pro 725T Base
SMA-2 Swivel Mount Adapter
The TLP Pro 525T, 725T, and 1025T can be mounted with the optional Extron SMA-2 swivel mount adapter, which
allows it to be mounted permanently and swivel up to 180° in either direction. The kit must be purchased
separately and installed by following the instructions provided with the kit.