FARO Gage
May 2011
40
Chapter 6: Maintenance and Troubleshooting
• Make sure the Gage probe is secure. Only hand-tighten the probe with the
12mm wrench. Do not over-tighten the probe.
• Make sure that the compensation hole, cone or sphere is located about 2/3
the distance of the Gage from the base.
• Make sure that the compensation cone, or sphere, is securely screwed into
the holder and that the holder is securely fastened to a stable surface.
• Make sure that probe tip is in contact with hole, cone or sphere.
• Compensate the probe again, and check that all points were digitized
properly.
• Use the other compensation method (sphere or hole).
Buttons (FRONT & BACK) will not respond.
• Make sure that all of the encoders are referenced. See “Referencing the
Encoders” on page 17.
• Turn auxiliary port OFF. See “Edit Probe” on page 55.
• Check buttons in Diagnostic command. See “Diagnostics” on page 65.
Single-point calibration shows excessive error.
• You must use a ball probe. Check that it is installed correctly. See “Installing
Probes” on page 11.
• Recompensate probe. See “Compensate Probe” on page 56.
• During the test, watch the probe to ensure flush seating in the hole. See
“Gage Calibration” on page 32.
Gage records points without pressing either button.
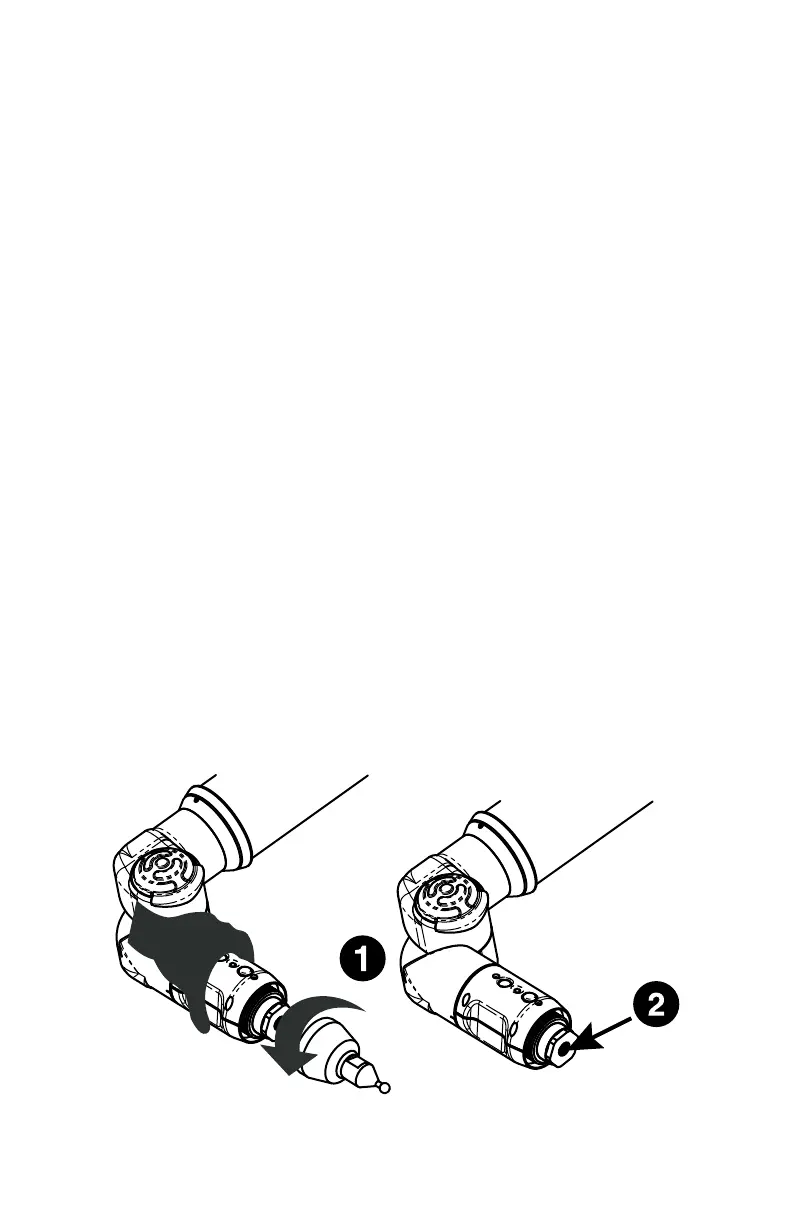
• Re-seat the set screw in the Gage handle. If the set screw is not seated
correctly it causes intermittent contact to the pin underneath, and random
points are taken.
Figure 6-1 Handle Screw
08M47E00_FAROGage.book Page 40 Wednesday, June 8, 2011 4:12 PM