FARO Gage
May 2011
56
Chapter 7: Configuring the FARO Gage in CAM2 Gage
are translated into Gage coordinates and you are ready to start taking
measurements.
Measurement accuracy relies on probe compensation under optimal conditions.
If the probe compensation passes, measurements will be accurate. If the probe
compensation fails, measurements will not be as accurate. Proper mounting and
technique are critical compensation factors.
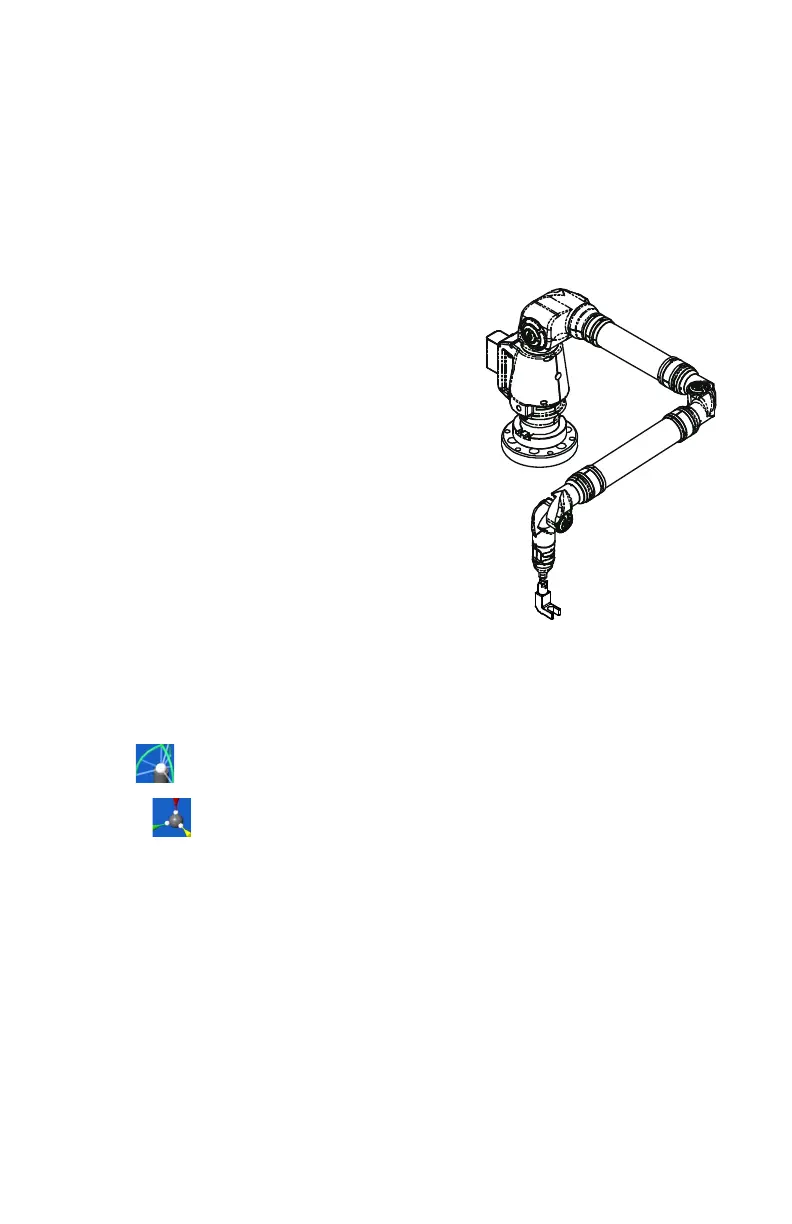
To optimize compensation and minimize stress-
induced errors during this critical procedure,
place the Gage in a single position in which the
elbow joint remains relatively stationary without
any obstructions or restrictions in movement
while the compensation is performed. Do not let
the elbow joint fall during compensation. Only
exercise the last joint of the Gage for the software
to accurately compensate the probe tip.
Minimizing elbow joint movement and focusing
on the probe and last arm joint during
compensation maximizes measurement accuracy.
Compensate Probe
When changing the style or dimension of the probe at the end of the Gage, you
must compensate it for the Gage to measure and function accurately. Probe
compensation is an optimization procedure that requires you to digitize points.
The two methods of compensation are:
•Hole
• Sphere
Click either button to compensate the current probe. The Hole Compensation
method differs depending on whether the G
UIDANCE check box is selected or
cleared. See “Edit Probe” on page 55.
• See “Hole Method - Guidance” on page 57.
• See “Hole Method” on page 60.
• See “Sphere Method” on page 62.
08M47E00_FAROGage.book Page 56 Wednesday, June 8, 2011 4:12 PM