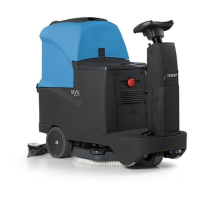
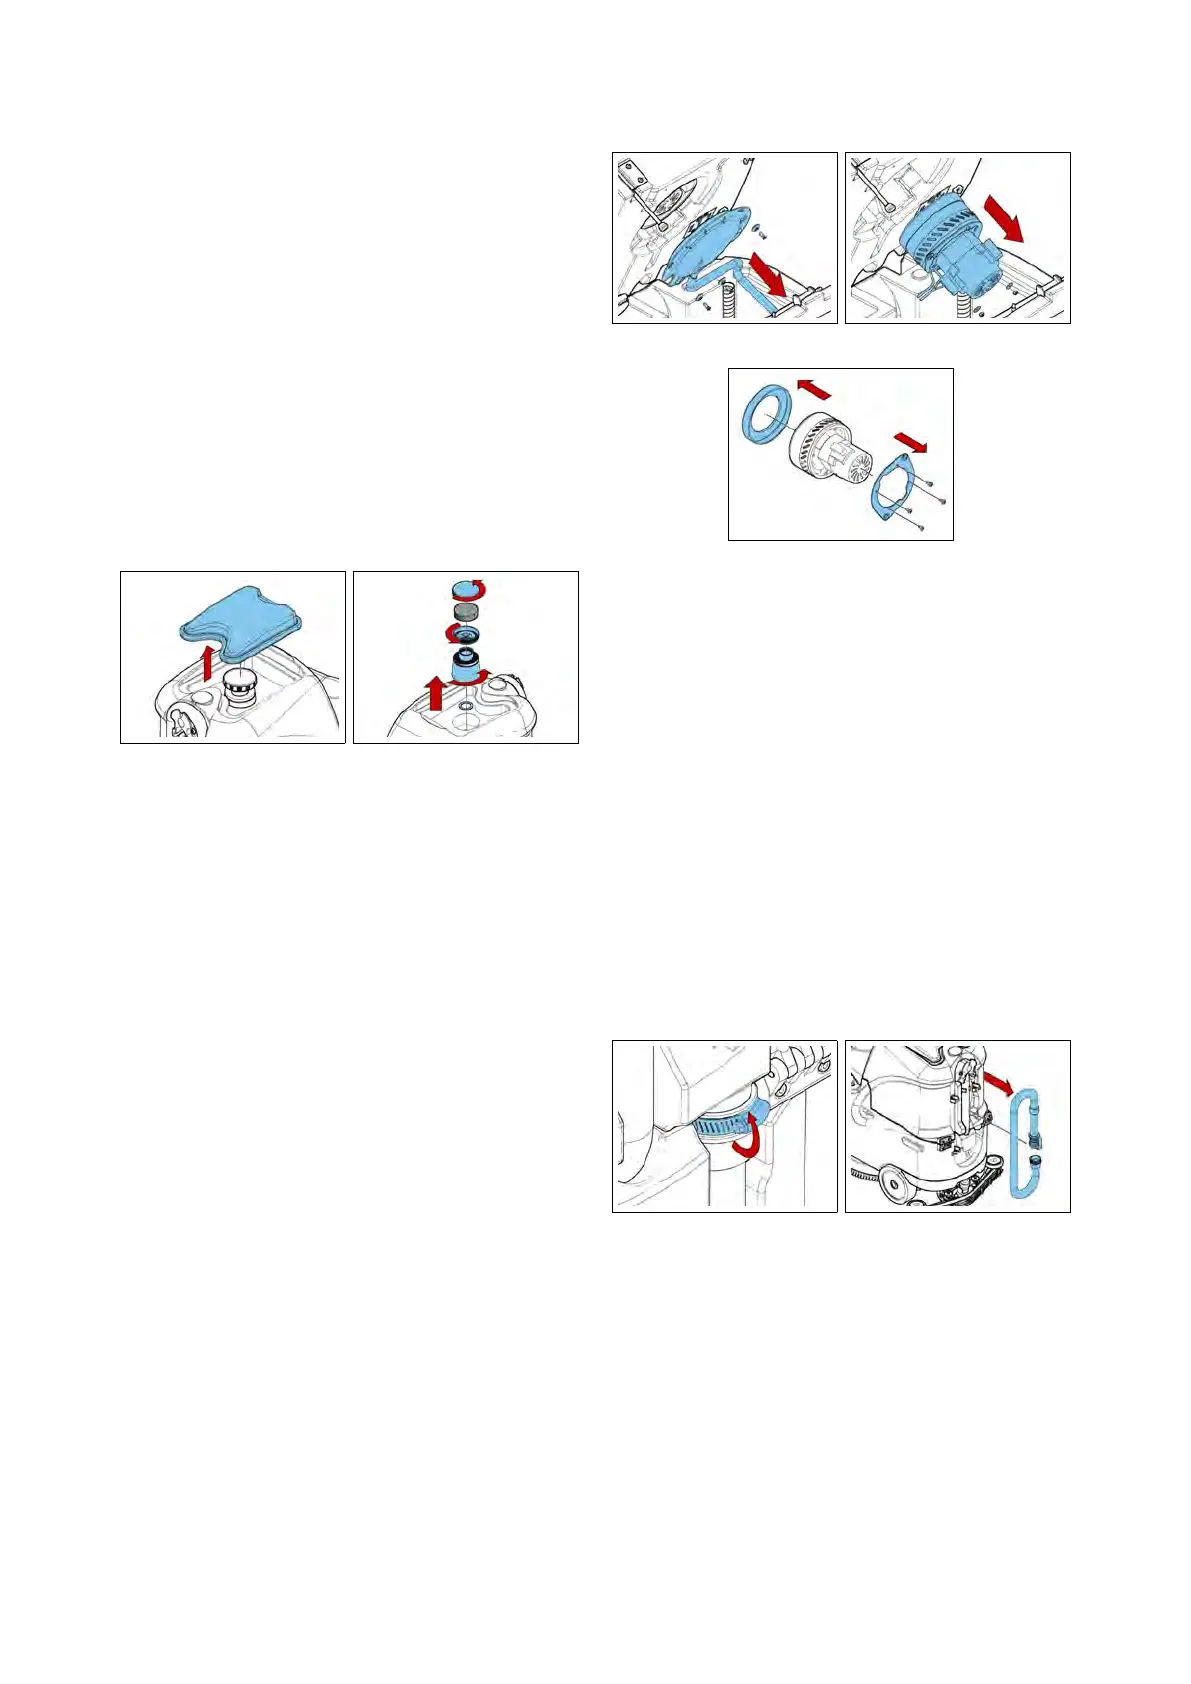
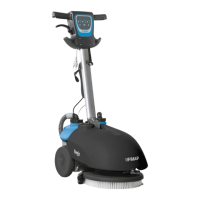
5.3.5 Floater and Vacuum Filter
• Put the machine in safe conditions.
• Remove the Recovery Tank Lid (see fig.
5.3.5-39).
• Unscrew the floater filter cap.
• Remove the floater filter body and re-
move the sponge suction filter (see fig.
5.3.5-40).
• Remove the floater from the stem.
• Proceed at reverse to refit the part.
5.3.5-39 5.3.5-40
5.3.6 Vacuum Motor
• Put the machine in safe conditions.
• Unhook and lift the Recovery Tank.
• Disconnect the power cords of the
Vacuum Motor.
• Cut the plastic clamp that secures
the condensate drain hose to the re-
covery tank.
• Loosen the screws and remove the
vacuum motor cover (see fig. 5.3.6-41).
• Unscrew the nuts that secure the
vacuum motor to the recovery tank
(see fig. 5.3.6-42).
• Pull out the vacuum motor and re-
move the sound absorbing sponges.
• Loosen the screws to remove the mo-
tor fixing plate (see fig. 5.3.6-43).
• Proceed at reverse to refit the part.
5.3.6-41 5.3.6-42
5.3.6-43
5.3.7 Drain Hose
• Put the machine in safe conditions.
• Loosen the clamp that secures the
drain hose to the recovery tank (see fig.
5.3.7-44).
• Remove the hose from its housing by
unhooking from the plastic clip (see fig.
5.3.7-45).
• Proceed at reverse to refit the part.
5.3.7-44 5.3.7-45
29