Assembly
5.2 Mounting the coupling
32 Edition 09/2022 M3560-02en
9. Secure the coupling parts using a set screw or an end plate. When securing with a set
screw, the shaft must not protrude or be set back from the inner side of the hub.
After cooling to room temperature, fill the threaded hole for the set screw 2/3 full with
sealing compound (50) to prevent the lubricant from escaping through the parallel key-
way. When securing with an end plate, smear the hub face on the shaft face with sealing
compound (50) and bolt on the end plate.
10.Tighten up the set screw or the screw to attach the end plate to the specified tightening
torque T
A
(for the set screw please see Section Machining an axial locking mechanism
(Page27)).
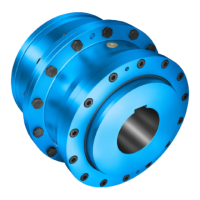
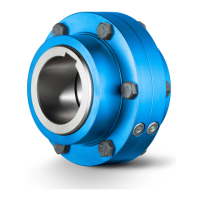
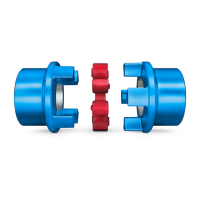
5.2.2 Assembling coupling parts with shaft-hub connection using a pressurised
oil interference fit5.2 Mounting the coupling
Procedure
1. Remove the screw plugs(22) from the coupling parts1(1) and 2(2).
2. Clean, degrease, de-oil and dry the bores and shaft ends.
3. Clean and dry the oil channels and the oil circulation grooves.
4. Lubricate the cleaned flanged sleeve keyway and then insert the O-rings (12).
5. Smear the gear of the flanged sleeve (5) with a lubricant coating (e.g. Castrol Opticoat-
ing N) to minimise running-in wear.
After the lubricant coating has dried, lubricate the gear of the flanged sleeve (5) with lub-
ricant (50).
6. Place the flanged sleeve (5) onto the shaft before mounting the coupling parts 1 (1) and
2 (2).
7. Protect adjacent components against damage and heating to temperatures above 80°C.
8. Heat up the coupling parts 1 (1) and 2 (2) to the temperature specified in the dimension
drawing.
Make sure that no dirt or contaminants can soil the bores again during the heating pro-
cess.
9. Mount the coupling parts1(1) and 2(2) quickly on the shaft according to the instructions
in the dimension drawing.
10.Secure the coupling parts 1(1) and 2(2) to stop them from moving until they have
cooled down.
11.Allow the coupling parts 1(1) and 2(2) to cool down to the ambient temperature.
12.Use an end plate to secure the coupling parts 1(1) and 2(2) that have a non-self-lock-
ing, tapered pressurised oil interference fit.
13.In order to protect the oil channels of the coupling parts1(1) and 2(2) against corrosion,
fill them with a suitable pressurised oil and seal the oil channels with the screw plugs
(22).