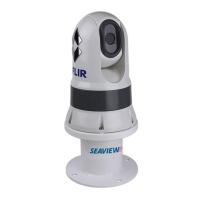
4.Placethecameraontopoftheriser,sothethreadedstudsextendthroughthe
threeholesintheriser’stopsurface.Checkthatthecamera-basesealremains
rmlyinplace.
•Notethecameraforwardmarkingonthetopsurfaceoftheriser.Y oumust
ensurethattheriserismountedsothatthecameraisorientedproperlyrelativeto
thebowofthevessel.
5.Slideaatwasher,andthenaspringwasher,ontoeachstud.
6.Securethecamerabodytotheriserwiththesuppliednuts,ensuringthattheseal
remainscorrectlypositionedonthecamera’sbase.
Tightenthenutstoatorqueof3.7Nm(2.7lb-ft).
7.Connectthepowersupplycableandnetworkcabletothecamera,thenloopthe
cablesroundwithintheriserbasesothattheycanbethreadedthroughthebottom
oftheriser,andintothecableroutingholedrilledinthemountingsurface.
8.Positiontheriser-baseseal,andthenfastenthecamera-riserassemblytothe
mountingsurfaceusingfastenersappropriateforthesurface’sthicknessandmaterial.
Donotusethreadlockingcompound,asthismaydamagetheplasticriser.
56
 Loading...