24 PB
Installation insctions /
I
Indoor unit installation
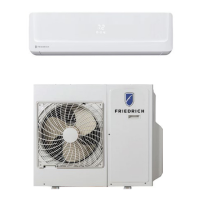
6) Connect the piping
'
Press here
Big sealing cap
c. Pre-tighten them with fingers at first, then use the wrenches.
If you don't hear the exhaust noise, please contact customer service.
24K-36K
9K-18K
Pipe size (inches)
LiquidSide (1/4)
11-15ft-lbs
0.02 "
Gas Side ( cl> 9.53 or 3/8 )
22-26ft-lbs
18K
36K
Gas Side ( cl> 12 or 1/2)
37-41ft-lbs
Gas Side ( cl> 16 or 5/8)
44-48ft-lbs
52-55ft-lbs
�
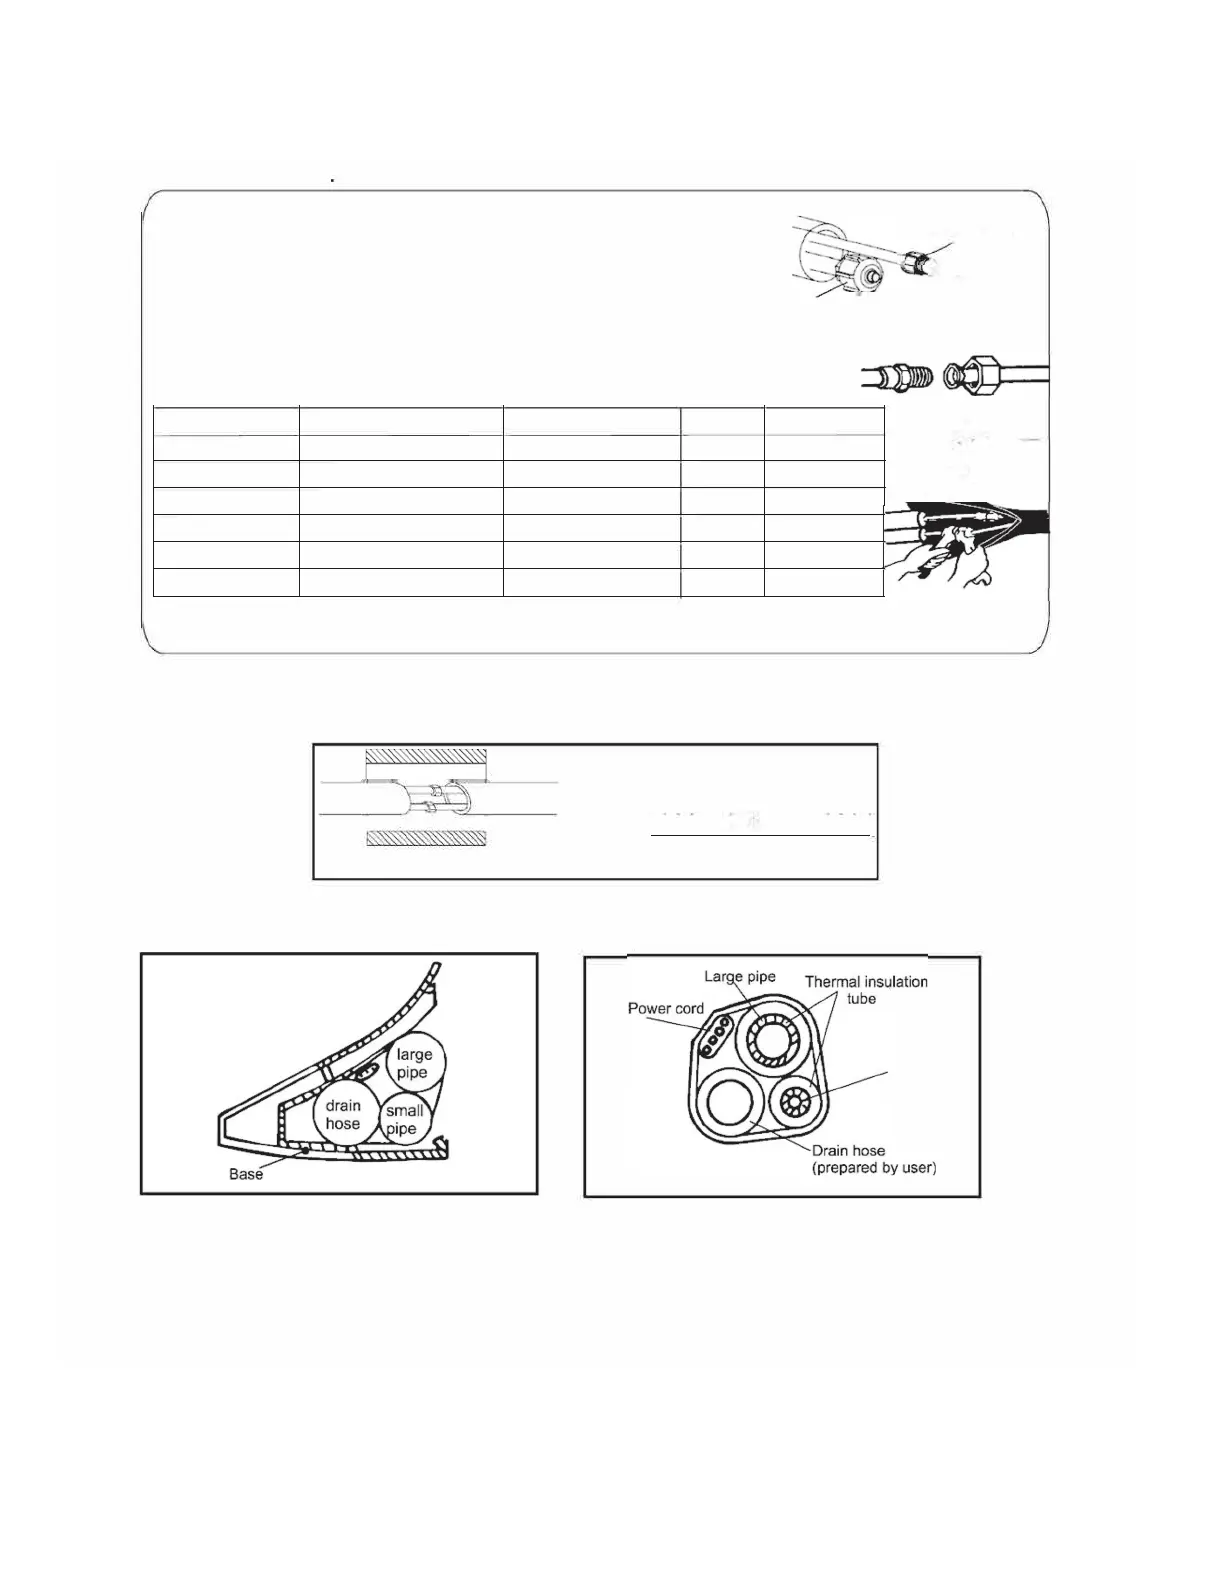
Thermal insulation
wrapped with vinyl type
Fig. C.5.9
No: Wp e pipg join eal insulation matea and en wp th a vin tape.
Fig. C.5.10
Fig. C.5.11
Note: Place the drain hose under the pipes.
Note: Insulation material uses polythene foam over
1/4"
(
6
)
mm
in thickness.
Note: Drain hose Is prepared by user.
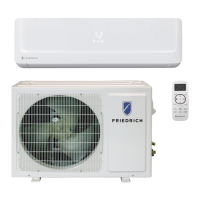
Note: Note: The appearance of the model in this manual may differ from that of the air
conditioner you have selected.
Table C.7.8
7) After connecting piping as required, install the drain hose. T hen connect the power cords. After connecting, wrap the piping,
cords and drain hose together with thermal insulation materials(
Fig. C.7.9-C.7.11).
Model
Liquid Side ( 3/8)
22-26ft-lbs
7/8"
0.024"
7
/
8
"
15/16"
1 1/8"
1 1/4"
0.024"
0.024"
0.024"
0.039"
INSTALLATION OF THE INDOOR UNIT
Indoor Unit Installation