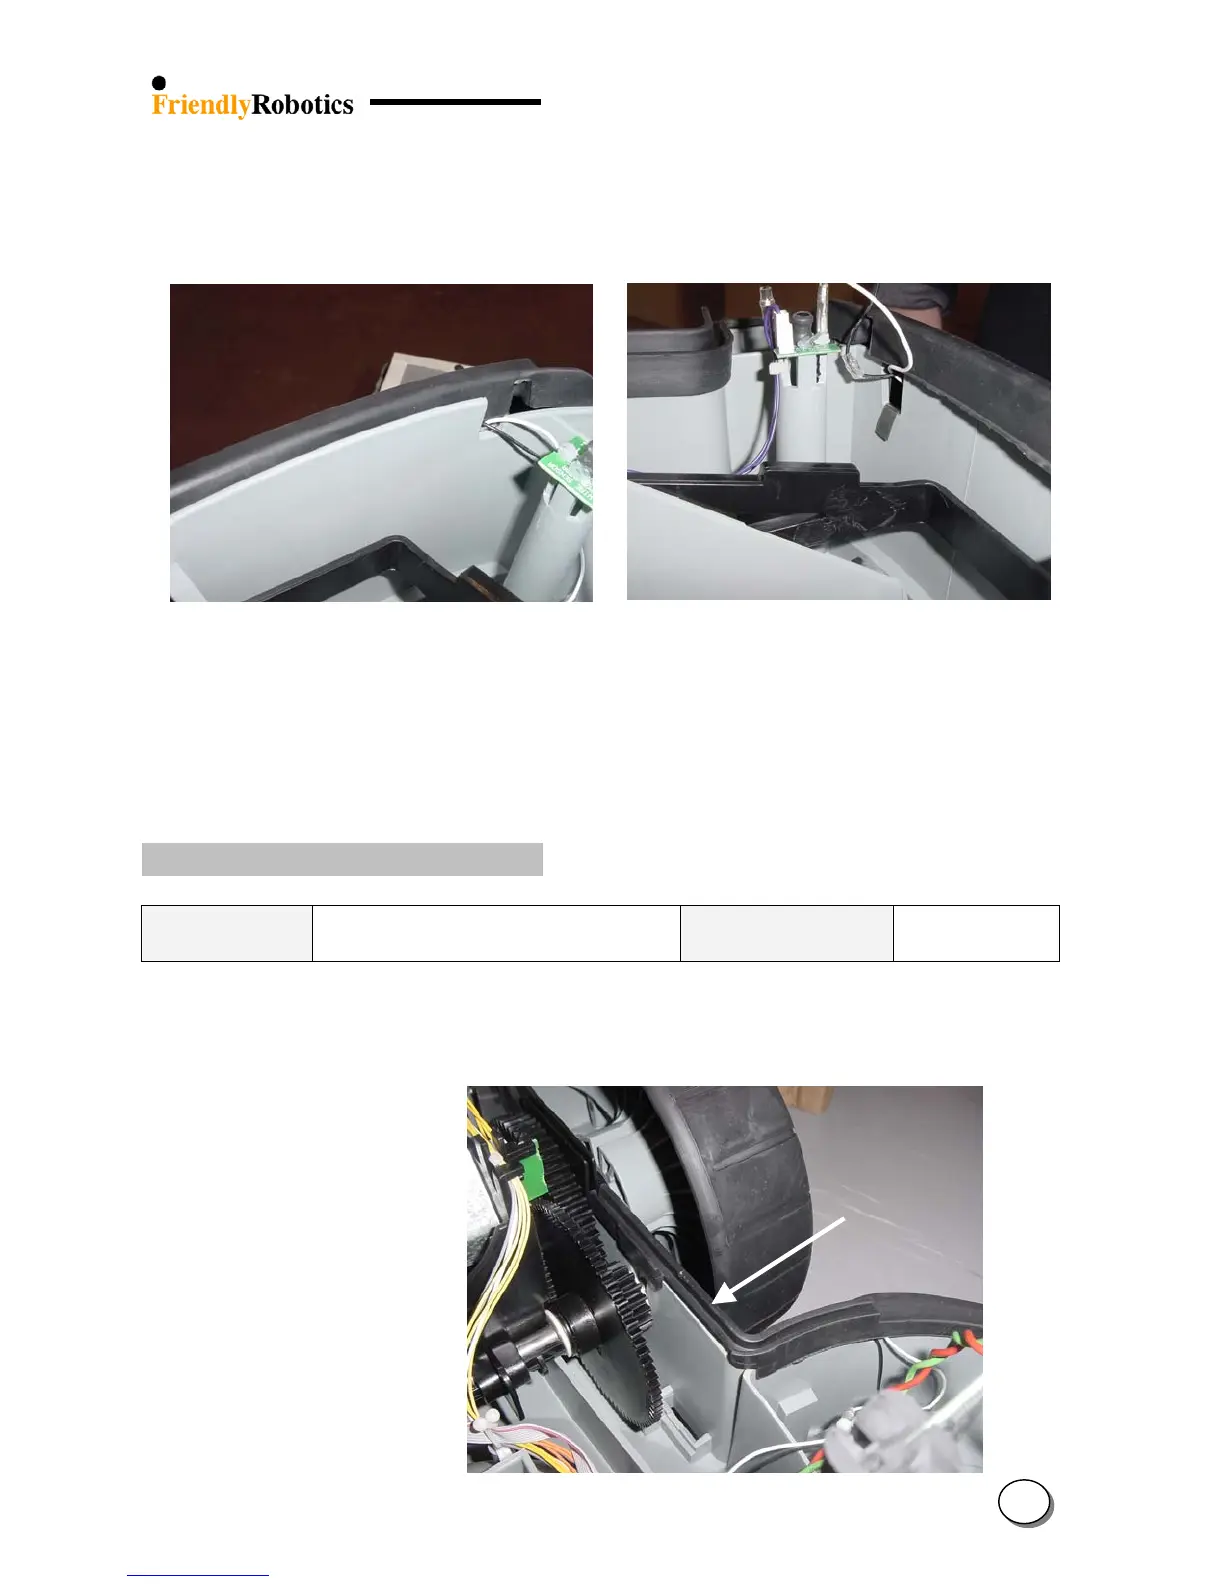
T. Stretch the bumper upwards all the way around, as illustrated in Figure 4.2.9.11.
U. Place the entire top bumper edge, including the “ears”, over the gray plastic base, as illustrated
in Figure 4.2.9.12 below. Make sure the bumper cables, on both sides are not pinched and well
connected to their tabs.
Figure 4.2.9.11 Figure 4.2.9.12
2
nd
stage top bumper edge placement Properly seated bumper and wires
V. Return the cover as outlined in section 4.2.2.
W. Perform ‘Bumper test’ under the ‘Safety test’ menu.
X. Complete the General Test as outlined in section 5.1.
4.2.10 Front bumper replacement
Required tools: Wide and long flat screwdriver
Soap and water solution
Procedure duration: 40 minutes
A. Remove the Power Pack from the Robomow.
Front Bumper
‘Ear’
Figure 4.2.10.1
Front Bumper
B. Remove the cover, as outlined in section 4.2.1 and expose the front bumper, as illustrated in
Figure 4.2.10.1 below.
4
39