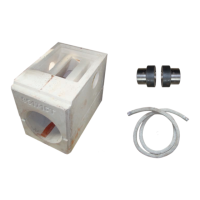
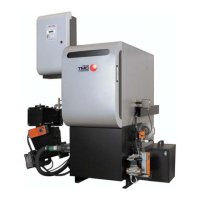
4.6.2 Modifying the ash transfer box for T4 / TX (where required)
When delivered, the connection flange is mounted to the right-hand side of the ash
transfer box (so that the ash discharge system can be mounted to the right of the
boiler). Where necessary, the ash discharge system can also be installed in a different
position on the T4 and TX.
Carry out the following steps to modify the ash transfer box:
❒ Remove the connection flange to the right-hand side of the ash transfer box
❒
Remove the desired cover plate
❒ Connect the connection flange in the desired position
❒ Replace the missing cover plate from where you just removed the connection
flange
❒ The cover plate with the adjustable foot (A) needs to be placed in a suitable
position so that the weight is distributed evenly across the ash transfer box
➥ Where required, swap the cover plate without the adjustable foot for the cover
plate with the adjustable foot
NOTICE! Make sure to complete the following steps on the opposite side!
4.6.3 Removing the boiler ash container
❒ Remove the ash container from the boiler according to the boiler instructions and
empty if necessary
NOTICE! Please refer to the specific instructions for the boiler in question
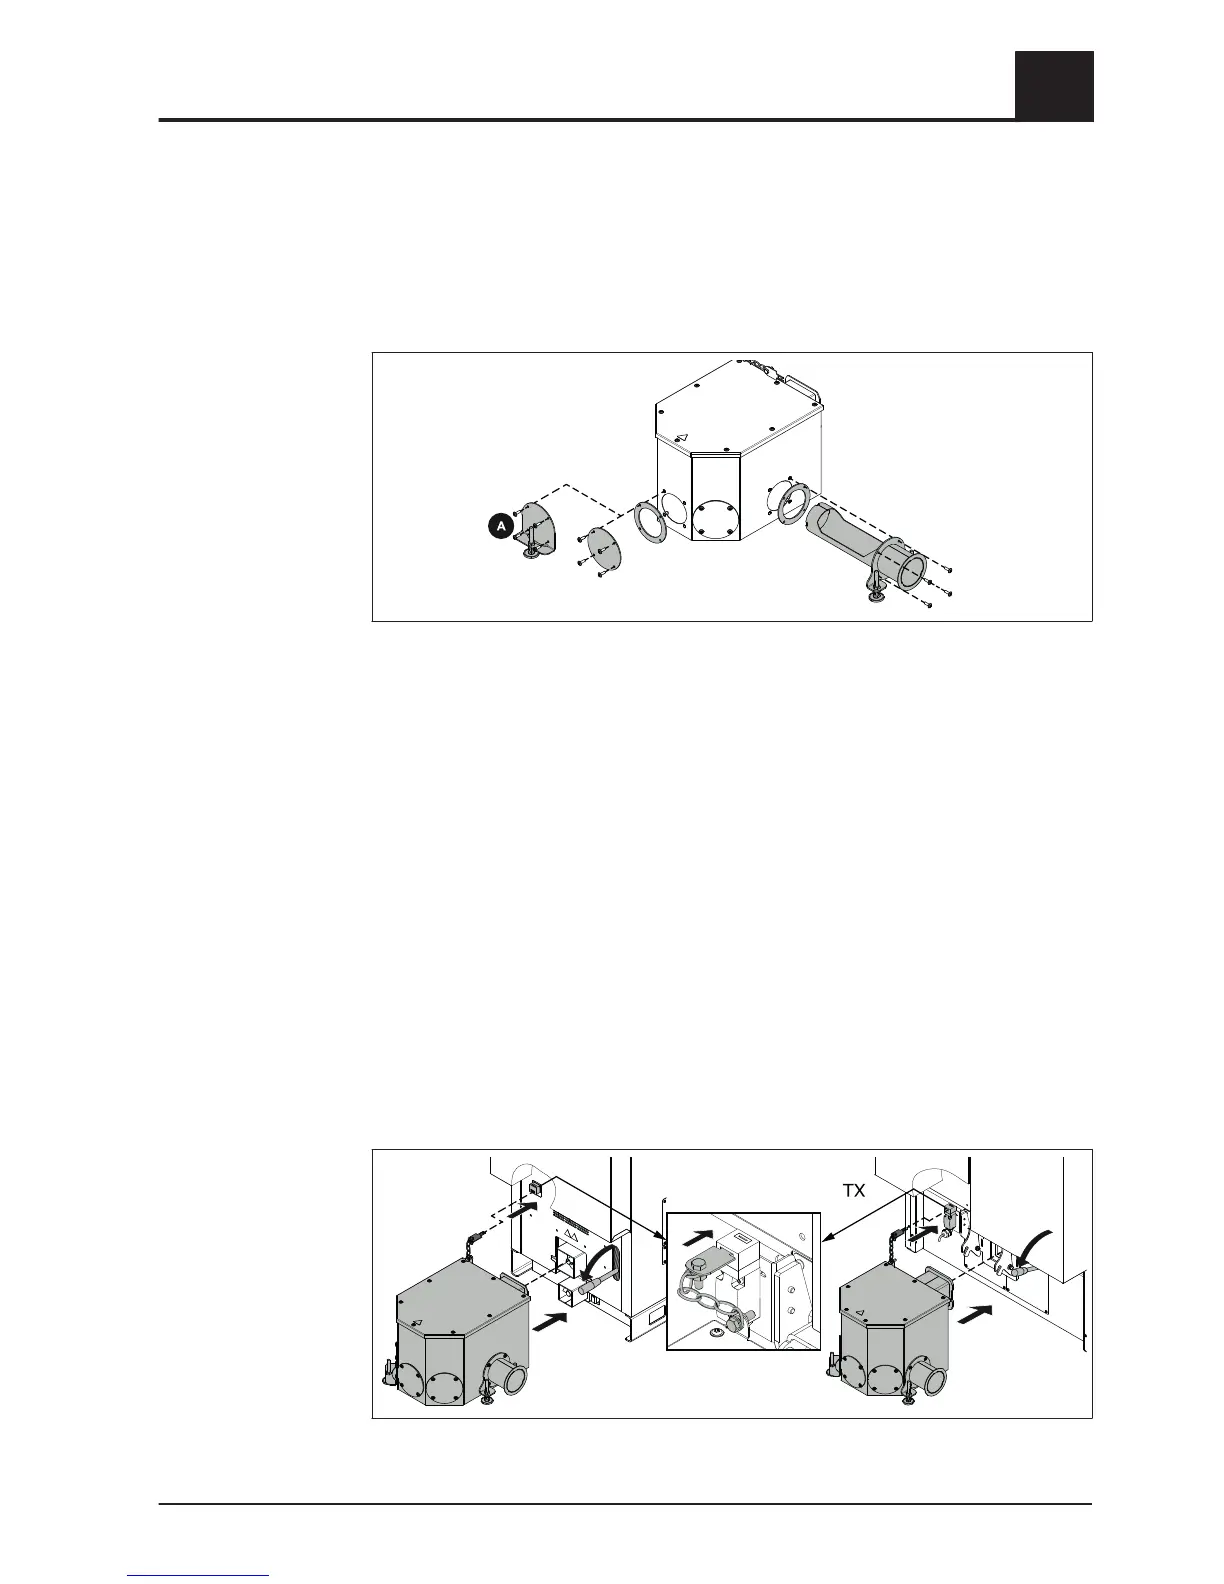
4.6.4 Assembling the ash transfer box on the T4 / TX
❒ Replace the ash container on the boiler with the ash transfer box
➥ Push the lever to one side of the boiler to lock the ash transfer box in place
❒
Push the key plate into the safety switch on the boiler
Assembly
4
Assembling the ash discharge system
Installation and Operating Instructions Ash discharge into a standard dustbin | M1590214_en 21