2-10
2.3.2 Removing and mounting the cable guide plate (for models of 1 to 25HP for 208V and 1 to 30HP
for 460V)
For inverters of 25HP for 208V, 30HP for 460V or below use the cable guide plate to secure IP20 protective
structure. Follow the steps to work on it.
Removing the cable guide plate
Before to proceed, remove the terminal block cover in advance.
Remove the cable guide plate fastening screw, and pull the cable guide plate.
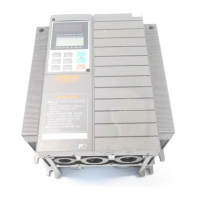
Figure 2.10 Removing the Cable Guide Plate (FRN015F1S-2U)*
Opening half-punched holes and mounting rubber bushes
Tap the three half-punched holes of the cable guide plate by using a screwdriver grip end or the like and
punch them out.
Be careful not to injure yourself by sharp cutting edges of parts.
Set the three attached rubber bushes in the punched holes. Make cut-outs on the rubber bushes before
wiring.
Figure 2.11 Punching out the Holes and Mounting the Rubber Bushes
Be sure to use the rubber bushes. If not, a sharp cutting edge of the cable guide plate hole may damage the cable
sheath. This may induce a short-circuit fault or ground fault.
A fire or an accident may be caused.
Mounting the cable guide plate
Mount the cable guide plate following the steps illustrated in Figure 2.10 in reverse. (Tightening torque:
15.9lb-in(1.8 N
•
m))
 Loading...