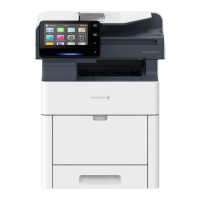
Touch Screen
69
[Scan]
Scans a document and temporarily saves the scanned data on the device, sends an email to
the user to notify the URLs for retrieving and deleting the scanned data saved in the device,
and sends the scanned data to a computer on the network via the FTP or SMB protocol.
For more information, refer to "Scan" (P.164).
[Scan to Folder]
You can scan documents and save the scanned data in a folder of the device.
For more information, refer to "Scan to Folder" (P.165).
[Send from Folder]
You can operate files stored in a folder of the device.
For more information, refer to "Send from Folder" (P.187).
[Device]
Tap this button to change settings and view the status of the device.
For more information, refer to "General Settings" (P.225) and "Advanced Settings" (P.247).
[Jobs]
You can check current, pending, and completed jobs.
You can also cancel printing and print jobs that are waiting to be output or resumed.
For more information, refer to "Jobs" (P.219).
[Address Book]
Tap this button to register the recipient information or modify the Address Book.
For more information, refer to "Address Book" (P.205).
[Help]
Tap this button to display the help screen. You can learn how to use the device.
When you use this button for the first time, enter the system administration mode and accept the license
agreement.
For how to use Help, refer to "How to Use Help on the Control Panel" (P.514).
[USB]
You can save the scanned data to a USB memory device and print the scanned document
files later from the USB memory device.
For more information, refer to "Scan to USB" (P.172), "Print from USB" (P.114).

 Loading...


