Connecting the ScanSnap to a Wireless Access Point from the
Touch Panel (iX1600 / iX1500)
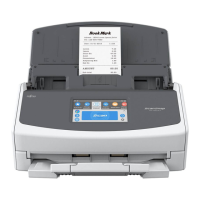
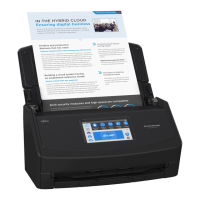
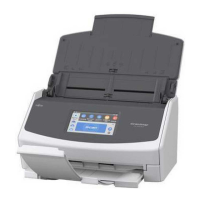
To use the ScanSnap over a wireless LAN, connect the ScanSnap to a wireless access point which
the computer is connected to. The ScanSnap can be connected to a wireless access point from the
touch panel.
1. Press
in the home screen on the touch panel of the ScanSnap to
display the [Settings] screen.
2. Press
to display the [Wi-Fi settings] screen.
3. Press [Wi-Fi connect mode] to display the [Wi-Fi connect mode] screen.
4. Select [Access point connection].
5. Press
to return to the [Wi-Fi settings] screen.
6. Press [Access point connection] to display the [Access point connection]
screen.
7. Press [Access point connect settings] to display the [Connection information
configuration method] screen.
8. Connect the ScanSnap to a wireless access point.
When connecting the scanner by selecting a wireless access point from the
list
1. Select [Select an access point].
2. Press the [Next] button to display the [Select network] screen.
3. From the list of displayed wireless access points, select a wireless access point that you
want to connect to.
4. Press the [Next] button to display the [Enter connection information] screen.
5. Enter the information of the wireless access point to be used and press the [Next] button.
The items which are displayed in the screen differ depending on the security protocol of the
wireless access point.
l To perform the authentication with a security key
Press the input field for [Security key] and enter the user name, and then press [OK].
Connecting the ScanSnap to a Wireless LAN (iX1600 / iX1500)
119
 Loading...


