Using the ScanSnap in Various Ways (for Windows users)
201
9. Press the [Scan/Stop] button on the ScanSnap to finish scanning.
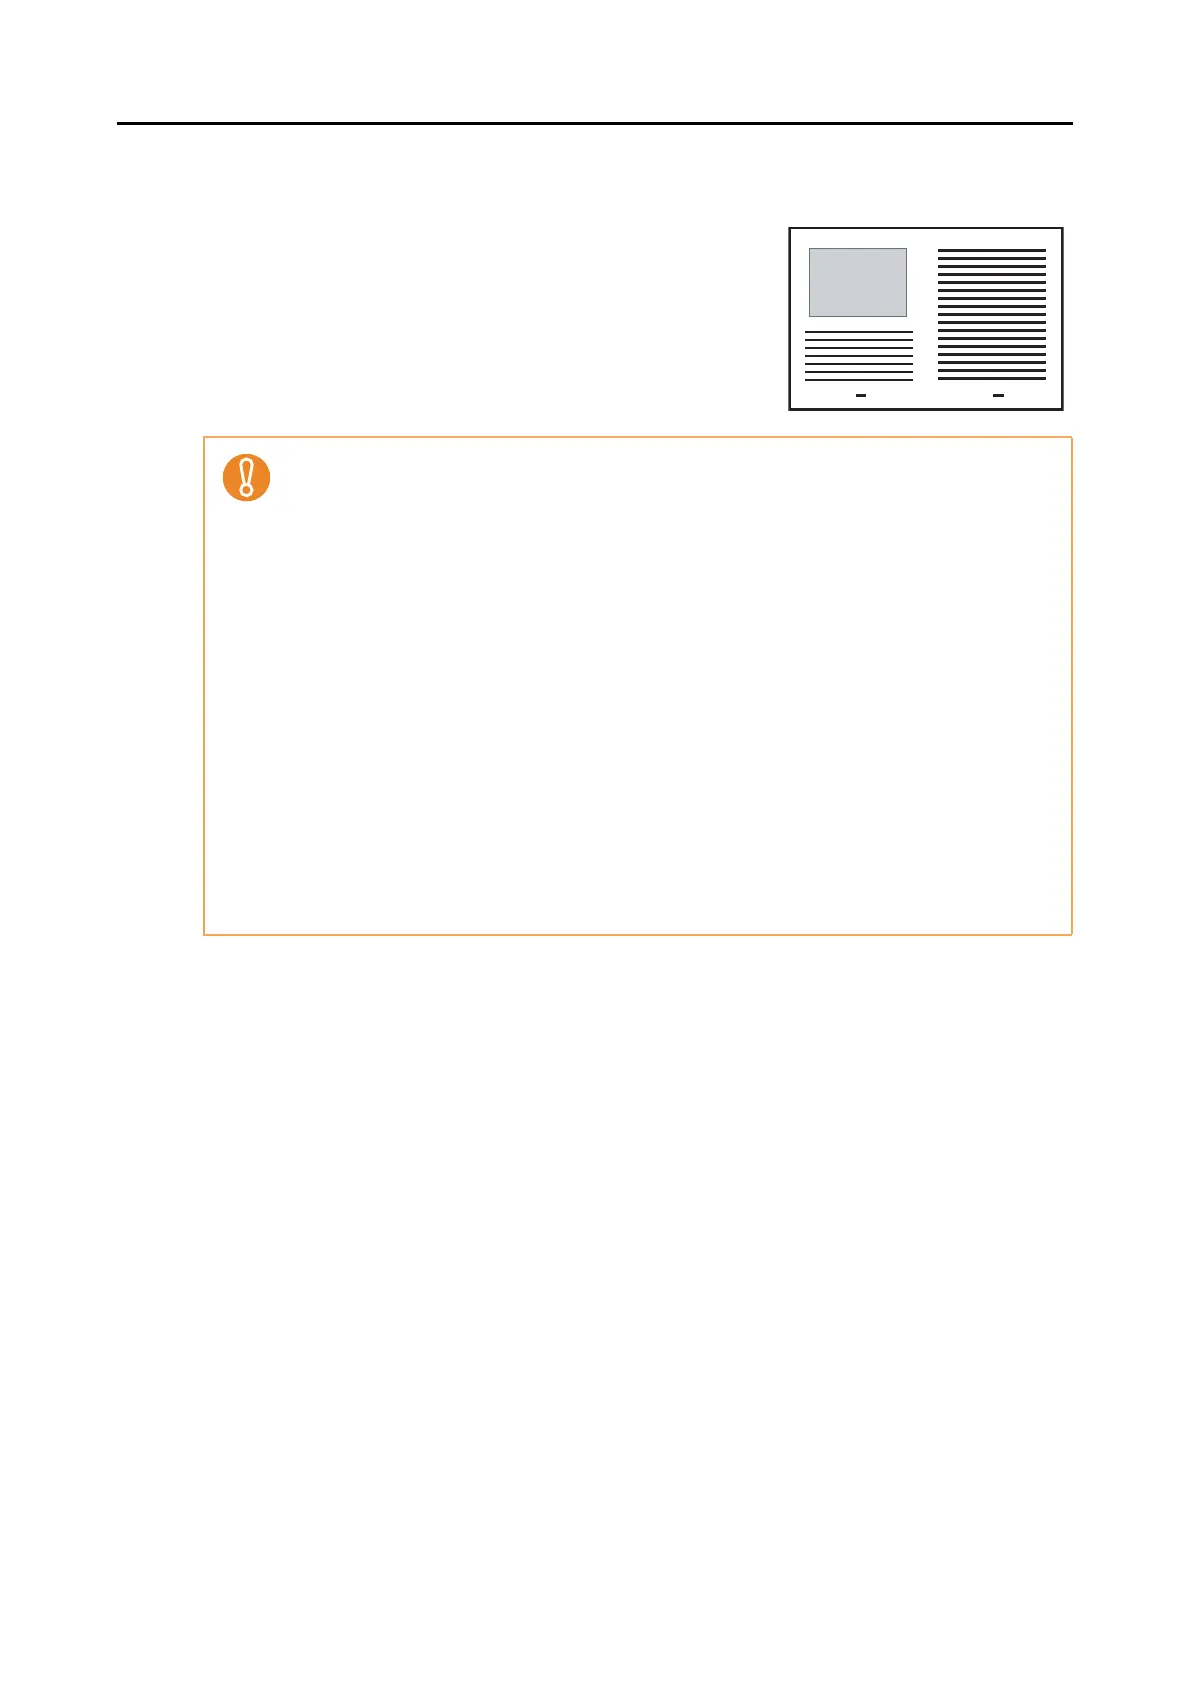
The scanned images of the front and back side of
the document inside the Carrier Sheet are saved as
a double-page spread image.
z There may be a line or a gap appearing between the front and back side images. Also when
you scan thick papers, images on both left and right may skew towards each other from the
top.
The degree of these symptoms varies depending on how the document was set or folded.
In that case, try the following for possible resolutions:
- Fold the document properly
- Neatly align the edges of the document with the edges of the Carrier Sheet when placing
the document inside the Carrier Sheet
z When [Automatic detection] is selected from the [Paper size] drop-down list in the [Carrier
Sheet Settings] dialog box, the image is output in an optimal size selected automatically from
the available standard sizes (A3, B4 or 11 × 17 in.) in the [Paper size] dialog box. However,
depending on the document, the size of the saved image data may be smaller than the origi-
nal document or some parts of the image may be missing.
Example: When you scan an A3 size document with an A4 size image printed in the center,
image data is saved in B4 size.
To save an image data in the actual size of the document, specify the document size in the
[Paper size] drop-down list.
z Part of the image data around where the document is folded may appear missing. In that
case, place the document so that its edge is about 1 mm inside from the edge of the Carrier
Sheet.

 Loading...