8A089X01 Rev 1
SLIM Installation Manual
3/23/2018 Page 35 of 61
3.2 Installation Basics
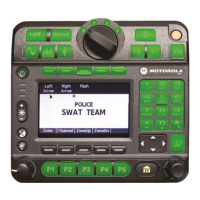
1. Use the Mo torola CPS software to program those buttons on the APX control head
which are desired for interaction with the Module. Please refer to Section 2.2.1:
“CPS Configuration”.
2. Program the light and siren controller as if you were using the manufacturer’s
provided control head using the manufacturer’s traditional method.
3. Configure the Module using the configuration utility. Please refer to the Section
2.5: “Module Configuration” for details.
4. Physically install the Module and connect to configured devices.
3.3 Mounting
1. Locate a suitable mounting location. A dry, cool compartment is required.
2. Position the Module on the proposed mounting location. Using an awl or similar
tool, scribe the mounting surface where the mounting holes are to be drilled. Make
sure that this mounting area allows sufficient ventilation for the Module.
• Mounting the Module will require drilling, therefore it is absolutely
necessary to make sure that no other vehicle components could
be damaged in the process. Check both sides of the mounting
surface before starting. If damage is likely, select a different
mounting location.
3. Remove the Module from its mounting area, and using a drill bit sized for a no.10
sheet metal screw, drill a hole in each of the areas scribed in the previous step.
4. Return the Module to its mounting location and using customer provided screws,
secure the Module onto its mounting surface. The use of lock washers is highly
recommended. Install a lock washer onto each mounting screw before mounting
the unit.
IMPORTANT:
The Module case must be either mounted on, or grounded to the vehicle chassis.

 Loading...