8A089X01 Rev 1
SLIM Installation Manual
3/23/2018 Page 54 of 61
4.7.3 Audio Connection
The AUDIO-1 cable provided in interface kit IK-A1 allows the Siren and Light Interface
Module to bring Public Address audio to the siren. Connect the one side of the AUDIO-1
cable to the Siren and Light Interface Module port labeled PA. Connect the other side of
the AUDIO-1 cable to the Sapphire siren amplifier port labeled PA.
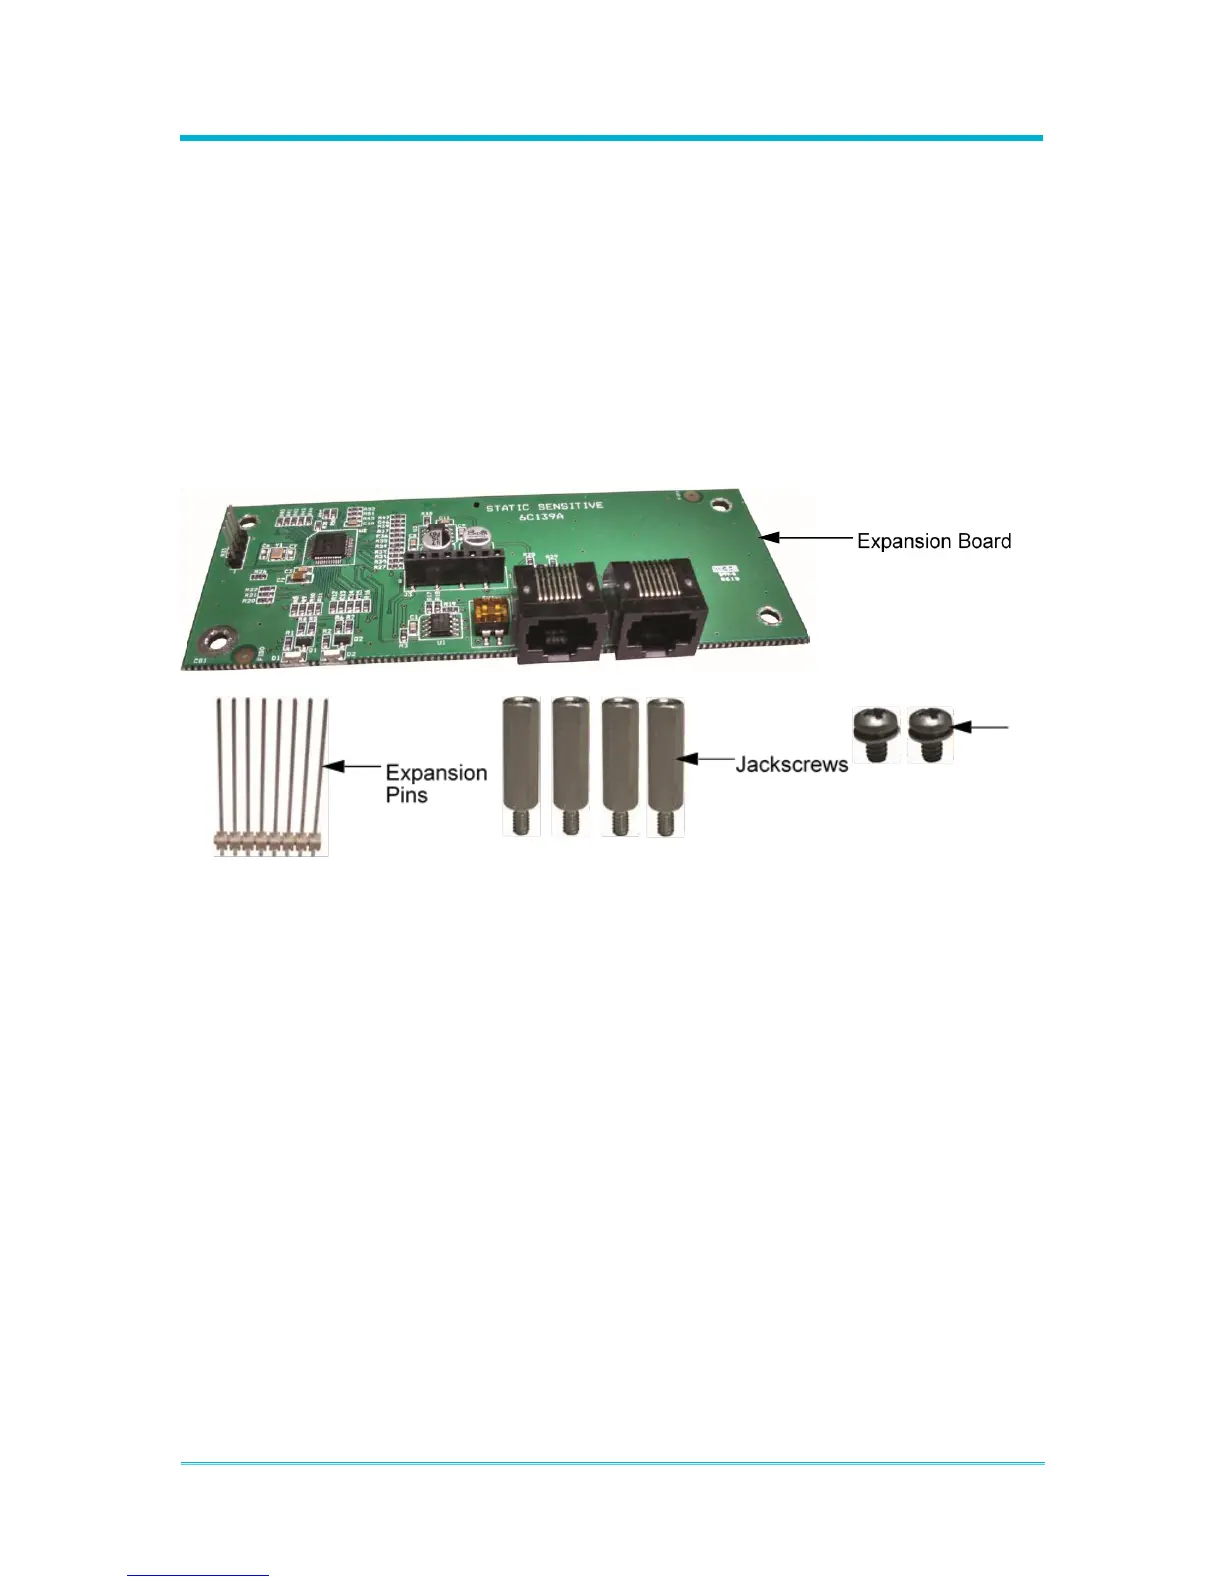
4.7.4 Expansion Board Installation
The 2-port expansion board is an add-on for the Whelen CANTROL and CENCOM
SAPPHIRE sirens that allow third party communication. The expansion pack should
include the expansion board, an 8-position single row of header pins, and 4 extension
jackscrews or screws. The jackscrews can take the place of existing internal screws which
can then be used to secure the expansion board to the extension jackscrews.
1. To begin installation we will need internal access to the siren amplifier. Remove
the four screws holding the amplifier together. On the Sapphire there will be two
screws on each of the front, rear, left, and right faces as shown in the image below.