24 Replacing and Adding System Components
Replacing the 3.5-inch diskette drive
To replace the drive:
1 Turn off the computer and disconnect the power cord, modem cable (if
installed), and all external peripheral devices.
2 Remove the cover. (See “Removing the cover” on page 17 and “Static
electricity precautions” on page 15.)
3 Remove the power and data cables from the back of the drive, noting
their locations and orientations. (You will reconnect these cables after you
install the new drive.)
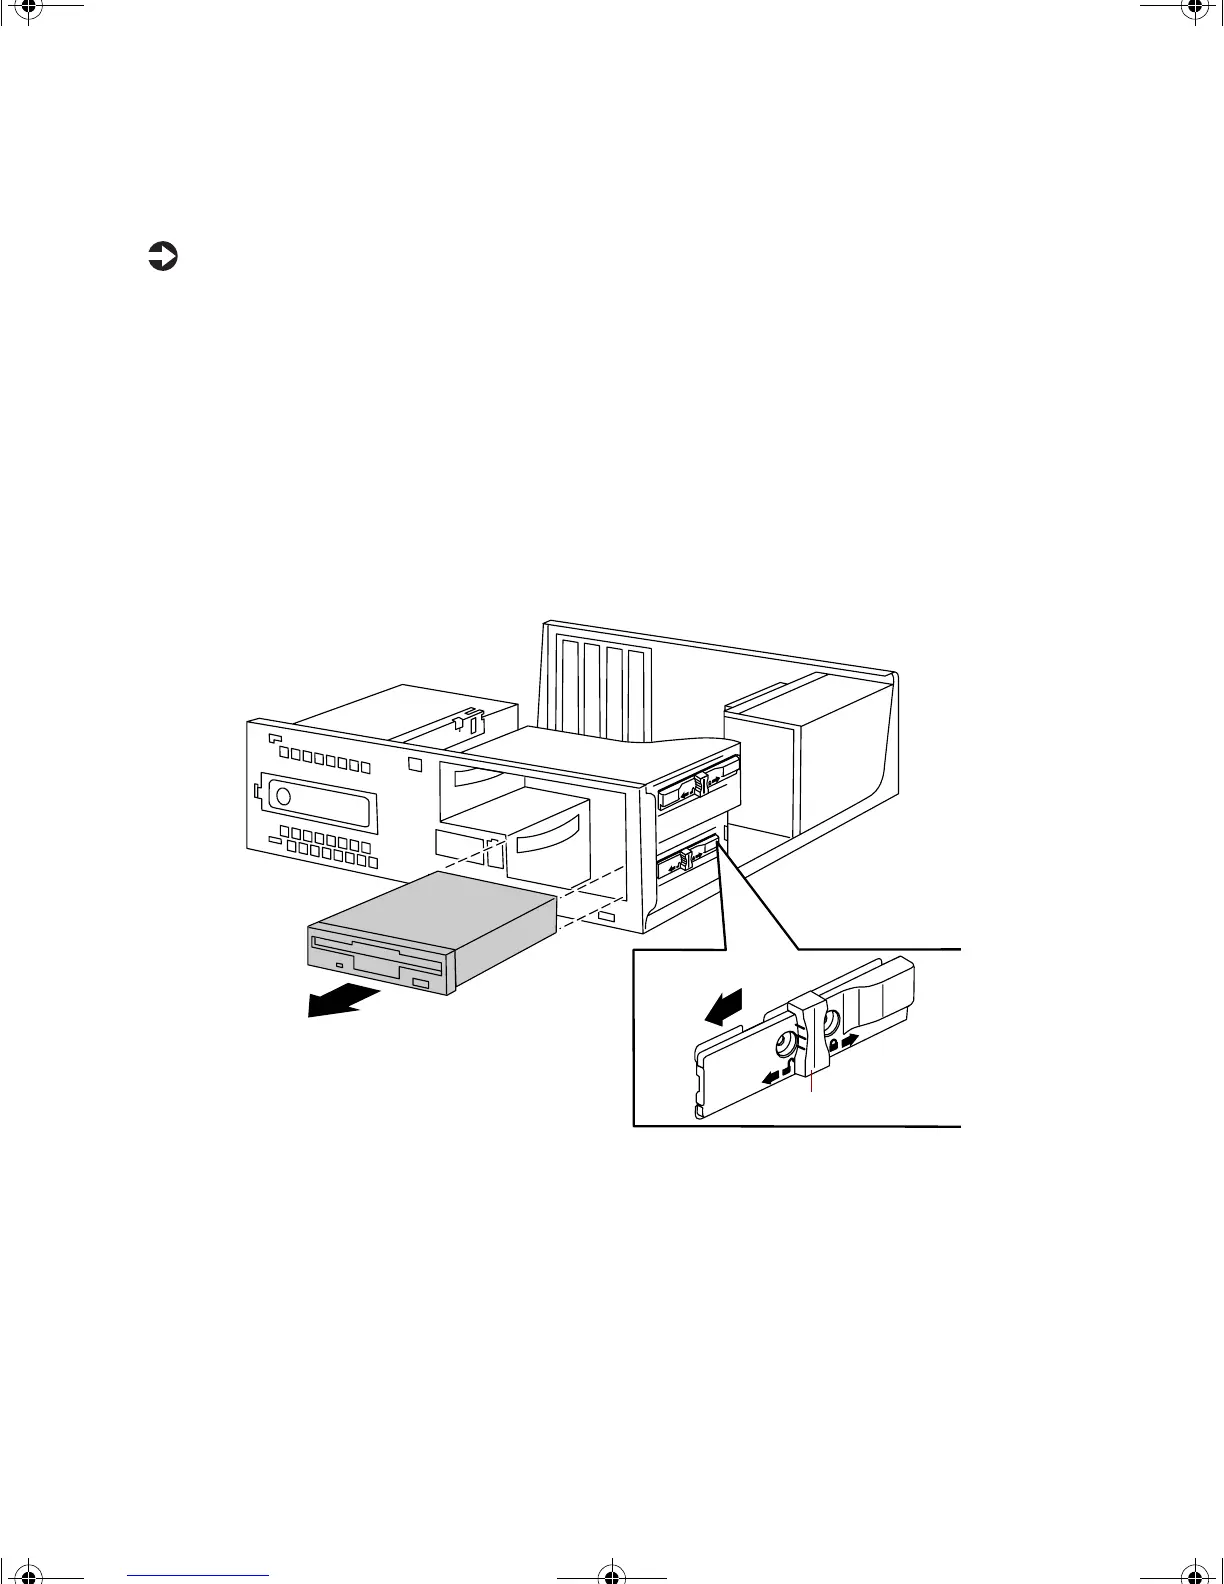
4 Disengage the locking clip by sliding the locking clip toward the front
of the computer as shown by the arrow beside the unlock icon on the clip.
5 Pull the drive out of the chassis.
6 Set the drive jumpers (if any) on the new drive to the appropriate settings
(refer to your drive documentation for jumper settings).
7 Align the drive with the open bay, then slide it into the bay.
Locking clip
8506999.book Page 24 Friday, December 15, 2000 8:22 AM