Replacing or adding drives 25
8
Slide the locking clip toward the back of the chassis to secure the drive
in the bay.
9 Connect the power and data cables, making sure the cables are in their
original positions.
10 Close the case by following the instructions on page 18.
11 Reconnect the peripherals, the modem cable, and the power cord, then
turn on the computer.
12 Run the configuration software if necessary.
Adding a 3.5-inch device
You can use the additional, externally accessible, 3.5-inch drive bay to install
a 3.5-inch drive such as a tape drive, or a Zip drive.
To install an additional drive:
1 Turn off the computer and disconnect the power cord, modem cable (if
installed), and all external peripheral devices.
2 Remove the cover. (See “Removing the cover” on page 17 and “Static
electricity precautions” on page 15.)
3 Remove the bezel. (See “Removing the bezel” on page 18.)
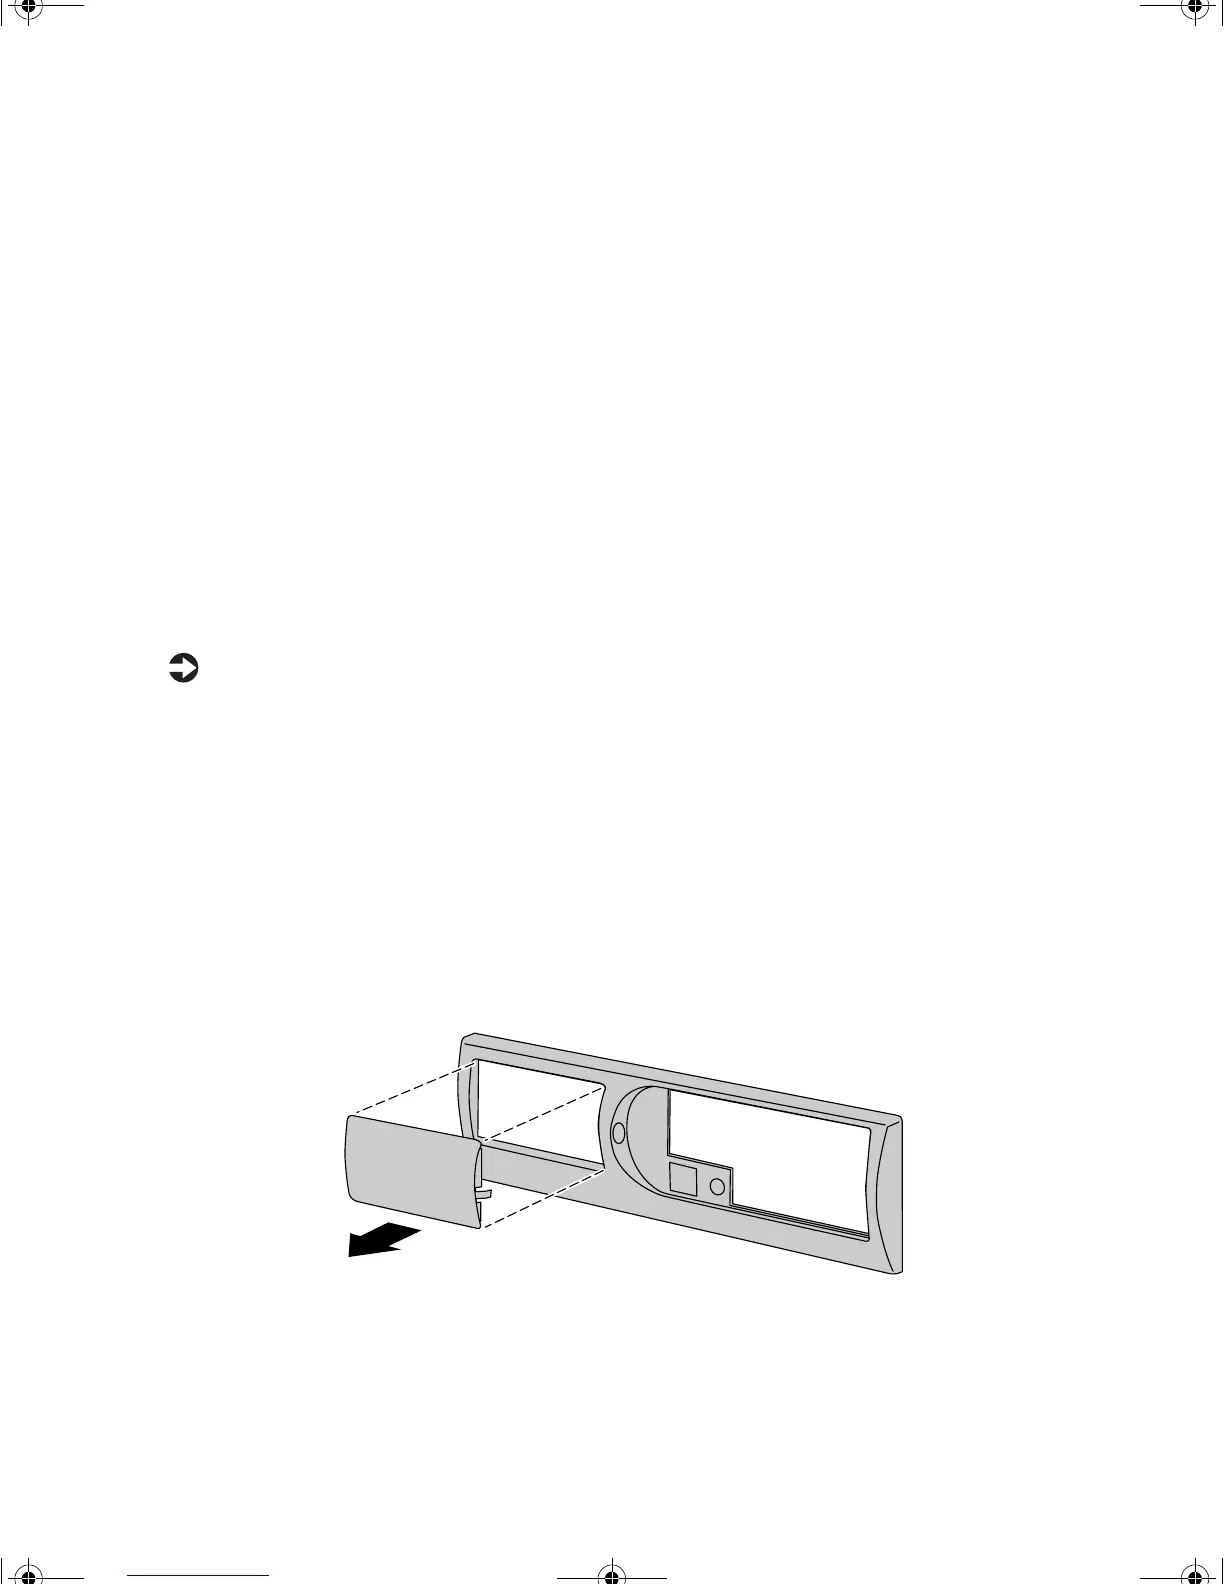
4 Remove the plastic insert from the bezel by pressing the tabs on the ends
of the insert together and pushing the insert out from the back of the
bezel. Save the insert so that you can replace it if you remove the added
drive.
8506999.book Page 25 Friday, December 15, 2000 8:22 AM