Replacing or adding drives 27
7
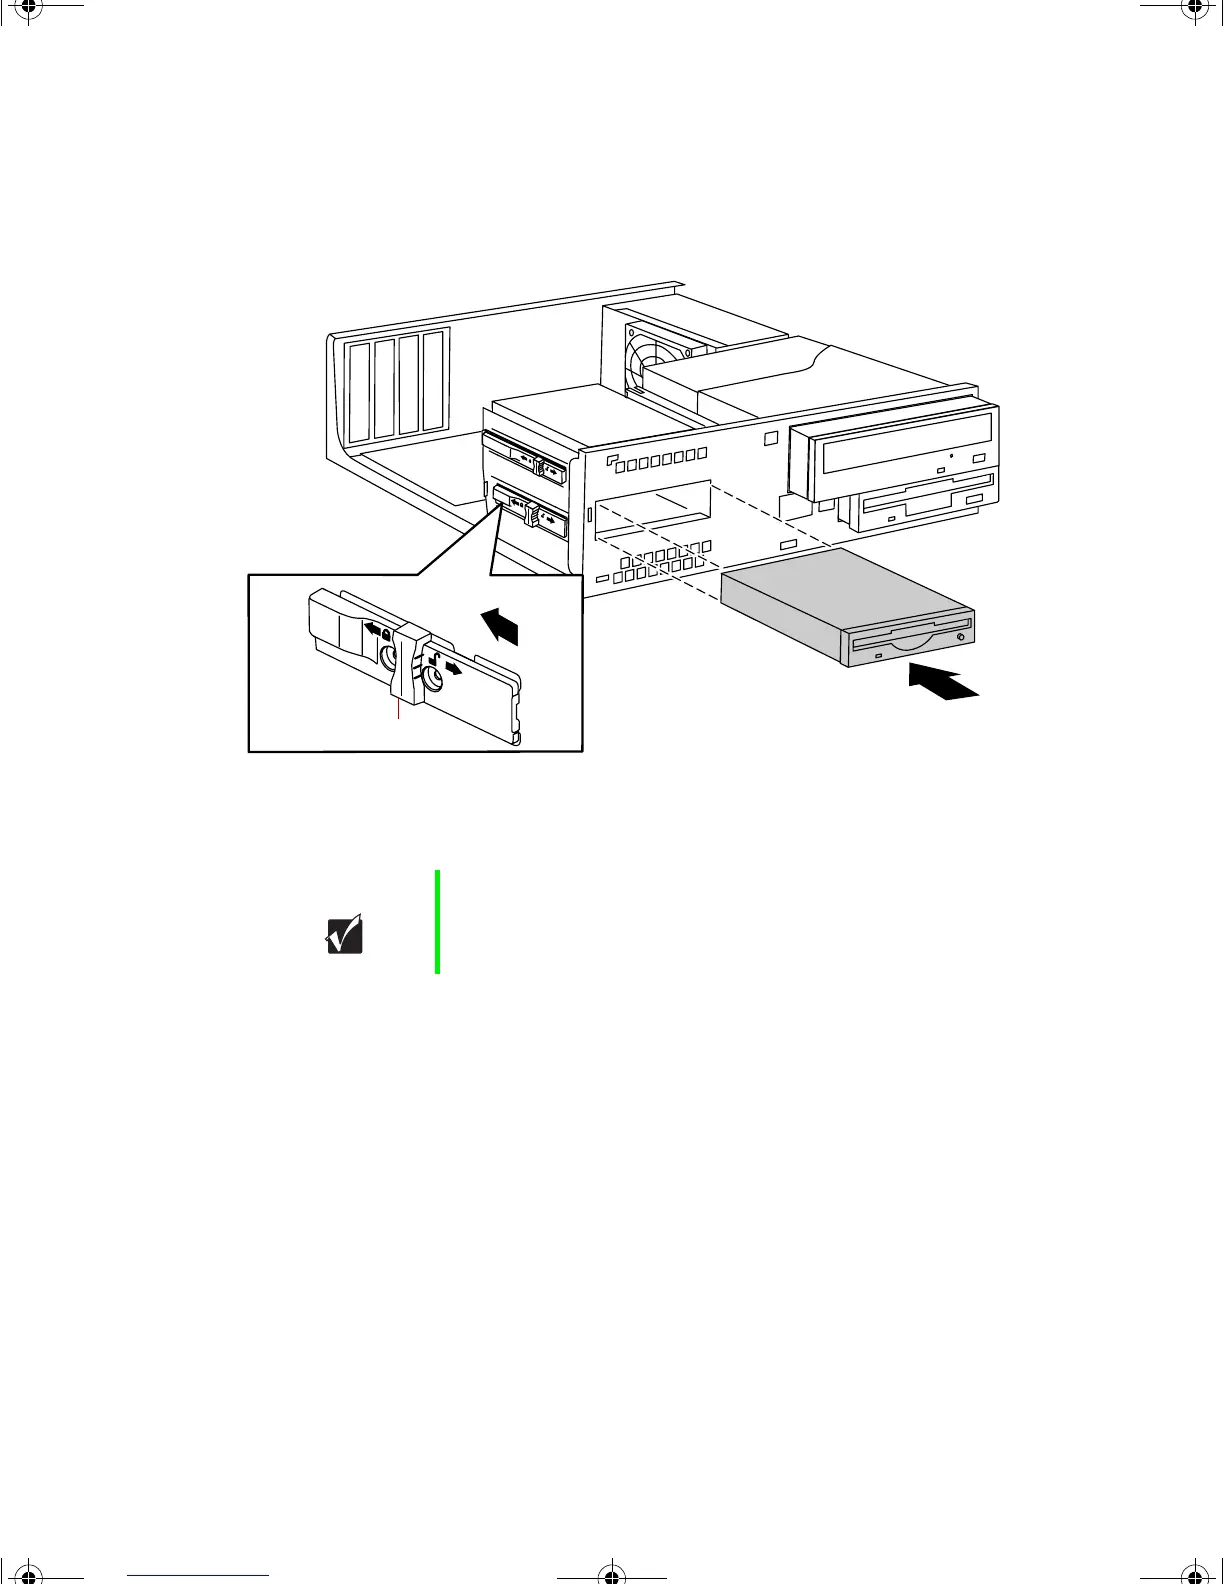
Make sure the locking clip is in the open position by sliding it toward
the front of the chassis as shown by the arrow beside the unlock icon
on the locking clip.
8 Align the drive with the open bay, then slide it into the chassis until it
is properly positioned.
9 Slide the locking clip toward the back of the chassis to secure the drive
in the bay.
10 Connect the power and data cables to the back of the drive.
11 Close the case by following the instructions on page 18.
12 Reconnect the peripherals, the modem cable, and the power cord, then
turn on the computer.
13 Run the configuration software, if necessary.
Important You may want to install the bezel first to make sure the
drive is properly aligned.
Locking clip
8506999.book Page 27 Friday, December 15, 2000 8:22 AM