48
www.gateway.com
Chapter 4: Using Drives and Ports
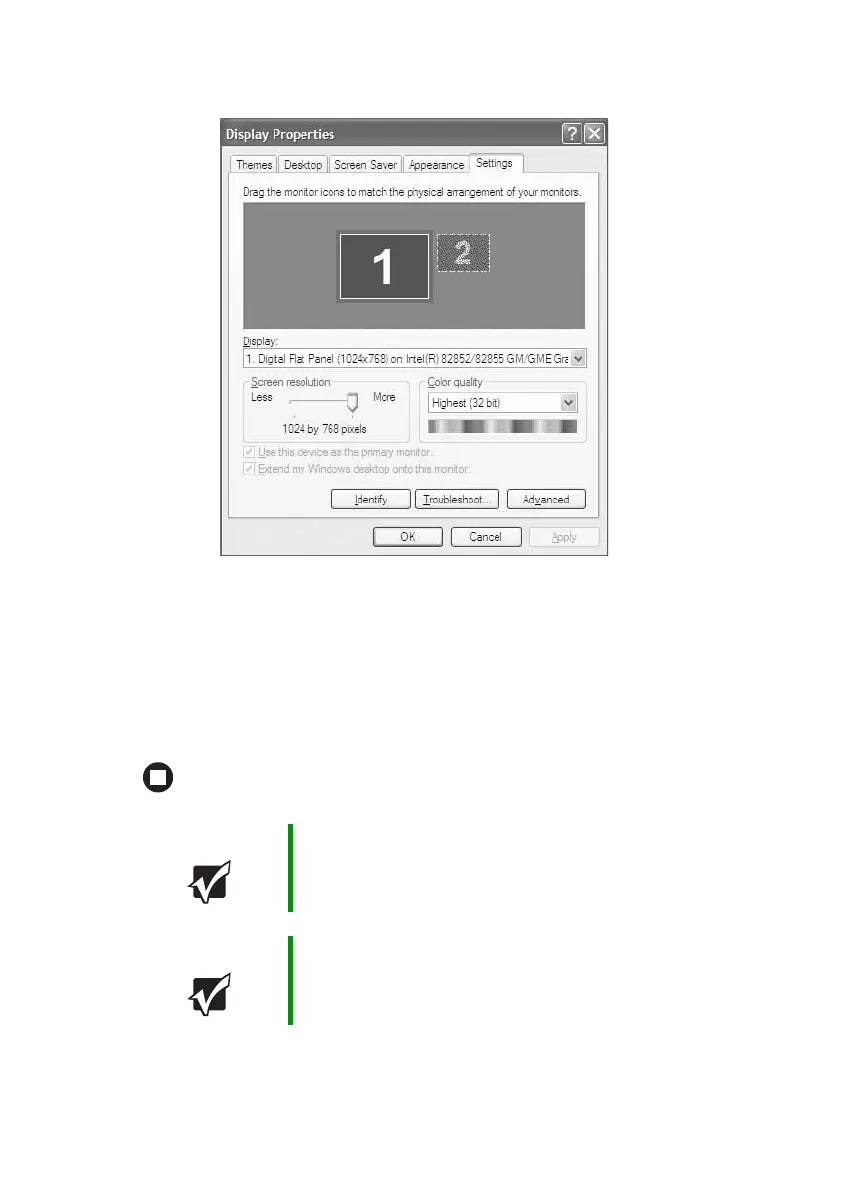
6 Click the Settings tab.
7 Right-click the second monitor icon (labeled 2), then click Attached.
8 Click Apply.
9 Adjust properties such as Screen Resolution or Color Quality if
necessary.
10 Click OK.
Important Press FN+F4 to switch between viewing the display on the
LCD panel and viewing the display on the projector or
monitor.
Important If an external monitor or projector is connected and you
close the LCD panel, your notebook may turn off the LCD
panel, but will not enter Standby mode.